The Joy of Crafting: How to Make Firework's Confetti Experiment
Hello fellow crafters! Today, I’m thrilled to share one of my all-time favorite DIY projects: Firework's Confetti Experiment. This delightful and visually stunning activity not only brings a sparkle of joy into any gathering but also serves as an educational tool, highlighting concepts of density, buoyancy, and chemical reactions. Whether you want to amaze your kids at a birthday party, spice up a family gathering, or simply indulge in a blast of colors for your own enjoyment, this homemade confetti device is sure to be a hit!
Why Firework's Confetti Experiment?
Before we dive into the glittering details, let me tell you what makes this project so special. The Firework's Confetti Experiment is popular not only because of the vivid colors and a sense of wonder it invokes but also due to its accessibility and simplicity. I’ve used it at summer picnics, holiday celebrations, and even quiet afternoons at home just to brighten the mood. Watching the 'fireworks' explode is almost magical, and it definitely leaves a lasting impression. Let’s get started!
Materials You'll Need
Don’t worry; you won’t need to make a trip to the craft store to gather supplies. Most of these are likely already sitting around your house:
- Clear plastic bottle (empty soda bottle works perfectly)
- Water
- Food coloring (various colors)
- Vegetable oil (or any cooking oil)
- Baking soda (a staple in every kitchen)
- Vinegar (another pantry essential)
- Small pieces of paper (colorful scrap paper or even confetti)
- Small funnel (or any similar instrument to help pour ingredients)
Safety Note: Ensure children are supervised during the experiment, especially while handling vinegar and baking soda, as the reaction can be a bit fizzy!
Step-by-Step Guide
Now that we’re all set, let’s talk about the step-by-step process. I promise it’s way easier than it sounds!
Step 1: Prepare Your Plastic Bottle
First, take your clear plastic bottle and make sure it’s clean. You want to have a clear view of the explosion effect, so scrub away any residues.
Why It Matters: A clear bottle allows you to appreciate the visual fun! Plus, you don’t want any lingering odors from previous contents to mingle with your ingredients.
Step 2: Fill With Water
Using your funnel, fill the bottle about one-third full with water. This will be the base for our colorful display.
Tip: If you want to create different layers later and enhance the effect, consider using slightly warm water. It can help mix the baking soda better!
Step 3: Add Food Coloring
Now the fun begins! Add several drops of food coloring to the water. You can use multiple colors for a more vibrant experience.
Pro Tip: Don’t just mix them all together; try to create distinct areas of color for an exciting visual contrast later!
Step 4: Introduce Baking Soda
Measure about one to two teaspoons of baking soda and drop it into the bottle. Make sure you sprinkle it evenly across the water surface.
What Could Go Wrong: Adding too much baking soda at once could result in overwhelming fizzing and may spill over. If this happens, just adjust next time!
Step 5: Prepare the Oil Layer
Carefully add vegetable oil to the bottle until it nearly reaches the top (about two-thirds full). You’ll see the oil and water separate, which creates an aesthetically pleasing effect.
Why This Matters: Oil is less dense than water, so it floats on top, creating a gorgeous layering that is essential for our 'fireworks.'
Step 6: The Big Boom – Adding Vinegar!
Here’s where the real magic happens. Drizzle in about half a cup of vinegar into the bottle and stand back.
Important: You may want to cover the opening of the bottle after adding vinegar to keep some of the bubbly excitement contained.
Watch: This is when the baking soda reacts with the vinegar, creating carbon dioxide gas, which produces those fun, fizzing bubbles!
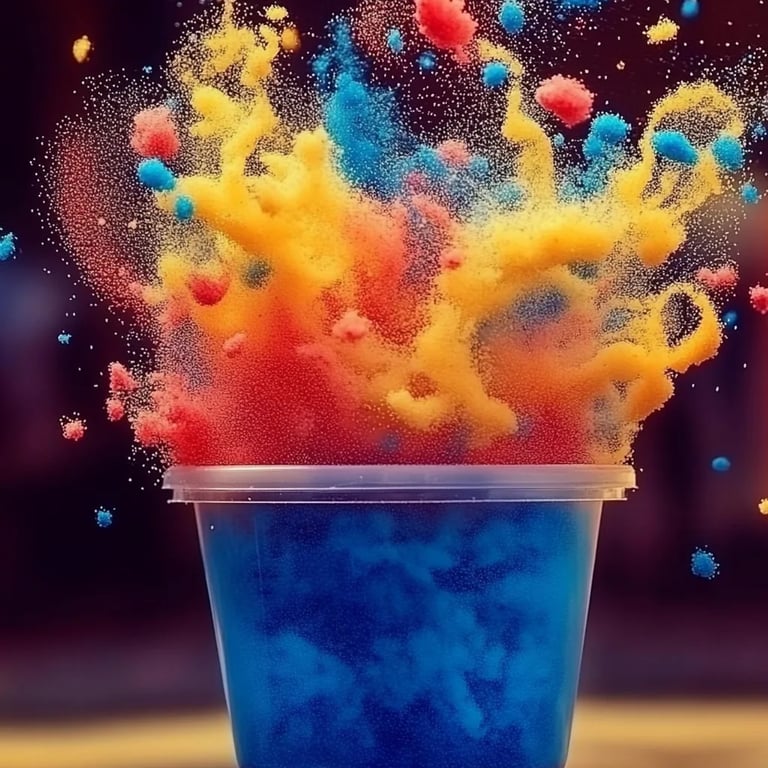
Observe the Fireworks
As the bubbles ascend through the oil and into the colored water, it resembles fireworks going off! You’ll be amazed at the vivid colors as everything bubbles away in a dazzling show.
Troubleshooting Common Issues
If things don't go as planned, don’t panic. Here are some common problems and their solutions:
- Not Enough Fizz: If your mixture doesn’t fizz as much as expected, you may have too much oil – or not enough baking soda. Add more baking soda incrementally.
- Too Much Overflow: If the bottle overflows, remember to pour the vinegar in more slowly and cover the top of the bottle to control the eruption.
- Lack of Color: If the colors didn’t spread as beautifully, try using more food coloring, ensuring the drops land directly in the water.
Creative Variations
Once you’re comfortable with the basic version, there’s a whole world of variations you can explore:
- Celebrate Holidays: Use seasonal colors—red and green for Christmas, pastels for Easter, or patriotic shades for Independence Day.
- Glow-in-the-Dark: Add glow-in-the-dark paint or use fluorescent food coloring for a nighttime twist!
- Scented Experiments: For an added sensory experience, try using scented vinegar or adding essential oils to the water.
Final Thoughts
Crafting the Firework's Confetti Experiment has been one of the most rewarding activities I share with friends and family. It’s a beautiful mix of science and art, and it always sparks joy. Remember, the point is not just to have fun with craft supplies, but also to spark curiosity and imagination among friends and loved ones.
So, gather your materials, roll up your sleeves, and let the fireworks soar! I’d love to hear how your experiment goes, so feel free to share your successes and creative twists in the comments below! Happy crafting!