The Baking Soda Heart Experiment: A Creative DIY Adventure
Hello, fellow crafters! Today, I'm beyond excited to share one of my all-time favorite science experiments that doubles as a delightful DIY project: the Baking Soda Heart Experiment. This whimsical concoction is not only a fantastic way to engage kids in science, but it also sparks creativity and love just in time for special occasions like Valentine's Day, anniversaries, or simply to show some love to family and friends. I can guarantee that this project will leave you with a heart full of joy!
Why Is It Popular?
The Baking Soda Heart Experiment is beloved by educators and crafters alike because it combines basic science with an artistic twist. Using simple materials that you probably already have in your home, this project demonstrates the reaction of baking soda with vinegar, leading to an exciting fizzing and bubbling experience—who doesn’t love a little heart-shaped volcanic eruption? This experiment is perfect for classrooms, home schooling, or any creative activity day. Plus, it has the added charm of being heart-shaped, making it a unique gift or festive decoration.
What You’ll Need
Now, let’s gather our materials! Don’t worry; this project uses simple, accessible supplies:
- Baking Soda (about 1 cup)
- Vinegar (1/2 cup)
- Food Coloring (red, pink, or any color you like)
- Heart-shaped cookie cutter or mold (silicone works best)
- Plastic cup or small bowl for mixing
- Tray or baking sheet (to contain the mess—trust me, you'll need it!)
- Safety goggles (protective eyewear, especially for younger crafters)
- Spoon for mixing
Step-by-Step Tutorial
Now, let’s dig into the fun part: creating our baking soda hearts!
Step 1: Prepare Your Workspace
Before we get started, ensure your workspace is clear and protected. Place the tray or baking sheet underneath your mixing area; it’ll catch any overflow and make clean-up a breeze.
Step 2: Mix the Baking Soda and Colors
In a plastic cup or bowl, combine 1 cup of baking soda with a few drops of food coloring. Stir it well with a spoon until the color is evenly distributed. This step is crucial, as it makes your heart visually appealing! Go for rich hues to enhance the fun—deep reds or vibrant pinks will make your hearts pop!
*Tip:* Avoid over-mixing the food coloring; it can clump and affect the fizzing reaction later.
Step 3: Create Heart Shapes
Once your baking soda mixture is colored, it’s time to mold those hearts. Using your heart-shaped cookie cutter, pack the baking soda mixture tightly into the cutter on the tray. Press down firmly to ensure they hold their shape while the experiment progresses. After filling, gently lift the cookie cutter off. If the hearts crumble, don't worry! Just pack them back in and try again.
Step 4: Let it Dry (Optional)
If you want to make solid baking soda hearts to use later, allow the shaped hearts to dry overnight. This step is optional but gives you lovely heart decorations that can be used in numerous ways (like gifts, decorations, or even as science kits).
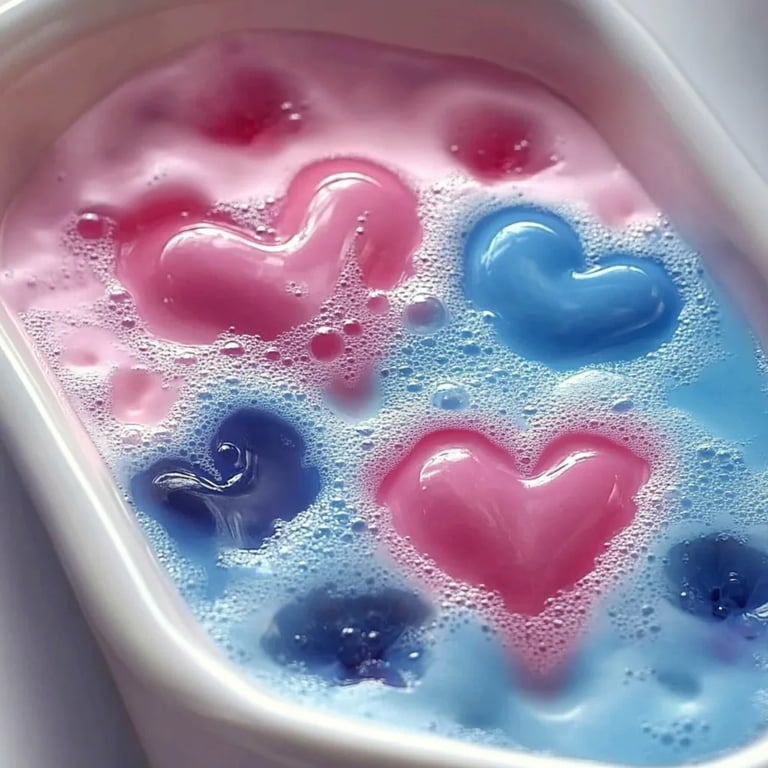
Step 5: The Fizzing Reaction
Now comes the exciting part! When you’re ready to start the reaction, pour about 1/2 cup of vinegar into a separate bowl. Slowly drizzle the vinegar over your baking soda hearts and watch them fizz and foam! You'll see delightful bubbles, and the hearts will appear to 'melt' away showcasing the reaction between the baking soda and vinegar.
*Why This Step Matters:* The reaction produces carbon dioxide gas, causing the bubbling effect. It's a beautiful science demonstration that can enhance children's understanding of chemical reactions!
Troubleshooting Tips
- If it doesn't foam up well: You might not have used enough vinegar or packed the baking soda mixture too tightly. Go for a more generous pour of vinegar next time and make sure to keep it loosely packed.
- If it clumps: This can happen if too much liquid food coloring is added. You can break it apart gently with your fingers.
Creative Variations
Feeling adventurous? Here are a few creative spins to this experiment:
- Scented Hearts: Add a few drops of essential oil (like vanilla or peppermint) to your baking soda mix. The delightful scent will enhance the entire experience!
- Layered Colors: Create a layered heart by alternating colors of baking soda in the heart-shaped mold. When you pour vinegar over, it will generate a beautiful multi-colored fizz!
- Glittery Hearts: For an added sparkle, include biodegradable glitter in your baking soda mix to give your hearts an enchanting shimmer when they fizz up.
Safety Warnings
While this experiment is generally safe, remember to have adult supervision, especially with younger children. Safety goggles are a good idea to protect against any splashes. Avoid mixing other household chemicals with vinegar—stick with this experiment for a guaranteed safe time!
Final Thoughts
In sharing this Baking Soda Heart Experiment, I hope I've ignited your creativity and encouraged you to explore the fun intersections of science and art. This simple project is not just a delightful visual spectacle; it’s an opportunity to bond, learn, and create memorable moments with loved ones. So grab those ingredients, rally your friends or family, and embark on this joyous DIY adventure together. You’ll not only get to create stunning heart-shaped fizzers but also generate lots of laughter and excitement along the way. Happy crafting!