Seashell Glitter Bottle Craft: A Shimmering Journey to Beachy Bliss
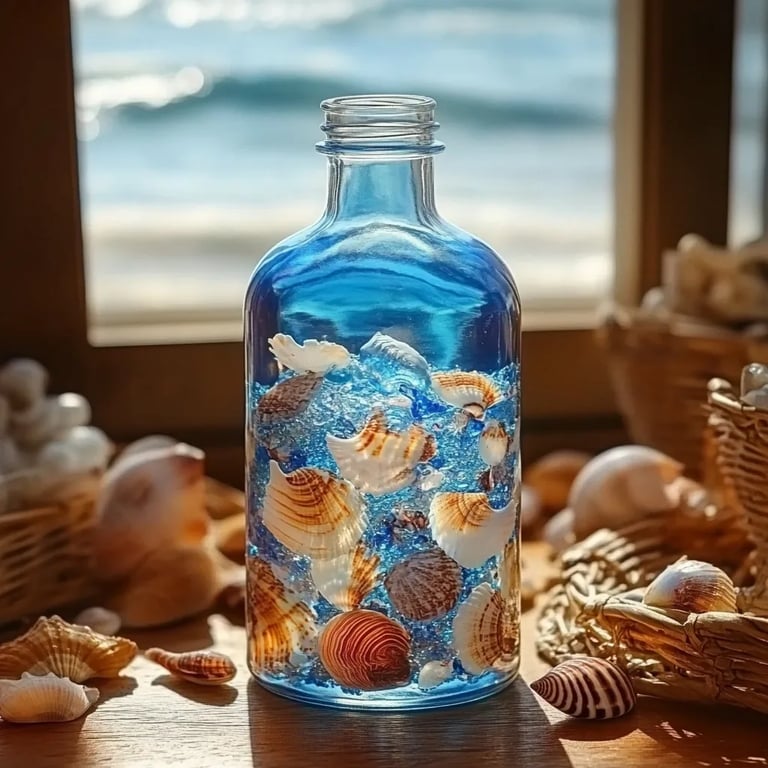
Hey there, fellow crafters! Today, I want to dive into one of my absolute favorite DIY projects that brings a piece of the beach right into your home: the stunning Seashell Glitter Bottle. This craft has gained immense popularity among both seasoned and novice crafters alike, and let me tell you, it’s as delightful to make as it is mesmerizing to display. Perfect for home decor, party favors, or a calming sensory bottle for kids, these glitter bottles resonate with the relaxing vibe of coastal living.
Why Seashell Glitter Bottles?
These beautiful bottles capture the essence of summer and the beach, making them perfect for home decoration or as thoughtful gifts. From brides wanting beach-themed centerpieces to parents crafting sensory tools for curious little hands, these glitter bottles serve various purposes. They’re soothing to watch, filled with twinkling glitter and enchanting shells, reminiscent of waves lapping against the shore. Plus, they’re a fantastic way to repurpose items lying around your home, making crafting both economical and sustainable.
What You’ll Need
Before we get started, let's gather our materials. Most of these items are easy to find, and there’s a good chance you might already have them at home:
Materials:
- Empty Glass or Plastic Bottle: An old soda or water bottle works well. Ensure it’s clean and dry.
- Seashells: Natural shells add authenticity—try to gather a variety of shapes and sizes.
- Glitter: Choose fine or chunky glitter. You can experiment with different colors!
- Water: Distilled water keeps the bottle clear for more extended periods.
- Clear Craft Glue or Mod Podge: Helps keep the glitter from settling too quickly.
- Optional: Food coloring (for a pop of color), beads, or small gems for added sparkle.
Tools:
- Funnel: To make pouring easier.
- Spoon or Stick: To help mix ingredients.
- Hot Glue Gun: For secure adhesion of shells to prevent them from falling out.
Step-by-Step Tutorial
Ready to craft? Let’s get started! Follow these detailed steps to create your own stunning Seashell Glitter Bottle.
Step 1: Prepare the Bottle
*This step is crucial as a clean bottle prevents any unwanted odors or residues from filling your creation.*
- Start by cleaning your bottle thoroughly with soapy water. Rinse it well and allow it to dry completely. If you’re using a label, soak the bottle in warm, soapy water and peel it off.
- Remove any residue inside and out to ensure maximum shine.
Step 2: Gather Seashells
*Choosing the right shells can elevate your design. Gather a variety of sizes and colors for visual interest.*
- Head to your nearest craft store or beach. Choose shells that appeal to you—think of varying shapes, sizes, and colors.
- Rinse any natural shells in saltwater and let them dry. You want them to be clean and free of sand.
Step 3: Mix Water and Glue
*This mixture will create the magic that keeps your glitter suspended in the bottle.*
- In a bowl, mix water with an equal amount of clear craft glue. This doesn’t have to be a precise measurement but a 1:1 ratio works well.
Tip: If you’d like your bottle to have a colored background, add a drop or two of food coloring to this mixture. This subtle tint can create a dreamy, ocean-like effect.
- Stir the mixture thoroughly to ensure it’s well combined. A well-mixed solution prevents clumps of glitter from forming.
Step 4: Add Seashells and Glitter
*This is where your bottle starts to come to life!*
- Using a funnel, pour a small amount of the water-glue mixture into your bottle. Just enough to cover the bottom.
- Next, add your seashells! Arrange them in an aesthetically pleasing manner.
- Carefully pour in a generous amount of glitter. Use various colors and types for a more dynamic look. You might want to experiment with layering—add sparkle before and after adding shells!
What could go wrong? If your shells are too large, they may get stuck at the neck of the bottle. If this happens, try using a stick to push them down or choose smaller shells from the start.
Step 5: Fill with Liquid
*Seal in the beauty of your hard work.*
- Fill the rest of your bottle with your water-glue mixture, leaving a little space at the top. This prevents overflow when you seal it.
- If you notice glitter accumulating at the bottom, give the bottle a gentle swirl to distribute it evenly.
Step 6: Seal It Up
*Sealing it properly is essential, especially if you plan to use it as a sensory bottle.*
- If using a plastic bottle, ensure the cap is tightly sealed. You could even glue it down with hot glue for extra security.
- For glass bottles, consider using a cork or sealing wax for a rustic touch.
Safety Warning: If using a glass bottle, be cautious while handling it and always supervise children with such a craft to prevent accidents.
Step 7: Shake and Admire!
*Now for the fun part: watching your creation swirl to life!*
- Give your glitter bottle a shake and watch how the glitter dances amongst the seashells. Trust me; you may find this relaxing!
- Display it on your shelf, use it as a centerpiece, or let kids play with it under supervision.
Creative Variations
Mix things up! Here are a few fun twists to personalize your Seashell Glitter Bottle:
- Themed Colors: Choose a color palette based on your theme (nautical, tropical, etc.).
- Incorporate Photos: Print small images of beach trips or family vacations, fold them, and place them inside the bottle along with your materials.
- Fragrance Add-In: For an extra sensory element, add a few drops of essential oils to the water mixture. Lavender for relaxation or citrus for a refreshing zing.
Tips for Success
- Experiment: Don’t be afraid to try different combinations of ingredients and materials. Crafting is all about exploration!
- Small Batches: If you're working with kids, keep smaller quantities of glue-water mixture handy to avoid wastage and make it less overwhelming.
Final Thoughts
I hope this detailed guide to making a Seashell Glitter Bottle has inspired you to dive into this DIY adventure. Whether you display it at home or give it as a unique gift, it’s bound to bring joy and sparkle, just like its purpose. Remember, crafting is about the journey, so take your time, cherish your creative process, and trust your instincts.
Now, grab those bottles and start creating your own encased ocean magic! Happy crafting, everyone! 🌊✨