Pressed Flowers: A Beautiful DIY Project for Nature Lovers
*Welcome, fellow crafters and nature enthusiasts! Today, I’m excited to share with you one of my favorite DIY projects: pressed flowers. There’s something magical about transforming delicate blooms into cherished keepsakes, whether you're creating art for your home, personalizing gifts, or even crafting unique stationery. Pressed flowers capture the essence of nature in a way that is both timeless and beautiful, and with just a few simple materials and a bit of patience, you can create stunning floral designs that will remind you of sunny days long after the flowers have wilted.*
Why Pressed Flowers?
Pressed flowers are incredibly popular for several reasons. They’re versatile; you can incorporate them into artwork, greeting cards, scrapbook pages, or even jewelry. They bring a touch of the outdoors inside, allowing you to celebrate nature no matter the season. Plus, creating pressed flower projects is a lovely way to keep memories alive—think about preserving blooms from a wedding bouquet or a child’s hand-picked flowers from a garden.
I first discovered the art of pressing flowers during a particularly inspiring spring, surrounded by vibrant blossoms begging for recognition. Since then, I’ve experimented, developed my techniques, and even encountered challenges along the way. Today, I’ll guide you through my tried-and-true process, packed with plenty of tips, anecdotes, and wisdom gathered through my experience.
Materials You’ll Need
Before we dive in, here’s a comprehensive list of materials you’ll need:
- Fresh flowers and greenery: Choose flat, thin-petaled flowers like pansies, violets, and daisies, or even leaves. Avoid thick blooms like roses or sunflowers—they can be tricky to press!
- Heavy books: Any thick, heavy book will work. I love using old encyclopedias or coffee table books as they can add some character.
- Parchment or cardstock paper: These will protect your flowers and absorb moisture. Avoid glossy paper, as it can trap moisture.
- Scissors: For trimming your flowers.
- Tweezers (optional): These come in handy when you’re placing delicate flowers.
- Sealant (optional): If you plan to display your pressed flowers in a project, consider a clear-drying glue or resin.
Step-by-Step Tutorial on How to Make Pressed Flowers
Step 1: Selecting Your Flowers
Why It Matters: The success of your pressed flowers starts with selection. Opt for healthy, vibrant specimens that will maintain their color after pressing.
What Could Go Wrong: Picking flowers with excessive moisture or getting them too soggy can lead to mold or browning.
Tip: Early morning is the best time to pick flowers when they’re fresh and full of dew!
Step 2: Preparing Your Flowers
- Trim the Stems: Use your scissors to cut the flowers close to their head. For delicate petals, aim for about 1-2 inches of stem.
- Remove Excess Leaves: Leaves can take up valuable space and moisture. Trim them away carefully.
- Flatness is Key: Place flowers on a flat surface to ensure they lay as flat as possible—this will aid in even pressing.
Step 3: Pressing the Flowers
- Layering: Take your parchment or cardstock paper and lay it flat. Place the flowers atop the paper, spacing them evenly.
- Covering: Gently place another sheet of paper over the flowers to protect them from the book’s ink.
- Weighting Down: Close the heavy book on top of your layered flowers. Alternatively, if you're using multiple layers of flowers, consider stacking more heavy books or placing weights on top.
Step 4: The Waiting Game
Why It Matters: This step requires patience! The flowers need time to dry completely.
Insider Tip: I usually leave mine pressed for 1-3 weeks. The longer you wait, the more vibrant and flat your flowers will be.
Step 5: Checking Your Flowers
Once a week, open the book gently to check your flowers. They should feel dry and crisp to the touch.
What Could Go Wrong: If you notice any sign of mold or browning, discard those flowers immediately to prevent contamination of others.
Fix: If they feel damp or bend easily, give them more time!
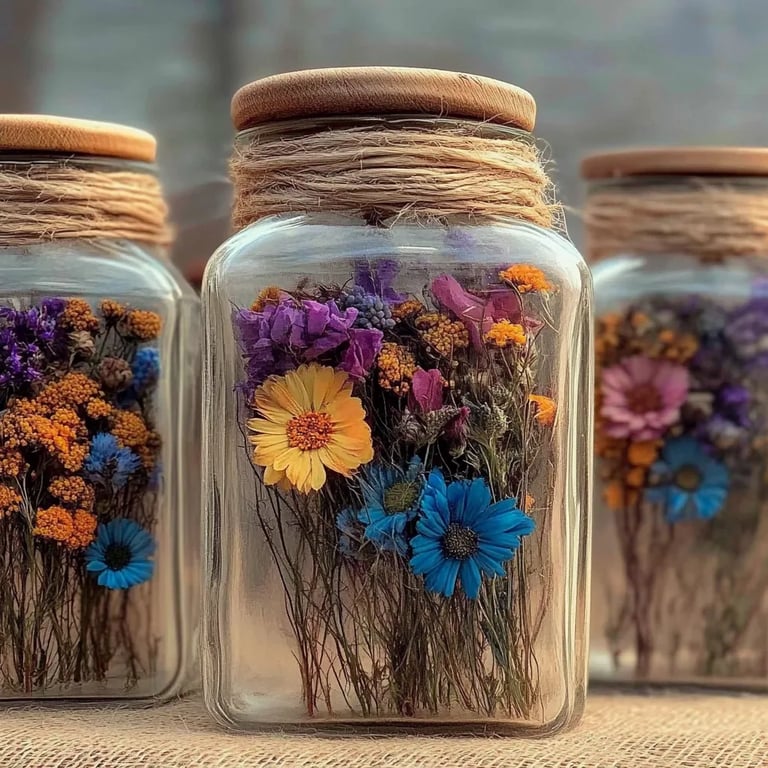
Step 6: Displaying Your Creation
Here, the fun starts! Pressed flowers can be used in various ways:
- Framing: Use a simple frame to display your pressed flowers artfully. Consider layering them for a 3D effect!
- Greeting Cards: Glue pressed flowers on card stock to create personalized cards for any occasion!
- Decorative Items: Use clear resin to embed flowers into coasters or jewelry.
Creative Variations
Here are a few alternative methods to try, depending on the look you want:
- Microwave Pressing: Place flowers between two sheets of parchment, then stack them between microwave-safe plates. Microwave in short bursts (10-15 seconds) until dried.
- Ironing: This method involves placing flowers between two pieces of parchment and gently ironing them on low heat until flattened.
Safety Warnings
- Avoid Toxic Flowers: Some flowers are toxic when ingested. Make sure to choose non-toxic varieties if you have pets or children around.
- Use Caution with Tools: When using scissors or an iron, be mindful of your fingers and always follow safety procedures.
Final Thoughts
Pressed flowers are more than just a DIY project—they are a canvas for your creativity and a beautiful tribute to nature’s artistry. As you embark on this delightful endeavor, remember to enjoy the process. Each flower tells its own story, and your project will reflect the memories attached to those blooms.
Don’t hesitate to experiment—try out different flowers, colors, or arrangement styles, and discover the joy of crafting with nature! I hope this guide inspires you to take a step into the world of pressed flowers, and remember, the heart of crafting lies in sharing love and creativity with others. Happy crafting!