Making Galaxy Cotton Slime Balls: An In-Depth Guide for DIY Enthusiasts
Hello, fellow crafters! Today, I’m thrilled to share with you how to make mesmerizing Galaxy Cotton Slime Balls—a captivating project that’s become immensely popular among kids and adults alike. As an experienced crafter, I’ve come to appreciate the therapeutic and creative benefits of making slime. Galaxy Cotton Slime Balls not only satisfy that tactile urge to squish and stretch but also add a visually stunning layer to your creations with their cosmic colors and fluffiness. Perfect for party favors, rainy-day activities, or just a fun afternoon project with the kids, these colorful slime balls are a blast to make and even more enjoyable to play with.
What is Galaxy Cotton Slime?
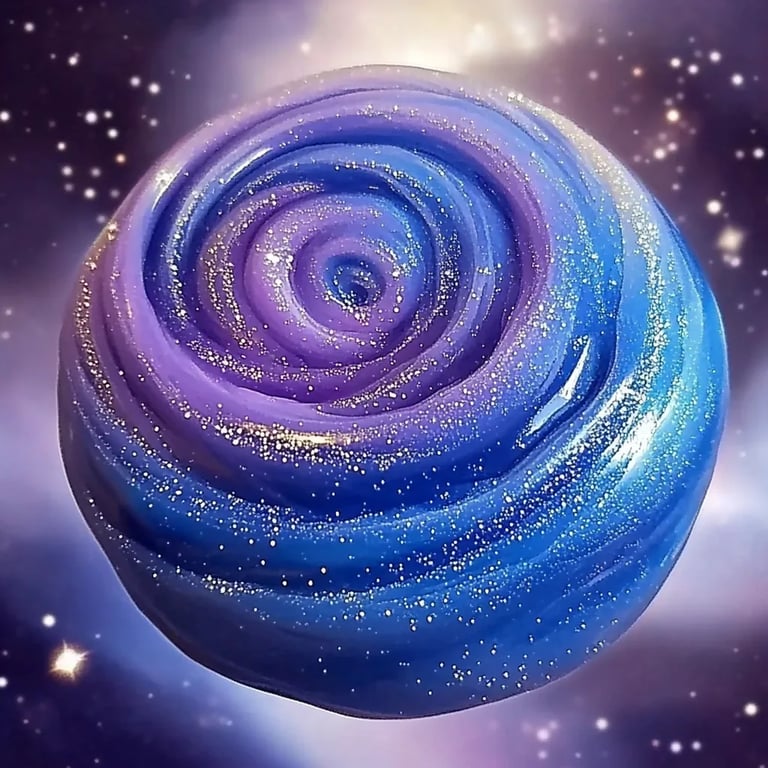
Before we dive into the tutorial, let me explain what Galaxy Cotton Slime is. It’s a type of slime that combines traditional slime-making techniques with fluffy cotton texture. The galaxy theme comes into play with vibrant colors reminiscent of the night sky, complete with swirling purples, blues, and hints of sparkly stars. Kids adore this gooey creation, and it serves as a fantastic sensory activity that promotes creativity and fine motor skills.
Why is it So Popular?
Galaxy Cotton Slime has taken the crafting world by storm, primarily due to its engaging texture and beautiful appearance. Plus, it’s a versatile activity: you can easily customize it with various colors, scents, or even glitter for that extra sparkle. It’s not just a pastime; it’s a wonderful way to unwind and express your artistic side!
When and How Can You Use It?
You can use Galaxy Cotton Slime Balls during parties, as gifts, or simply to entertain children on a school break. They’re great conversation starters and can be an excellent way to teach kids about mixing colors and the properties of materials.
Materials You Will Need
Let’s ensure you have everything in hand before we start making our dreamy Galaxy Cotton Slime Balls:
- For the Base Slime:
- 1 cup of clear school glue (PVA glue)
- 1 cup of water
- 1/2 cup of liquid laundry detergent (this acts as your activator)
- For the Cotton Texture:
- 1 cup of cotton balls (you can choose white or colored for added flair)
- For Coloring:
- Liquid food coloring (blue, purple, black, and pink work beautifully)
- Optional: glitter or metallic pigment for a starry effect
Step-by-Step Instructions
Now, let’s jump into the making process! I’ll walk you through each step, sharing tips and potential pitfalls along the way.
Step 1: Prepare Your Workspace
Before you begin, it’s crucial to have a clean workspace. Clear off any clutter and lay down a protective covering on the table (like newspaper or a plastic sheet) to catch any slime drips. This preparation helps you focus and keeps your crafting area tidy!
Step 2: Mix the Glue and Water
In a large mixing bowl, combine 1 cup of clear school glue with 1 cup of water. Stir the mixture until it’s smooth and fully combined.
Why this Matters: The glue diluted with water allows for a better consistency when combining with other ingredients. If you skip this step or don’t mix it well, your slime may turn out too thick.
Step 3: Add the Color
Now comes the fun part! Add your desired liquid food coloring. I usually start with about 3 drops of blue and 2 drops of purple, then mix thoroughly. You can add more until you achieve your desired galaxy hue.
Tip: Always start with less color. You can gradually add more but can’t remove it if you’ve overdone it!
Step 4: Activate Your Slime
Slowly add in 1/2 cup of liquid laundry detergent, stirring continuously. You’ll start to see the slime forming. At any point, if it’s still too sticky, add a little more detergent—just a tablespoon at a time—until you get a stretchy, non-sticky slime.
Common Problem: If you add too much detergent, your slime may become rubbery instead of stretchy. If this happens, mix in a bit of water to restore the texture.
Step 5: Incorporate the Cotton
Once your base slime is ready, it’s time to add the cotton balls. Take 1 cup of cotton balls and tear them into smaller pieces for better integration. Gently fold them into your slime until they’re evenly distributed.
Personal Tip: Don’t rush this step; gently folding keeps the cotton fluffy and prevents overmixing, which can deflate the cotton’s texture.
Step 6: Create the Galaxy Effect
Now, to achieve that stunning galaxy effect, it’s time to layer the colors. Take small portions of your slime and add in different colors, creating a swirl of hues. You can even sprinkle some glitter at this stage for that starry decoupage glow!
Step 7: Form Your Slime Balls
Once you have the desired swirl effect, start rolling your mixture into smaller balls. Aim for the size of a golf ball; they’ll be easier to manipulate and play with.
Safety and Storage
When making slime, always wash your hands before and after, as some kids may have sensitivities to ingredients like detergent. Store your Galaxy Cotton Slime Balls in an airtight container, and they will last for several weeks.
Creative Variations
- Scented Slime: Add a few drops of essential oils (like lavender or citrus) to make your slime aromatic.
- Themed Colors: For different occasions — think pastels for spring or red and green for the holidays.
- Glow-in-the-Dark: Incorporate glow powder or use glow-in-the-dark paint to create magically glowing slime.
Final Thoughts
There you have it—a comprehensive, step-by-step guide to making your own Galaxy Cotton Slime Balls! I hope you find joy and excitement in this crafting experience as much as I do. Remember, the beauty of making slime lies in experimentation. Don’t be afraid to try new things or tweak this process to better suit your artistic style! Enjoy crafting, and may your slime always be stretchy and your colors vibrant! Happy crafting!