How to Make Your Own Swirl Glowing Bounce Ball: A Step-by-Step Crafting Guide
Hey there, fellow crafters! Today, I’m thrilled to share my personal journey in creating one of the most fun and delightful DIY projects I’ve ever taken on: the Swirl Glowing Bounce Ball. Not only does this bouncy ball glow in the dark, but it also features a mesmerizing swirl design that’s sure to capture the hearts of both kids and adults alike.
What Are Swirl Glowing Bounce Balls?
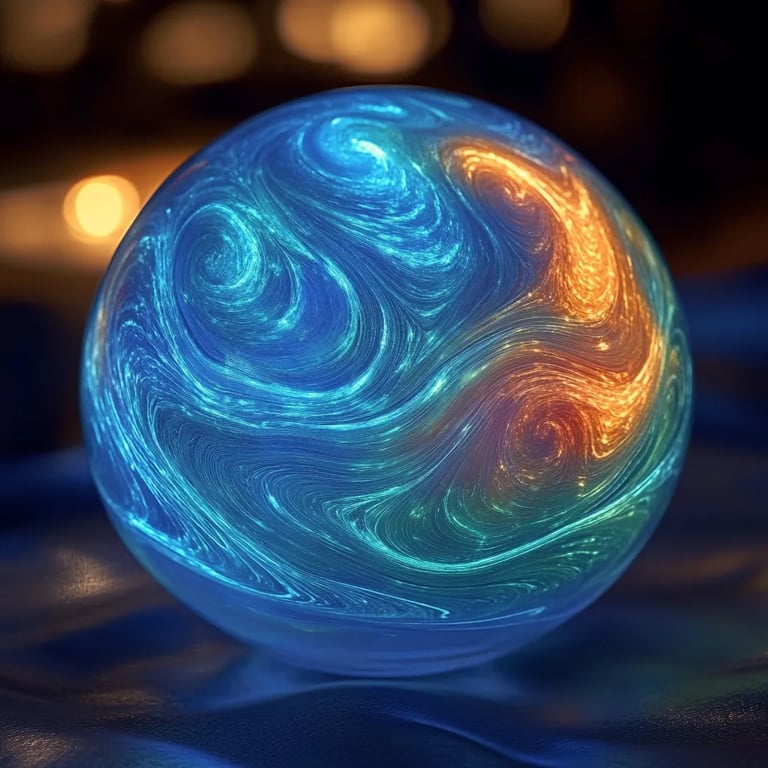
Swirl Glowing Bounce Balls are exactly what they sound like—colorful balls that glow in the dark and have a fun, swirled appearance. They’re incredibly popular among kids for playtime, and I can confirm they are a hit during parties or family gatherings. They’re not just toys; they also serve as fantastic décor for a night-themed event, adding a magical touch wherever you place them. But the best part? You can easily make these bouncy balls at home!
Why They’re So Special
I find these bounce balls to be a brilliant blend of science and art. The glowing effect is achieved through phosphorescent materials, and watching kids play with them at dusk is such a rewarding experience. Plus, crafting your own gives you full creative control over the colors and patterns. You can make them in vibrant hues or even mix colors to produce unique effects!
When Can You Use Them?
These glowing balls are perfect for night games, birthday parties, or summertime fun after sunset. You can also use them to decorate your space for a themed event. Trust me, they are as functional as they are fun!
—
Crafting Your Own Swirl Glowing Bounce Ball: The Step-by-Step Tutorial
Materials You’ll Need:
- Balloon (2-3, assorted colors for swirls)
- Water (for mixing)
- White school glue (PVA glue)
- Cornstarch (1/2 cup)
- Baking soda (1/2 cup)
- Luminous powder (glow-in-the-dark powder)
- Mixing bowl
- Spoon or spatula for stirring
- Gloves (to keep things tidy)
- Measuring cups
- Plastic wrap
- A small container or mold (optional for shaping)
Step 1: Prepare Your Workspace
Before diving in, it’s super important to set up a clean, organized workspace. I like to cover my table with plastic wrap to catch any potential mess. Gather all your materials and put on your gloves—trust me, this part can get sticky!
*Why this matters:* A clean workspace not only helps you stay organized but it also allows you to focus on the crafting process without unnecessary distractions.
Step 2: Mix the Ingredients
In a mixing bowl, combine 1/2 cup of white school glue, 1/2 cup of cornstarch, and 1/2 cup of baking soda. It should resemble a thick paste. Then, gradually add water, mixing slowly until you achieve a dough-like consistency.
*What could go wrong:* If you add too much water, your mixture will be too runny. If this happens, simply sprinkle in a little more cornstarch until you reach the right consistency.
Step 3: Add the Luminous Powder
Next, infuse your mixture with luminous powder. This is the magical ingredient that makes your bounce ball glow! Start with a tablespoon and mix thoroughly. I usually opt for 2-3 tablespoons for a bright glow, but feel free to adjust based on your preferences.
*Tip:* You can find glow-in-the-dark powder at craft stores or online. Make sure to choose non-toxic options, especially if kids will be playing with these balls.
Step 4: Form the Swirls
Now comes the fun part: creating swirls! Divide the mixture into several smaller bowls and add food coloring to each. Choose vibrant colors, and go wild! I tend to mix a bit of red and blue for a beautiful purple swirl.
Once you have your colored mixtures ready, take a small amount of each color and layer them in a container or mold, or simply shape them into a ball in your hands to create a swirl effect.
*Advice:* Less is more with food coloring; you can always add more, but it’s hard to take it out once mixed.
Step 5: Inflate the Balloons
Take your balloons and stretch them slightly before inflating them just enough to form a comfortable shape for holding. Don’t over-inflate; you want some air pockets to allow for bounciness!
Step 6: Fill the Balloons
Carefully fill each balloon with your vibrant mixture using a funnel if necessary. Twist and tie off the end of each balloon securely. Make sure to keep the balled mixture away from the knot of the balloon to avoid leaks.
*What if there’s a leak?* If you notice any leaks, simply patch it up with a little tape or switch to a new balloon.
Step 7: Let Them Cure
I recommend letting your bounce balls cure for at least 24 hours. Place them in a well-ventilated area away from direct sunlight. This drying period is crucial—it gives the balls their bounce.
Step 8: Enjoy Your Creation!
After they’ve cured, it’s time to turn off the lights and watch the magic happen! These glowing balls will light up your space beautifully.
—
Alternative Methods & Creative Variations
If you want to switch things up, consider using glitter in your ball mixture to add a sparkle effect. You can also experiment with scented options—for that added sensory appeal, just stir in a few drops of essential oils into your mix.
Final Touches and Tips
- Safety Warning: Make sure all your materials are kid-friendly and non-toxic; this is especially essential if little hands will be playing with your creation.
- Creative Play: Try making themed bounce balls for celebrations—red and green for holidays, or your favorite sports team colors!
—
Personal Anecdote
I still remember the first time I made these bounce balls with my kids. They were so enchanted by the glowing effect that we ended up making a part of our summer evening tradition. Watching their faces light up as the balls glowed was priceless.
—
So there you have it! Crafting your own Swirl Glowing Bounce Balls is not only a fun project but also a fantastic chance to bond with family or friends. I hope this guide invigorates your crafting spirit and sparks your own creativity. Happy crafting, and may your bounce balls glow bright!