How to Make Your Own Glowing Bounce Ball: A Fun DIY Project
Welcome, fellow crafters! Today, I’m thrilled to share with you an exhilarating project that combines science, creativity, and endless fun: making your very own glowing bounce ball. This hands-on craft has become increasingly popular, not just among kids but also with adults who love to unleash their inner child. Whether it’s for a backyard game, a cozy indoor activity, or simply to impress friends with your DIY skills, glowing bounce balls are a colorful addition to any craft repertoire.
Why Glowing Bounce Balls?
Glowing bounce balls are fantastic because they aren’t just visually captivating; they also offer hours of entertainment. Imagine tossing a ball that lights up in vibrant colors as it bounces across your yard during a summer evening or providing a unique party favor that everyone will talk about. They are a great way to practice your crafting skills while also giving you a chance to explore the wonders of polymers and luminescence.
Materials You’ll Need
Before we dive into the crafting process, let's gather all the materials needed. Fortunately, most are commonly found around the house or easily sourced from a local craft store:
- 1 tablespoon of corn starch – Key for creating the consistency of the ball.
- 1 tablespoon of white school glue – This will bind everything together.
- 1 tablespoon of water – Helps to mix the ingredients smoothly.
- 1 tablespoon of borax – This is the secret ingredient that allows the ball to hold its shape and bounce.
- Glow-in-the-dark paint or powder – To give your ball its glowing properties. You can find this at craft stores or online.
- Food coloring (optional) – For a colorful bounce ball.
- Mixing bowl – To combine all your ingredients.
- Two separate cups – For the borax and glue mixtures.
- A spoon or stick – For stirring.
- Plastic gloves – Optional, but keep your hands clean as the glue can be sticky.
Safety First!
While none of the materials are toxic, it's always a good idea to work in a well-ventilated area. If you’re crafting with children, ensure they understand not to taste or touch the ingredients too much, as some might irritate sensitive skin.
Step-by-Step Tutorial: Making Your Glowing Bounce Ball
Now, let’s get started! I’ll guide you through each step with clear instructions and tips on what to watch out for.
Step 1: Prepare the Borax Solution
Begin by preparing your borax solution. In one of the cups, mix one tablespoon of borax with 1/2 cup of warm water, stirring until the borax dissolves completely. The warm water helps the borax dissolve better, leading to a smoother bounce ball.
Tip: If the borax isn’t fully dissolved, the ball can end up lumpy or lose its bounciness.
Step 2: Combine Glue Mixture
In your mixing bowl, add your school glue, then pour in the tablespoon of water and mix thoroughly. This glue mixture is the base of your ball. It is essential that it’s well-mixed so that the bonding is uniform when it reacts with the borax solution.
Insight: You can add a few drops of food coloring here for an extra pop of color! However, use sparingly; you want a vibrant look without losing the glow effect.
Step 3: Incorporate the Glow-in-the-Dark Ingredient
Next, fold in your glow-in-the-dark paint or powder into the glue mixture. Use about one tablespoon or adjust based on how vibrant you want the glow to be. Be sure to combine it well; you want the glow to be evenly distributed throughout the ball.
What to Watch For: If you find the glue mixture too thick after adding the glow ingredient, add a tiny bit more water to achieve a smoother consistency.
Step 4: Combine Borax Solution and Glue Mixture
Now comes the exciting part! Slowly pour the borax solution into the glue mixture while stirring continuously. The reaction will happen rapidly, and you’ll start to see the mixture clump together. It may look messy at first, but don’t worry; this is part of the process.
Tip: Don’t rush this step. Stir until you have a consistently combined ball of gooeyness.
Step 5: Form the Bounce Ball
Once you see that the mixture has clumped into a solid mass, switch to using your hands (wear gloves if preferred) to knead the mixture gently. During this stage, you may find that the ball feels sticky; that’s normal! Keep kneading until it firms up into a smooth, somewhat pliable ball.
Troubleshooting: If your ball is too sticky, it might be helpful to add a pinch more borax in small amounts to firm it up. Alternatively, if it’s too hard, add a tiny splash of water to bring it back to a more manageable consistency.
Step 6: Let It Rest
After kneading the ball, set it aside for about 10-15 minutes. Allowing it to rest helps improve its structure and bounciness by letting the ingredients fully bond.
Step 7: Test It Out
Now comes the fun part! It’s time to test your glowing bounce ball. Take it outside in a dimly lit area or a dark room to see it glow brilliantly. Toss it to yourself or friends and marvel at the bounce!
Creative Variations
Feeling experimental? Here are some variations to take your bouncing balls to the next level:
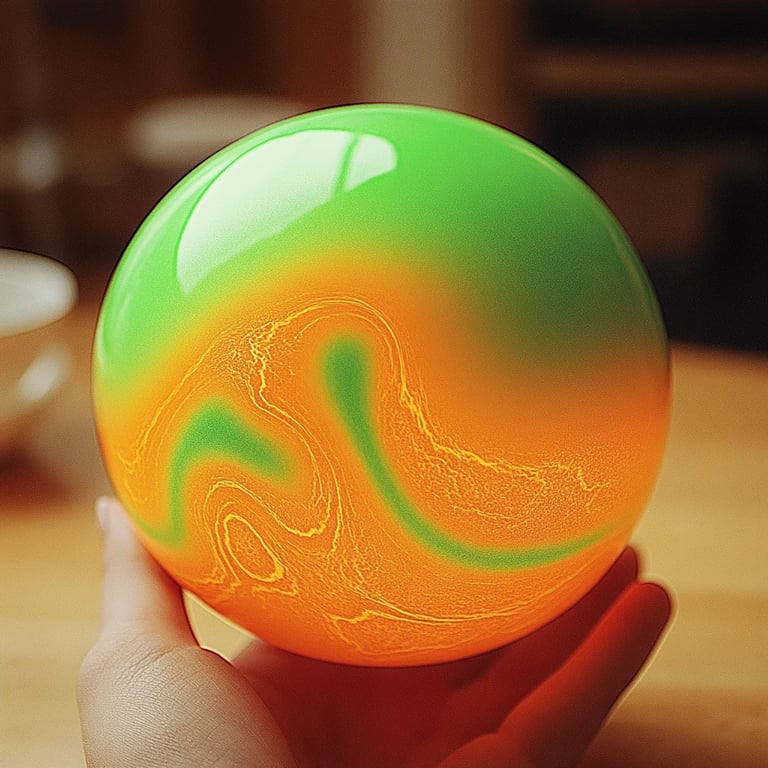
- Marble Effect: Instead of mixing in your glow-in-the-dark paint, create marble-like effects by adding swirls of different colors to your glue mixture. This adds a unique touch to each ball!
- Scented Bounce Balls: Add a few drops of essential oils (like lemon or lavender) to the glue mixture for a fragrant bounce ball.
- Different Sizes: Use larger amounts to create giant glowing bounce balls, or use smaller amounts for mini ones that are perfect for group play.
Final Thoughts
In crafting this glowing bounce ball, not only have I shared a fun project that’s simple and accessible, but I’ve also shared the joy of creating something with your own hands. There’s nothing quite like the satisfaction of crafting, and I hope this guide inspires you to explore your creative side!
If you run into any issues or have any questions during your crafting journey, don’t hesitate to reach out. Happy crafting, and may your new glowing bounce balls bring you joy and delight! Enjoy the colorful, bouncy fun!