How to Make Your Own DIY Pink Salt Air Purifier Lamp: A Comprehensive Guide
Welcome to my DIY crafting space! Today, I'm excited to share one of my favorite projects that not only beautifies my home but also purifies the air around me—the DIY Pink Salt Air Purifier Lamp. If you've ever walked into a room with a salt lamp, you might have marveled at its warm, inviting glow and the soothing atmosphere it creates. I’ve fallen in love with the calming effects of these lamps, and I've even grown to appreciate their purported health benefits, such as improving air quality and reducing allergens. So, grab your crafting supplies, and let’s dive into creating this enchanting lamp together!
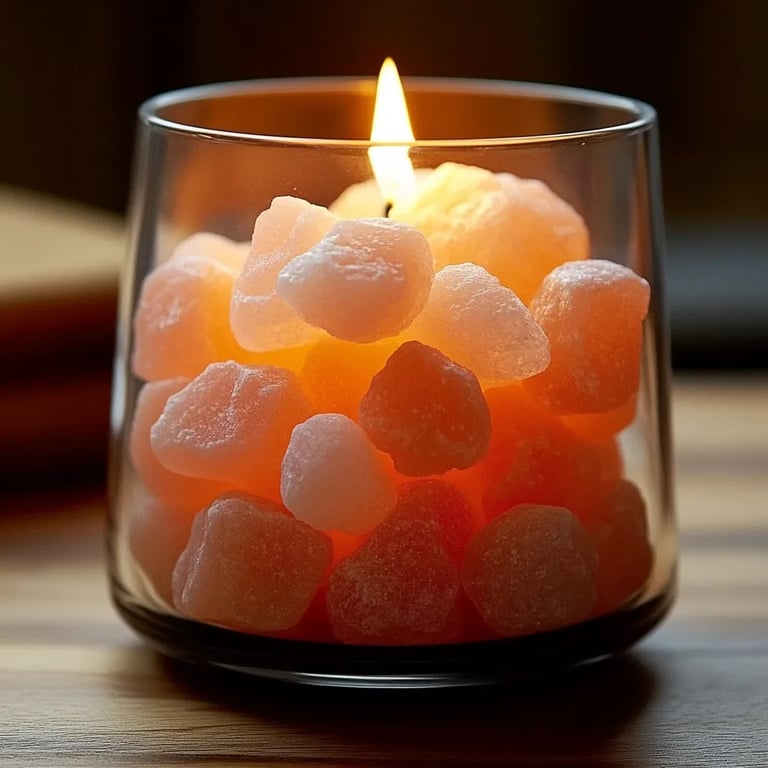
What Is a Pink Salt Lamp?
A pink salt lamp is made from Himalayan salt crystals, which are known for their beautiful pink hues and supposed air-purifying qualities. When illuminated by a light bulb, these lamps emit negative ions that can help neutralize airborne pollutants, creating a serene and calming environment. I often find myself lighting my lamp during meditation or while enjoying a good book. It transforms any space into a cozy sanctuary.
Why Are Pink Salt Lamps So Popular?
The popularity of pink salt lamps has surged in recent years due to their aesthetic appeal and the increasing interest in natural health remedies. Many people swear by the benefits of negative ions, claiming they help alleviate symptoms of allergies, asthma, and stress, although scientific research is still ongoing. Regardless, I’ve found that merely having one brighten my space gives it a peaceful ambiance. Plus, making one at home allows for personalization in design and size.
Materials You’ll Need
Before we jump into the tutorial, let’s gather our materials. Luckily, making a pink salt lamp is straightforward, and you likely have most of these items at home.
Core Materials
- 1 large Himalayan pink salt block (you can find these in health food stores or online)
- 1 LED light bulb (preferably warm white for that soft glow)
- A lamp holder (can be purchased or repurposed from an old lamp)
- A sturdy base (wood, slate, or even thick cardboard can work)
- Wire (optional, for a more polished finish)
Additional Tools
- Drill (with a bit suitable for the salt block)
- Sandpaper (for smoothing the edges)
- A small chisel or sturdy knife (for shaping the salt)
- Safety goggles (to protect your eyes)
Step-by-Step Tutorial
Step 1: Choose and Prepare Your Salt Block
The first step is to find a suitable Himalayan pink salt block. When you’re at the store or browsing online, look for a piece that is solid, free from cracks, and has vibrant color variations.
Why It Matters: A good quality salt block not only looks stunning but ensures durability. If you choose a block with cracks, it may break during drilling.
Tip: Wash the salt block gently with a damp cloth to remove dust or debris. Allow it to dry completely before proceeding.
Step 2: Shape Your Salt Block
Depending on your design preference, you might want to shape the salt block. You can opt for a minimalist rectangular lamp or a more sculptural organic shape. Using a small chisel or a sturdy knife, carefully carve away at the edges.
What Could Go Wrong: Don’t rush this step. Salt is brittle, and applying too much pressure can lead to cracks.
Solution: If a crack forms, you can use a bit of food-safe glue to mend it as long as it doesn’t affect the structural integrity too much.
Step 3: Drill the Base
Now, it’s time to make space for the lamp holder. Using a drill with a suitable bit, carefully create a hole in the bottom of your salt block. This hole should fit your lamp holder snugly.
Safety Warning: Be sure to wear safety goggles to protect your eyes from salt shards while drilling.
Step 4: Attach the Lamp Holder
Once your hole is drilled, insert the lamp holder into the opening. If necessary, use a bit of salt glue or epoxy resin to secure it in place.
Why It Matters: A securely held lamp holder prevents any wobbling or tipping, which could lead to breakage or fire hazards.
Step 5: Insert the LED Bulb
Select an LED light bulb and screw it into the lamp holder. It’s advisable to use an LED bulb since they produce less heat, which helps in prolonging the life of your salt block.
Personal Anecdote: I once used an incandescent bulb, which made the lamp too hot and caused the salt to sweat. Ever since switching to LED, I haven’t had that issue!
Step 6: Choose a Base
To stabilize your lamp, attach it to a sturdy base. You can use wood, slate, or even create a simple base from thick cardboard. Ensure that the base is lower than the salt block, allowing it to stand naturally.
Step 7: Sand and Polish (Optional)
If you want your lamp to have a polished and refined look, use sandpaper to smooth out sharp edges. This step is optional but adds a nice finish.
Step 8: Final Assembly
Once everything is assembled and you’re happy with the look, plug in your lamp and switch it on. Enjoy the soft glow that fills your room!
Creative Variations
If you're feeling adventurous, here are a few creative variations to customize your lamp:
- Colorful Mica Powder: Mix in a bit of mica powder to add color to the salt block for a unique look.
- Mixed Material Base: Incorporate stones or crystals around the base for added aesthetics and grounding energy.
- Dimmer Switch: Adding a dimmer switch allows you to control the brightness based on your mood.
Common Problems and How to Fix Them
- Sweating Salt: If your salt lamp sweats (moisture appears on the surface), it’s likely due to being in a humid environment. Ensure proper ventilation or switch to an LED bulb.
- Loose Lamp Holder: If the lamp holder feels unstable, reinforce it with more epoxy resin or move to a larger lamp holder.
Conclusion
Making your own DIY Pink Salt Air Purifier Lamp is not only an enjoyable project but a perfect way to enhance the ambiance of your home sustainably. With a little love and care, you’ll create something that is both practical and beautiful. I hope this guide has inspired you to try this DIY project, and I can’t wait to hear about your own creations! Remember, crafting is all about expressing yourself—so let your creativity flow and happy crafting!