How to Make Your Own DIY Lava Lamp: A Fun, Creative Adventure!
As an avid DIY enthusiast with a passion for all things crafty, there's something incredibly captivating about a lava lamp. When I think of those iconic illuminated blobs of colored wax slowly rising and falling, it brings back memories of lazy afternoons spent in my room, watching the mesmerizing dance of the “lava.” It’s a nostalgic object that can instantly transform the atmosphere of any space. Whether you’re looking to create a cozy ambiance for a movie night, a quirky addition to a party, or just a fun project to ignite your creativity, making a DIY lava lamp is an enjoyable and satisfying endeavor.
In this detailed guide, I’ll take you through the step-by-step process of crafting your very own lava lamp using simple, accessible materials. You’ll not only learn how to bring a little sparkle into your life but also understand the science behind this fascinating phenomenon. Ready to dive into the world of DIY lava lamps? Let's get started!
Why DIY Lava Lamps Are Popular
Lava lamps have been a staple of pop culture since the 1960s. Their groovy, swirling movements can add a unique character to any room. But beyond the aesthetics, these lamps can be both a conversation starter and a source of relaxation—perfect for setting the mood for gatherings or enjoying some quiet time.
Using a DIY process to create your own lava lamp allows you to personalize it according to your color preferences or even the design of your room. Plus, it’s a fantastic opportunity for parents and kids to spend quality time together, fostering creativity and science education. Plus, who doesn’t love creating something that looks totally store-bought but with a personal touch?
Materials You Will Need
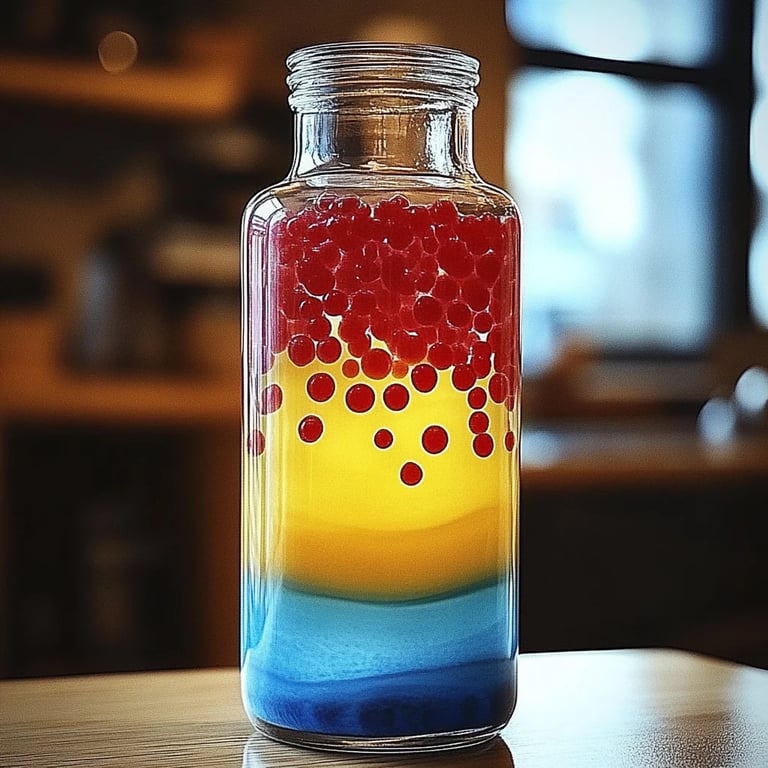
- Clear plastic bottle or glass jar: This will be the body of your lava lamp.
- Vegetable oil: This serves as your ‘lava.’ I recommend using regular canola or vegetable oil.
- Water: This acts as the base liquid and helps to create the reaction.
- Food coloring: Choose your favorite colors, or mix them for more unique shades!
- Alka-Seltzer or a similar effervescent tablet: This is the secret ingredient that creates the bubbling effect.
- Flashlight or lamp: To illuminate your creation!
- Optional: Glitter, small beads, or decorative stones for added effects.
Step-by-Step Tutorial
Step 1: Preparing the Bottle
- Clean and Dry the Bottle: Start with a clean, dry plastic bottle or glass jar. The clarity of the container is vital for visibility, so wash it thoroughly and ensure there’s no residue.
Tip: If you’re using a label on your bottle, remove it completely for a smooth look, or see if it’s removable with warm water.
Step 2: Adding the Water
- Fill the Bottle: Pour in about one quarter of the bottle with water. The amount isn’t exact – just ensure there’s enough space left for the oil.
Why This Matters: The water is denser and will remain at the bottom, while the oil will float on top. Here lies the foundation of your lava lamp!
Step 3: Mixing in the Oil
- Add the Oil: Carefully pour vegetable oil into the bottle until it’s nearly full, leaving some space at the top. Watch as the oil separates from the water and forms a distinct layer.
What Could Go Wrong: Sometimes, bubbles may form when pouring the oil. If they do, simply let it settle, and the layers will eventually separate.
Step 4: Coloring the Water
- Add Color: Now for the fun part! Drop in several drops of food coloring. The color will sink through the oil, creating a stunning visual contrast.
Anecdote: One time, I tried mixing blue and yellow food coloring, resulting in a mesmerizing green hue that reminded me of the ocean!
Step 5: The Lava Reaction
- Creating the Lava Effect: Break an Alka-Seltzer tablet into quarters and drop one piece into the bottle. Watch in amazement as the reaction begins, and the colorful blobs start to rise and fall!
Why Alka-Seltzer? The fizzy reaction produces carbon dioxide gas, creating those lovely bubbles.
What Could Go Wrong: If the motion is sluggish, ensure you have enough water. Also, if the reaction stops, wait for a few moments—the next piece of Alka-Seltzer always provides a fresh fizz!
Step 6: Lighting Up Your Lamp
- Add Illumination: For an added effect, you can place a flashlight under the bottle or put it on a lamp to enhance the glow. The light will illuminate the wax blobs, showcasing their beauty.
Step 7: Enjoy and Experiment!
- Sit Back and Enjoy: Your DIY lava lamp is now complete! This is the perfect moment to share it with family or friends. Afterward, feel free to experiment with different colors or other ingredients like glitter for extra sparkle!
Safety Precautions
- When handling sharp objects, like scissors or knives while cutting the Alka-Seltzer, be cautious.
- If using a glass jar, be extra careful to prevent breakage.
- Ensure that all materials are labeled as safe and appropriate for your intended use, particularly if children are involved in the crafting process.
Creative Variations
- Fizzy Fun with Essential Oils: If you're feeling adventurous, you can add a few drops of essential oils to your water for an aromatic experience as well.
- Seasonal Colors: Change your food coloring based on holidays or seasons—orange for Halloween, red and green for Christmas, etc.
- Glow in the Dark: Use glow-in-the-dark paint or powder to make your lamp emit a gentle light after dark.
Conclusion
Creating your very own DIY lava lamp is not just a fun project; it's an exploration of creativity and science. With just a few simple steps and ingredients, you can craft a cool, mesmerizing piece of decor that captivates the imagination. Whether for personal use, gifts, or family projects, I hope this guide has inspired you to get started on your lava lamp creation.
Remember, the most important part of crafting is to enjoy the process. Each step is a journey, bringing new learning opportunities and unforgettable moments. Happy crafting!