How to Make Watermelon Slice Suncatchers: A Step-by-Step Guide
Hello fellow crafters! Today, I am excited to share one of my favorite DIY projects—Watermelon Slice Suncatchers. These cheerful, colorful creations not only brighten up your windows but also add a playful touch to your garden or home décor. I've fallen in love with making these delightful suncatchers because they are simple, engaging, and perfect for all ages.
Whether you're planning a summer party, looking for a fun craft to do with kids, or simply want to add a splash of color to your living space, watermelon slice suncatchers are a fantastic option. In this post, I'll guide you through the entire process step by step, sharing tips and insights along the way. Let’s get crafting!
Why Watermelon Slice Suncatchers?
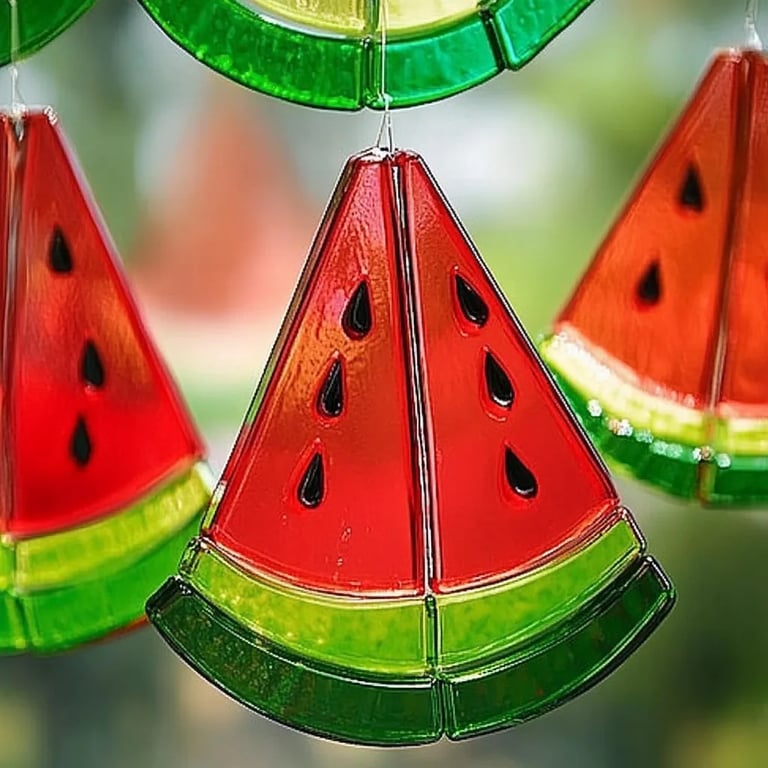
Watermelon slice suncatchers are seasonally inspired art that mimics the vibrant colors of summer’s favorite fruit. Ideal for light refraction, they create a beautiful kaleidoscope effect when the sun shines through them, casting playful shadows around the room. They are popular among crafters for their affordability, versatility, and fun resemblance to fruit—perfect for adding a whimsical touch to home décor!
From birthdays to pool parties, these suncatchers can effortlessly enhance any summer get-together. Plus, they make great gifts! Let’s roll up our sleeves and get started on making your own little piece of summer joy.
Materials Needed
Before diving into the fun, let’s gather our materials. Here’s what you’ll need:
- Clear Plastic Lid or Transparent Sheets: This will be the base of your suncatcher.
- Acrylic Paints: Choose vibrant colors like green, pink, and red for the watermelon slices.
- Black Beads or Buttons: These will act as the watermelon seeds. You could also use painted-on seeds if you’d like.
- Paintbrush: A small paintbrush works well for detail work.
- Scissors: For cutting the plastic lid or sheet into the desired shape.
- Pencil or Marker: To sketch your design on the plastic sheet.
- Tracing Paper (optional): For creating your watermelon slice template.
- Mod Podge or Clear Acrylic Sealer (optional): For sealing the paint if desired.
Step-by-Step Instructions
Step 1: Design Your Watermelon Slice
The first step to crafting your suncatcher is to sketch out your design. Using your pencil or marker, outline a watermelon slice shape on the plastic lid or transparent sheet. You can either freehand it or use tracing paper for a more uniform look.
Tip: A typical watermelon slice shape resembles a crescent or triangle with a rounded top. This design not only captures the fruit’s iconic look but also maximizes sunlight capture.
Step 2: Cutting Out the Shape
Once your design is complete, carefully cut it out. Take your time with this step to ensure clean edges. If you’re crafting with little ones, be sure to use safety scissors and supervise closely.
Common Mistake: Rushing this step can lead to uneven edges and a less polished final product. Slow and steady wins the race!
Step 3: Paint the Base Colors
Now comes the fun part—painting! Start with the outer rind of the watermelon. Use a vibrant green acrylic paint and a medium-sized paintbrush. Make sure to cover the edges well, as you want the suncatcher to look stunning from any angle.
Next, move to the inner part of the slice. A lively pink or red color works perfectly here. Apply a couple of coats for a bolder finish, ensuring the paint dries completely between layers.
Tip: Use a lighter shade for the rind’s inner section to emulate the natural gradient of a watermelon.
Step 4: Add the Seeds
Once the paint is dry and the colors are vibrant, it’s time to add the seeds. You can use black beads or buttons to create a realistic effect. Simply glue them directly onto the moist paint or attach them later if you're using a completely dried painted surface.
Alternative Method: If you prefer, you can also paint on seeds using black paint. Just use a fine-tipped brush and apply them strategically across your pink surface.
Step 5: Seal the Suncatcher
If you want to protect your colors and enhance the longevity of your suncatcher, consider sealing it with Mod Podge or a clear acrylic sealer. This step is optional, but I find it’s worthwhile for outdoor displays.
Step 6: Prepare for Hanging
To finish up, create a small hole at the top of the suncatcher using a hole punch (if using plastic) or a craft knife (supervised, if necessary). Thread through a piece of fishing line or string, and your suncatcher is ready to hang.
Tips and Warnings
- Safety First: Be careful while using scissors and crafting knives. Always supervise young crafters.
- Weather Consideration: While these suncatchers are adorable, prolonged exposure to direct sunlight may fade them over time. If you notice colors fading, a touch-up paint job can quickly revive their vibrancy.
- Drying Time: Allow ample drying time between each step, especially if using multiple paint coats. It may be tempting to rush, but the results are worth the wait.
Creative Variations
Feeling adventurous? Try these alternate ideas:
- Layered Designs: Instead of one flat piece, try layering different colors of plastic to add depth.
- Mixed Fruits: Why stop at watermelon? Create a whole fruit salad of suncatchers including lemon, lime, and orange slices!
- Use Glitter: For an extra sparkle, add some non-toxic glitter to the paint before it dries.
My Personal Experience
I began creating watermelon suncatchers as a simple summer project with my niece. The joy she found in mixing colors and discovering the magic of light shining through our creations was infectious, and it reignited my own crafting passion. Every time I see those bright slices hanging in the sunlight, it brings back those warm summer memories.
Conclusion
Creating watermelon slice suncatchers is a delightful and rewarding craft that can easily brighten any day. This engaging project fuels creativity and creates something beautiful and functional for your home. Whether you make one for yourself or gift them to friends, these suncatchers are sure to bring a smile.
So gather your materials, invite a friend or family member, and let’s get started! Happy crafting!