How to Make Valentine's Day Borax Slime: A Fun and Creative Crafting Experience
Hello, fellow crafters! As Valentine’s Day approaches, I find myself filled with excitement—not just for the love in the air, but for the chance to create something truly special that embodies the spirit of this heartfelt holiday. Today, I want to share an enchanting project that has captivated both kids and adults alike: Valentine’s Day Borax Slime. This delightful creation is not only a fun sensory experience but also a fantastic way to express your creativity, making it perfect for parties, gifts, or a simple afternoon of crafting.
What is Borax Slime?
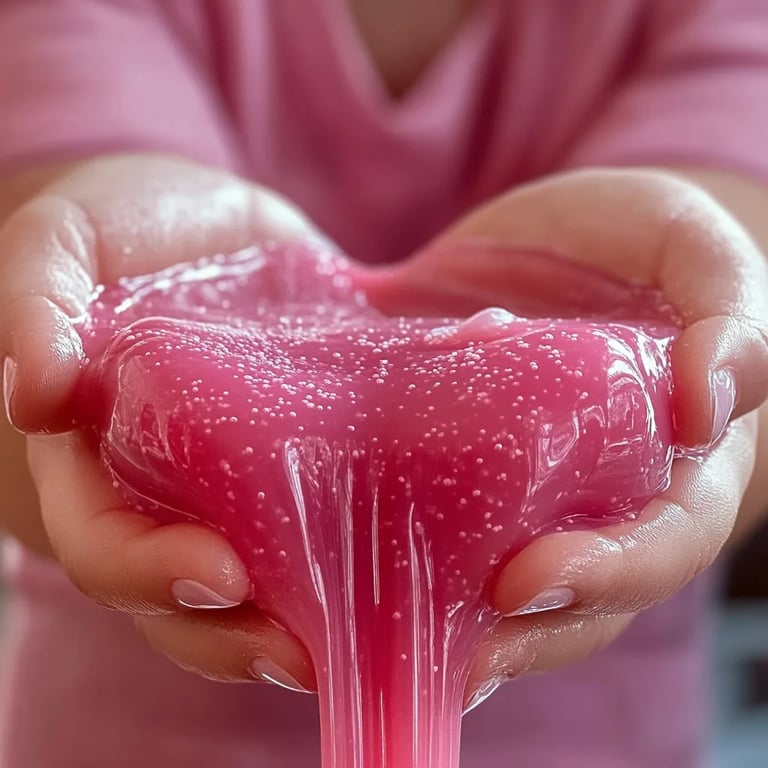
For those of you who might be unfamiliar with it, Borax slime is a stretchy, gooey substance made from a few basic ingredients: glue, water, food coloring, and Borax. It has gained immense popularity for its easy-to-follow recipe, customizable colors, and satisfying texture. The best part? You can take it a step further and add a Valentine’s Day twist, incorporating shades of pinks, reds, and even glitter, making it a charming gift for friends, family, or that special someone.
When Can You Use It?
This Valentine’s Day Borax slime is versatile! You can use it for Valentine’s Day celebrations, gift it in jars decorated with cute labels, or even use it as an engaging activity for kids at parties. Slime not only serves as a fantastic stress reliever but also as a creative and playful way to engage with loved ones.
—
The Ultimate Valentine's Day Borax Slime Recipe
What You’ll Need
Materials:
- White school glue (PVA glue): 1 cup
- Water: 1 cup (split into two halves)
- Borax powder: 1 teaspoon
- Food coloring: Red, pink, or any color you choose
- Glitter (optional): For extra sparkle!
- Mixing tools: A bowl, a spoon, and measuring cups
- A storage container: To keep your slime fresh
Step-by-Step Tutorial
Step 1: Prepare the Borax Solution
- Mix Borax and Water: In a separate bowl, add 1 cup of warm water and dissolve 1 teaspoon of Borax powder.
- Why This Step Matters: The Borax acts as a thickening agent when mixed with the glue, turning it from a liquid into that desirable slime texture. Make sure to stir until the Borax is fully dissolved; this is essential to ensure a smooth consistency in your final product.
- What Could Go Wrong: If the Borax isn’t fully mixed, chunks may form in your slime. If this happens, simply add more warm water and stir until dissolved.
Step 2: Create the Glue Mixture
- Combine Glue and Water: In a large bowl, mix 1 cup of white glue with 1 cup of water. Stir slowly until they are well combined.
- Why This Step Matters: Diluting the glue makes it easier to mix with the Borax solution, allowing for an even texture without clumps or lumps.
- Tip: You can also experiment with different types of glue, such as clear glue, for a transparent effect, or even colored glue for a stronger hue.
Step 3: Add Color and Glitter
- Color Your Slime: Add in drops of your desired food coloring and optional glitter to the glue-water mixture. I usually start with just a few drops; you can always add more!
- Why This Step Matters: This is where you can let your creativity shine! The more food coloring you add, the deeper the color. Glitter can add a touch of magic to your slime, making it sparkle like a heart full of love.
- What Could Go Wrong: Be cautious not to overdo it on the food coloring; too much can make the slime difficult to mix and can stain your hands or surfaces. If you do end up with a mess, rubbing alcohol or soap and water will help clean up.
Step 4: Combine the Two Mixtures
- Mix It All Together: Gradually add the Borax solution to the glue mixture while stirring continuously. You’ll soon see the slime start to form!
- Why This Step Matters: This gradual addition allows for better incorporation of the Borax, which will help the slime form evenly without becoming overly stretchy or gummy.
- What Could Go Wrong: If your slime is too sticky, it may not have enough Borax solution mixed in. Just add a bit more Borax solution, one teaspoon at a time, until it reaches the right consistency.
Step 5: Knead the Slime
- Knead the Slime: Once the slime has formed, take it out of the bowl and knead it with your hands for a minute or two.
- Why This Step Matters: Kneading helps smooth out the texture, making it more pliable and easier to handle. If it feels too wet or sticky, continue to knead it.
—
Personal Anecdotes and Tips
This process is filled with opportunities for creativity. One Valentine’s Day, my niece and I decided to make slime for all her classmates. We added heart-shaped confetti to each batch and packaged it in tiny jars tied with ribbons. The smile on her face when gifting them was absolutely priceless.
As a tip, if you want to store your slime in a more creative way, you can use cute glass jars adorned with valentine stickers, or even mix in heart-shaped beads for an extra festive touch!
Safety Warnings
While crafting slime can be a blast, remember to handle Borax with care. Always supervise young children during the process and ensure they wash their hands thoroughly after play. Avoid ingesting any of the materials.
Alternatives and Variations
If you're looking for alternatives to Borax, you can use contact lens solution combined with baking soda. This method requires a different ratio, so be sure to research carefully if you decide to go that route.
Additionally, for an even more whimsical take, consider adding essential oils for a lovely scent or mixing in small plastic hearts or other fun objects.
—
Conclusion
Making Valentine’s Day Borax slime is more than just a craft—it’s an experience brimming with creativity, joy, and the spirit of love. I hope you find this guide helpful and that you feel empowered to create your own slime masterpiece this Valentine’s Day. Whether you’re crafting solo or with loved ones, may your slime be slippery and your hearts be full! Happy crafting!