How to Make Unicorn Crunchy Slime: A Step-by-Step Guide from an Experienced Crafter
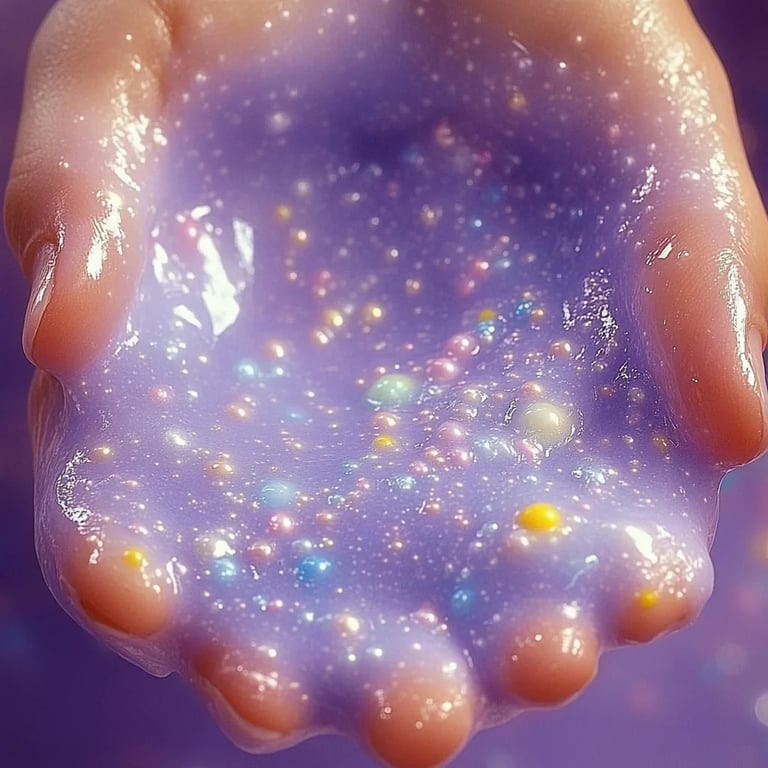
Hello, aspiring crafters! Today, I’m excited to take you on a whimsical journey into the world of Unicorn Crunchy Slime. This colorful, textured slime is not just a treat for the eyes; it's a sensory delight that combines the satisfying squishiness of traditional slime with an exciting crunch factor. Unicorn Crunchy Slime has gained immense popularity among kids and adults alike for its vibrant colors and fun, tactile experience. Whether you’re looking to brighten up a rainy day, throw a fun-themed party, or simply indulge in some soothing sensory play, this slime is perfect for you!
So grab your crafting supplies and let’s dive into the magical world of making Unicorn Crunchy Slime. I promise you’ll love it just as much as I do!
What You'll Need
Before we get started, let’s gather our supplies. I prefer to use simple, accessible materials that you can find at most craft stores or online. Here’s what you’ll need:
Ingredients:
- White School Glue (1 cup): The base for our slime.
- Liquid Starch or Contact Lens Solution (1/2 cup): This will help us activate the slime.
- Baking soda (1/2 teaspoon): This will give the slime some stretch and help it hold its shape.
- Food Coloring (various colors): I recommend using a mix of pastel colors to get that enchanting unicorn effect.
- PVA Foam Beads (1 cup): These will create the desired crunchy texture.
- Optional Glitter: Because what’s unicorn-themed without a little sparkle?
Tools:
- Mixing Bowl: To combine all the ingredients.
- Mixing Spoon: For stirring your mix.
- Measuring Cups and Spoons: Ensure accuracy for the best slime.
- Plastic Container: To store your slime once it’s complete.
Step-by-Step Tutorial
Step 1: Prepare Your Base
First things first! In your mixing bowl, pour in 1 cup of white school glue. This will serve as the foundation of your slime. I love using white glue because it results in the clearest and most colorful slime.
Step 2: Add Baking Soda
Next, sprinkle in 1/2 teaspoon of baking soda and stir until it’s well mixed in. The baking soda is crucial here—it thickens the mixture slightly and adds that signature stretchiness to the slime. If you skip this step, your slime might end up being too sticky.
Step 3: Introduce the Color
Now, it’s time to add some magic! Add a few drops of food coloring of your choice. Feel free to experiment with mixing colors to find your favorite unicorn palette. I often alternate between soft pinks, blues, lavenders, and a sprinkle of glitter. Mix until you achieve a uniform color, but remember that the colors will lighten slightly once we add the activator.
Step 4: Activate the Slime
Here comes the fun part! Gradually add 1/2 cup of liquid starch (or contact lens solution) to the bowl. Stir quickly as you pour it in. This is where we want to pay attention: too much activator can make your slime too rubbery, and not enough can leave it overly sticky. If the slime is still sticking to your hands or the bowl after mixing, continue adding a bit of starch or solution until it reaches the right consistency (not too sticky, not too stiff).
Step 5: Adding Crunchy Texture
Once your slime has formed, add in 1 cup of PVA foam beads. Fold them gently into the slime using your hands. This adds the unique crunchy texture that makes Unicorn Crunchy Slime so enjoyable. Make sure to spread them evenly throughout the mixture so every stretch and pull of the slime gives you that wonderful crunch!
Step 6: Store Your Slime
Finally, your Unicorn Crunchy Slime is ready to be stored! Use an airtight plastic container to keep it fresh. Although I typically don’t have any slime last more than a few days with my kids, it’s important to note that homemade slime generally keeps for about a week if stored properly.
Troubleshooting and Tips
Even experienced crafters encounter a few hiccups now and then. Here are some common problems and their solutions:
- Too Sticky: If your slime is sticking to your hands and isn’t stretchy, it likely needs more activator. Add a few drops of liquid starch or solution gradually until the texture adjusts.
- Too Stretchy: If your slime feels more like a rubber band than a gooey delight, you may have added too much activator. Try adding a little more glue to balance out the texture.
- Foam Beads Spill Out: If your foam beads start to pop out while playing, that’s a sign you may need to gently knead the slime a bit longer, ensuring all the beads are well contained.
Safety Warnings
Always make sure that children are supervised during the crafting process, especially when it comes to handling glue and activators. Although these materials are generally safe, it’s best practice to avoid ingestion, and keep everything at the crafting table clean and tidy.
Creative Variations
Once you become familiar with the basic Unicorn Crunchy Slime recipe, you can start experimenting! Here are a few variations to get you started:
- Scented Slime: Add a few drops of essential oils like lavender or peppermint for a delightful sensory addition.
- Layered Slime: Create separate batches of different colors and layer them in your container for a stunning visual effect.
- Glow-in-the-Dark Slime: Incorporate glow powder or glow-in-the-dark paint for a fun nighttime surprise!
Final Thoughts
Crafting Unicorn Crunchy Slime is not just a fun activity; it’s a wonderful way to engage creativity and enhance sensory experiences. Whether you’re making it for yourself, for a party, or simply to share with family, I hope you find as much joy in this process as I do. The best part? It’s messy, colorful, and whimsically delightful—just like a unicorn!
So go ahead, find your inner crafting spirit, and whip up a batch of this magical slime. I encourage you to share your creations and variations with friends and family. Remember, the world is meant to be colorful and fun, just like our Unicorn Crunchy Slime! Enjoy crafting! 🦄✨