How to Make Treasure Rocks Fizzing Activity: A Step-By-Step Guide
Hello there, fellow crafting enthusiast! Today, I’m excitingly diving deep into one of my all-time favorite activities—making Treasure Rocks that fizz and pop, bringing joy and wonder to kids (and adults!) alike. This delightful fizzy activity has become surprisingly popular for various occasions, from birthday parties to educational lessons in chemistry. It’s not just a blast to make; it also provides an excellent opportunity for kids to learn about chemical reactions in a fun, engaging way. Ready? Let’s get started!
What Are Treasure Rocks?
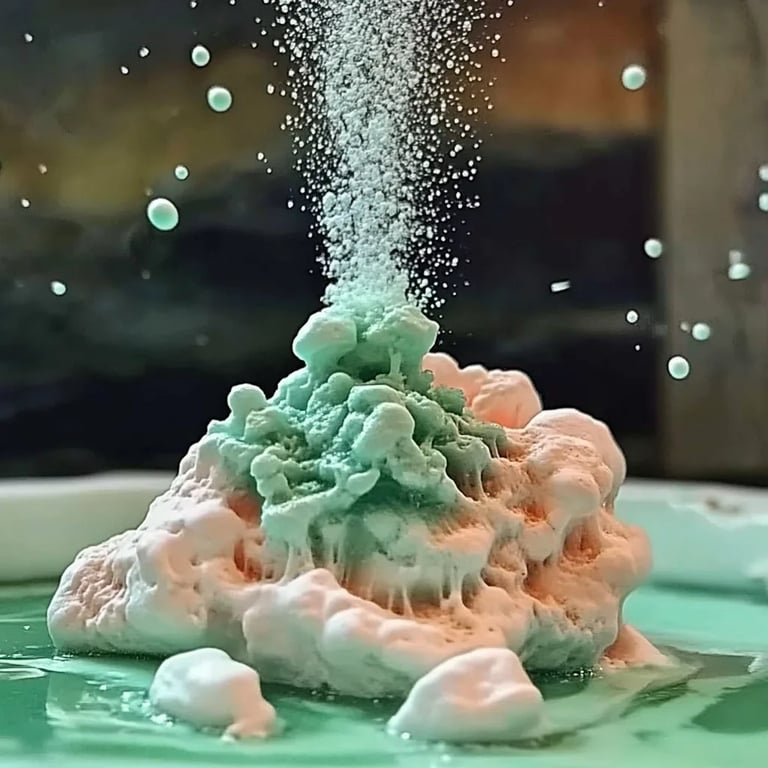
Treasure Rocks are essentially homemade fizzy creations that you can “wash away” with water, revealing hidden treasures—usually small toys, gems, or coins. When you pour water over these rocks, they react with the baking soda, creating a delightful fizzing effect. It’s a fantastic combination of crafting, science, and treasure hunting that kids go wild for!
Why Are They So Popular?
These fizzy rocks are loved for various reasons:
- Interactive Fun: Kids get to dig, discover, and enjoy a playful sensory experience.
- Educational Value: They introduce young learners to basic chemistry through safe, hands-on experimentation.
- Customizable: You can pick your treasures and colors, making the rocks suitable for any theme or occasion.
- Easy to Make: With just a few materials, almost anyone can create them.
When and How Can They Be Used?
You can share this activity anytime—whether to liven up a birthday party, entertain kids on a rainy afternoon, or even use it as an educational tool for a fun science project. The possibilities are endless! Now that I’ve piqued your interest, let’s delve into the detailed steps for crafting your own Treasure Rocks.
Materials You’ll Need
Before we dive into the step-by-step process, gather your materials. Most of these items should be readily available around the house or can be easily sourced:
- Baking soda (2 cups)
- White vinegar (1/2 cup, to be added later)
- Food coloring (optional, for a colorful twist)
- Water (1/2 cup)
- Plastic or small metal toys (e.g., coins, gems, tiny figures)
- Muffin tin or silicone mold (to shape your rocks)
- Bowl (to mix your ingredients)
- Spoon or spatula (for mixing)
- Parchment paper (for easy clean-up)
- Safety goggles (for precaution during the fizzing phase)
Step-by-Step Instructions
Step 1: Prepare Your Workspace
Before we jump into crafting, let’s start by organizing our workspace. Cover the surface with parchment paper to protect it from spills, and gather all materials within reach. Trust me, a tidy environment makes crafting so much more enjoyable!
Step 2: Mix Your Dry Ingredients
In a mixing bowl, combine 2 cups of baking soda. Why baking soda? Well, it’s the magic ingredient that creates the fizz reaction when combined with an acid (like white vinegar). Take your time to break up any clumps, ensuring a smooth mixture. This step is crucial; lumpy baking soda can result in uneven fizzing later on.
Tip: If clumping occurs, a sifter can work wonders to achieve a fine, even texture.
Step 3: Add Color (Optional)
Adding a few drops of food coloring can turn your Treasure Rocks into a rainbow of fun! Choose the colors that excite you or match the theme of your project. Stir the food coloring thoroughly into the baking soda mixture, ensuring that the color is evenly distributed. The activity will be even more delightful when the rocks dissolve into swirls of color.
Step 4: Prepare Your Treasure
Once your dry ingredients are mixed, it’s time to prepare the treasures! Place small toys or gems into each compartment of your muffin tin or silicone mold. Make sure they fit well within the space, leaving some room for the baking soda mixture to cover them.
Safety Warning: Ensure the toys are non-toxic and large enough to prevent any choking hazards for younger children.
Step 5: Mix the Wet Ingredients
In a separate bowl, combine 1/2 cup of water with 1/2 cup of white vinegar. This step is essential because adding vinegar activates the fizzing reaction later on. Carefully mix the two liquids and watch for any vigorous bubbling; that’s just the vinegar reacting with the air—no worries!
Step 6: Combine the Mixtures
Now comes the fun part. Slowly pour your wet mixture into the bowl with the baking soda. You’ll start seeing fizzing instantly! Use a spoon or spatula to stir everything together until the mix reaches a thick consistency similar to damp sand.
What Could Go Wrong? If you pour the liquid in too quickly, it may bubble over and create a mess. If this happens, simply add a bit more baking soda to absorb some liquid back into your mix.
Step 7: Pack the Mixture into Molds
Next, take your mixture and pack it firmly into the muffin tin or silicone molds. Use your fingers to press it tightly to ensure it holds its shape once dry—this is a critical step for ensuring your Treasure Rocks don’t crumble when you’re ready to reveal the treasure!
Step 8: Drying Time
Leave your Treasure Rocks to dry for at least 24 hours. The longer they dry, the better they’ll hold together. If you're in a humid environment, this could take a little longer. You could also place them in a warm, dry area or use a fan to speed up the drying process.
Tip: If you want to check if they’re ready, gently touch the surface of one with your finger. If it feels solid and not sticky, it’s good to go!
Step 9: The Big Reveal
Once they are completely dry, gently pop the Treasure Rocks out of the molds. Place them on a tray and prepare for the big reveal! In a separate bowl or container, pour a small amount of water over each rock and watch as it fizzes away to uncover the treasures inside.
Creative Variations: Consider adding essential oils for a pleasant scent, or glitters for a magical touch! You can also adapt the shape of your molds to fit holiday themes (like using stars for Thanksgiving or hearts for Valentine’s Day).
Troubleshooting Common Issues
- Rocks Crumbled: If your rocks fell apart when you removed them from molds, they might not have been packed tightly enough. Make sure to press firmly next time.
- Insufficient Fizz: If your rocks fizzed very little or not at all, check if you used fresh baking soda and vinegar. Old ingredients may lose their effervescence.
- Dull Colors: If the food coloring faded, consider using more vibrant food dyes or even natural colorings, like beet juice or turmeric.
Conclusion
Making Treasure Rocks Fizzing Activity is a thrilling and educational experience that brings a spark of joy to any gathering or quiet afternoon at home. It involves creativity, basic scientific principles, and a little bit of magic! Remember, the most important part of this activity is to have fun and enjoy the process. So, unleash your inner crafter, and let your imagination take over!
If you try this activity, please share your experience or any creative variations you come up with in the comments below. Happy crafting, and may your Treasure Rocks bring giggles and wonder to all!