How to Make Tea Bombs: A Complete Guide from an Experienced Crafter
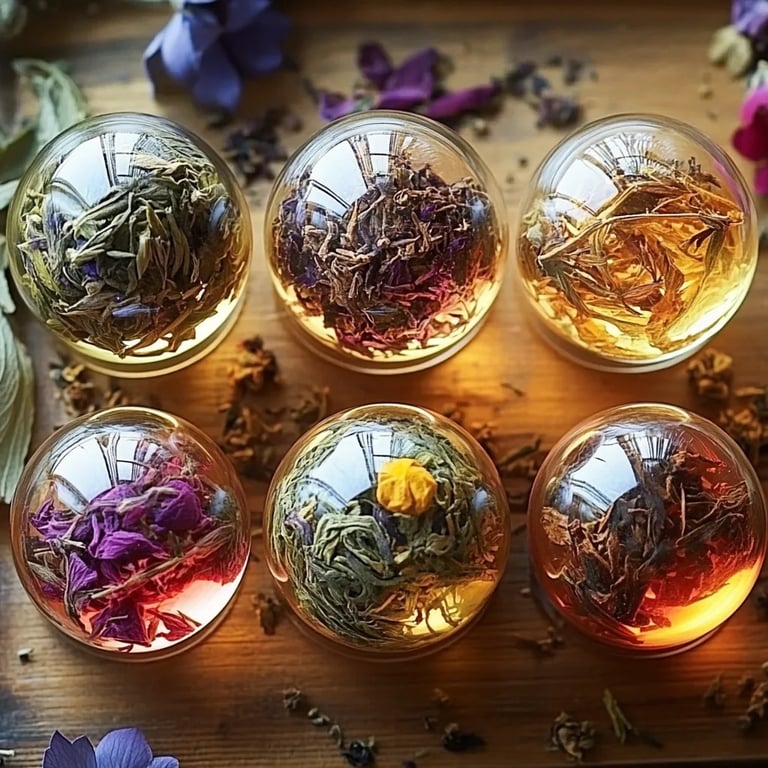
Hello, fellow crafters! Today, I'm excited to share one of my absolute favorite projects: making tea bombs. If you haven’t heard of them yet, tea bombs are delightful little spheres of flavor that dissolve in hot water, releasing a medley of tea and other delightful ingredients for a quick and comforting cup of tea. They’ve surged in popularity lately for their whimsical presentation and ease of use, not to mention how they make perfect gifts or a cozy treat for yourself.
Whether you’re planning a tea party, looking for a thoughtful gift for a friend, or just want a little bit of magic in your daily tea routine, these tea bombs are versatile and appealing. Plus, they’re a wonderful way to embrace your creative side while crafting something both beautiful and delicious. Let’s dive into the fun world of tea bombs!
What You Will Need
Before we get started, let’s prepare our crafting space with all the necessary materials. Here’s what you’ll need:
Essential Ingredients:
- 1 cup of dry tea (your choice: loose leaf, herbal, or flavored)
- 1 cup of citric acid (this helps with effervescence)
- 1 cup of baking soda (for binding)
- 1 cup of corn starch (adds structure)
- ½ cup of edible glitter or colorful sprinkles (to make your bombs pop)
- Essential oils (like lavender or peppermint) for added aroma (optional)
Equipment:
- Silicone molds (orb shapes work best)
- Mixing bowls
- Spoon or spatula
- A whisk (for mixing)
- A spray bottle with water
- Baking sheet (for drying)
- Airtight containers for storage
Step-by-Step Tutorial
Step 1: Combine the Dry Ingredients
In a large mixing bowl, combine the dry tea, citric acid, baking soda, and corn starch. Whisk them together until they're evenly mixed.
Why This Step Matters: Properly combining the dry ingredients is crucial for achieving that perfect blend of flavors — and for ensuring the effervescent reaction with the water when it’s time to enjoy your tea.
What Could Go Wrong? If you don’t mix thoroughly, some of your tea bombs might taste bland or not activate correctly.
Tip: Use a fine mesh strainer to sift the tea and dry ingredients for a smoother mixture, reducing any lumps.
Step 2: Add Essential Oils and Color
If you’d like to infuse your tea bombs with essential oils, choose a few drops that complement your tea's flavor. Add them to the dry mix and stir well. If you’re opting for color, add edible glitter or sprinkles at this stage.
Why This Matters: The essential oils enhance the aromatic experience, and the glitter not only creates visual appeal but can also add an interesting texture to your tea bomb.
Safety Warning: Ensure any essential oils you use are food safe!
Step 3: Moisten the Mixture
Take your spray bottle and lightly mist the mixture. This is the perfect time to channel your inner mixologist! You want to achieve a consistency similar to damp sand that holds together when pressed.
Why This Step Matters: Proper moisture helps the mixture bind effectively, so the bombs can hold their shape as they dry.
What Could Go Wrong? Too much moisture can cause your mixture to fizz prematurely. If this happens, simply add a little more dry tea and cornstarch to balance it out.
Step 4: Fill the Molds
Now comes the fun part: filling your silicone molds! Pack the mixture tightly into both halves of the mold, overfilling slightly — they will need to adhere when pressed.
Why This Matters: Tightly packing ensures that your tea bombs don’t crumble when you remove them from the molds.
Step 5: Let Them Sit
Carefully press the halves together, then gently wiggle the molds to release air bubbles. Let your molds sit for about 10-15 minutes. This is an excellent time to clean your workspace or whip up some snacks while you wait!
What Could Go Wrong? If the mixture is too dry, the bombs will fall apart. If this happens, add a tiny bit of water (not too much!) to the mixture and stir.
Step 6: Unmold and Dry
Once the time is up, carefully take your tea bombs out of the molds. Arrange them on a baking sheet to dry for another 24 hours.
Why This Matters: Proper drying ensures that your tea bombs are solid and won’t break when stored or when dropped into hot water.
Step 7: Packaging Your Tea Bombs
Once fully dry, package your tea bombs in airtight containers or cellophane bags. You can tie them with a ribbon or label them for gift-giving.
Creative Variations and Personal Anecdotes
One of the joys of making tea bombs is experimenting! I’ve tried various combinations, such as:
- Chai Tea Bombs: With spices like cardamom and cinnamon.
- Citrus Zest: Adding lemon or orange zest gives an added pop of flavor.
- Chocolate Delight: A mix of cocoa powder and peppermint tea for a chocolaty twist.
I remember the first time I made a batch for a friend’s birthday. I created themed bombs for each guest and even paired them with personalized teacups. The joy and surprise on everyone’s faces when they plopped the bombs into hot water were priceless!
Final Thoughts and Safety Considerations
I hope you’ve enjoyed this journey into making tea bombs as much as I do! Remember, crafting is all about enjoying the process, so don’t stress if things don’t turn out perfectly on your first try.
Safety Reminders:
- Always make sure to use food-grade ingredients and supplies.
- Be cautious when using essential oils; ensure they're safe for ingestion.
- Store your tea bombs in a cool, dry place to preserve their freshness.
Happy crafting, and I can’t wait to hear about your tea bomb creations! Don’t forget to share your experiences or variations; I love seeing how each of you puts your unique spin on this delightful project!