How to Make Swirl Glowing Bounce Ball: A DIY Guide for Creative Crafters
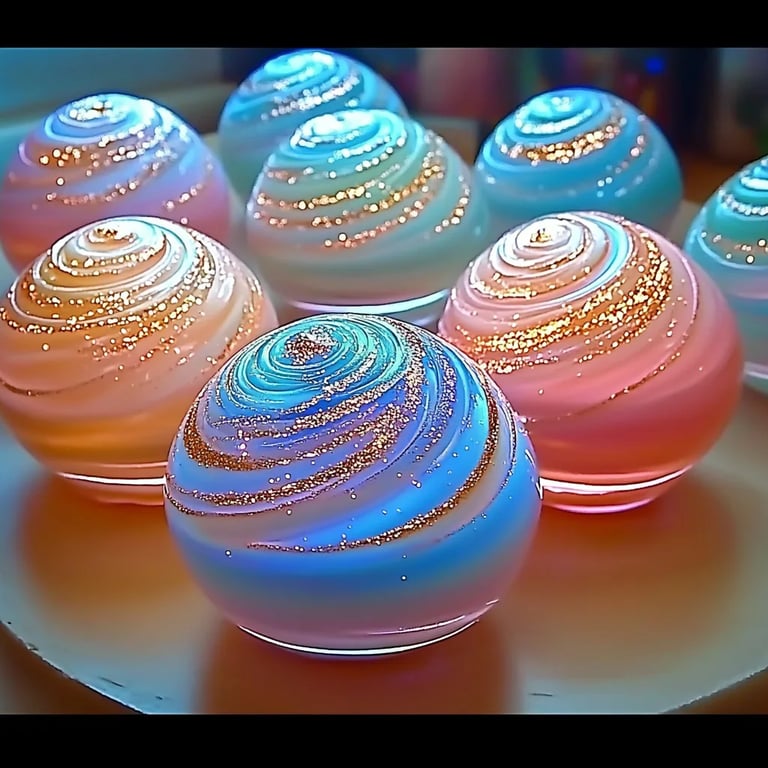
Hello, fellow crafters! Today, I'm incredibly excited to share a delightful DIY project that has become a favorite in my crafting repertoire: the Swirl Glowing Bounce Ball. These vibrant, squishy spheres not only provide endless hours of fun but also light up with a beautiful glow in the dark—perfect for creative playtime or a whimsical night-time addition to your child’s room.
Why Are Swirl Glowing Bounce Balls So Popular?
There’s something magical about a ball that glows. It’s not just a visual feast; the fun of watching it bounce and swirl through the air captures the essence of childhood wonder. Swirl Glowing Bounce Balls are perfect for various occasions, be it a birthday party, a glow-in-the-dark event, or just a regular day that needs sprucing up. They can also be a fantastic educational project, introducing kids to basic science concepts while nurturing their creativity.
As a crafter with a passion for DIY projects, I love the combination of art and science in this project. Plus, it's an excellent way to recycle materials! Let’s dive into this fun process, shall we?
What You’ll Need:
Before we get started, let’s gather our materials! For this project, you’ll need:
Materials:
- Clear Craft Glue (around 1 cup) – This will be the base of our bounce ball.
- Liquid Starch (1/2 cup) – This helps give the ball its bouncy texture.
- Glow-in-the-Dark Powder (2 tablespoons) – The star of our show! I recommend a non-toxic version for safety.
- Food Coloring – A few drops to create your swirl effects.
- Bowl (for mixing)
- Spoon or mixing stick
- Baking Sheet or Tray – To let the balls dry.
- Container with a lid – For storing your materials if you have leftovers, although this recipe usually yields a good amount.
Optional:
- Glitter for extra sparkle.
- Essential Oils for fragrance (make sure they are safe for children if you intend to gift them).
Step-by-Step Tutorial
Step 1: Mixing the Glue and Glow Powder
First things first, we need to create our glowing base. In a bowl, pour about 1 cup of clear craft glue. Then, add in your glow-in-the-dark powder. This powder is crucial for creating the luminescent effect; be sure to mix it well so that it’s evenly distributed throughout the glue.
Why This Matters: The better blended the powder is, the more consistent your glow will be. If it’s clumpy, some parts of your ball will glow less than others.
Potential Pitfall: If you find the glow powder is too clumpy, you can add a splash of glue and stir until it’s smooth.
Step 2: Introduce the Liquid Starch
Next, we add 1/2 cup of liquid starch to our glowing glue mixture. Stir slowly and thoroughly until combined. You’ll start to see the mixture thickening, which is exactly what we want.
Why This Matters: The starch is essential for giving the ball its bouncy quality. If this step is skipped or rushed, your ball could end up too runny or lack bounce.
Step 3: Adding Food Coloring and Creating Swirls
Now comes the fun part: adding color! Depending on your desired effect, you can introduce food coloring. Pour a few drops into the mixture. You can go for a single solid color, or if you want those mesmerizing swirls, try drizzling multiple colors in different spots, using a spoon to gently swirl them together.
Tip: Less is often more when it comes to food coloring. You can always add more, but you can’t take it away!
Step 4: The Forming Process
Once your mixture is at the right consistency—thick enough to hold shape but not too sticky—it's time to start molding! Dust your hands with a little starch to prevent sticking. Take a portion of the mixture and roll it into a ball. If it’s too sticky, add a bit more starch; if it breaks apart, your mixture may be too dry.
Why This Step Matters: Proper ball formation ensures nice bouncing. If your ball is too small or too large, it can affect gameplay.
Step 5: Drying Time
Place your freshly molded ball on a baking sheet or tray. This is where you’ll leave them to dry out for at least 24-48 hours.
Tip: Keep them in a cool, dry place to prevent distortion.
Potential Pitfall: If you notice your balls aren't retaining their shape after drying, you may want to adjust your mixture ratios next time.
Step 6: Enjoy Your Swirl Glowing Bounce Balls!
Once they’re completely dry, the fun begins! Just turn off the lights, give them a good charge under light, and watch them glow!
Troubleshooting Common Issues
- Ball Not Bouncing: If your ball is flat or too soft, you may have used too much glue. Clarity in your mixture is key.
- Weak Glow: If your balls are not glowing well, ensure you used enough glow-in-the-dark powder and let them charge in direct light.
Creative Variations
Feeling adventurous? Here are some modifications I love to try:
- Color Combinations: Experiment with neons, pastels, or even seasonal colors for themed events.
- Scented Balls: Add a few drops of essential oils for a fantastic sensory experience.
- Miniature Versions: Make smaller versions for easier handling and additional decoration.
Safety Tips
- Always supervise younger children while crafting. Liquid starch and glue can be irritating, so a crafting adult should handle these materials.
- Use non-toxic glue and glow powder to ensure safety.
Final Thoughts
Making Swirl Glowing Bounce Balls has been one of the most enjoyable and rewarding crafting experiences I've had. It's not just about the final product; it's about the process and the memories created along the way. Whether you’re crafting with kids, friends, or even solo, there’s a simple joy in playing with handmade glowing balls. I encourage you to give this delightful project a try; you’ll love the glowing rewards of your creative efforts! Happy crafting and bouncing! 🌟
Let me know in the comments if you have any questions or if you’ve tried variations of this project—I’d love to hear from you!