How to Make Super Bouncy Balls at Home: An Easy Guide for Craft Enthusiasts
Hello fellow crafters! Today, I’m thrilled to share with you a fun and engaging project that has brought me joy over the years: making Super Bouncy Balls at home! Whether you're looking for an entertaining activity with the kids, a unique gift, or just a simple way to explore basic chemistry principles, this DIY project is perfect for you. Super bouncy balls are not only a nostalgic toy but also a fantastic science experiment that demonstrates the wonders of polymer science. Plus, they can be used for a myriad of activities—from playing catch to stress relief.
What Are Super Bouncy Balls and Why Are They So Popular?
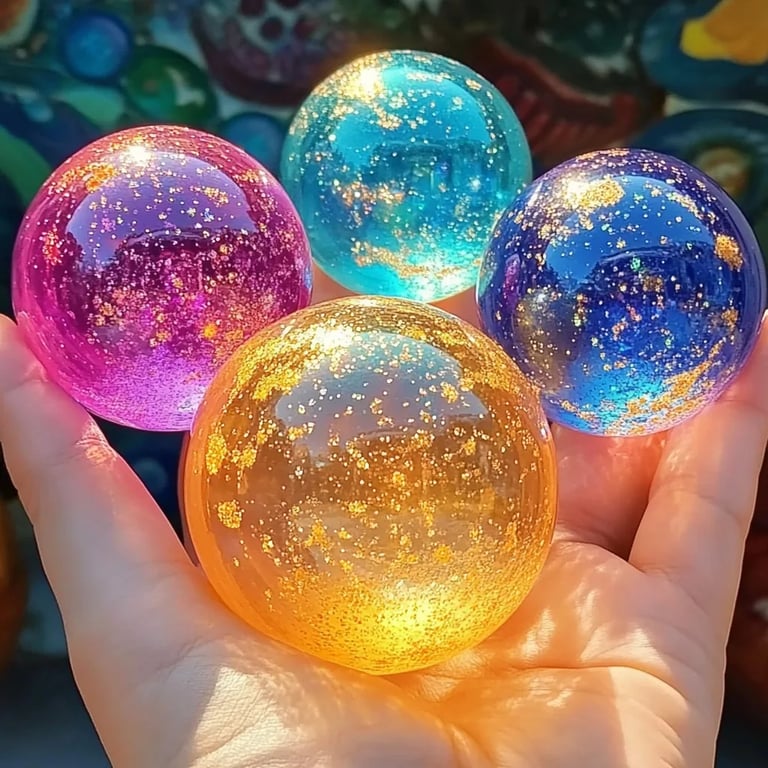
Super Bouncy Balls are small, round balls made from a combination of rubber-like materials that can bounce incredibly high. Their unique composition allows them to absorb and then release energy efficiently, making them ideal for play. They’ve been a staple in toy boxes for decades. Who doesn’t remember those colorful little balls flying high after a powerful throw? They are also a practical tool in teaching children about reactions, concentrations, and the fascinating world of elasticity!
Materials Needed
Before we dive into the crafting process, gather the following materials. I promise, they are easy to find and usually available right in your home or at local stores. Here’s what you will need:
- Elmer’s Glue (1 cup) – This will be your base and provides the necessary adhesion.
- Borax (4 teaspoons) – This acts as a cross-linker, enhancing elasticity.
- Water (1 cup) – Used to dissolve Borax.
- Food Coloring (optional) – For that extra bit of fun. You can choose any color you desire.
- Mixing bowl – To combine your ingredients.
- Spoon or spatula – For mixing.
- Measuring cups and spoons – Accuracy is key!
- Plastic gloves (optional but recommended) – To keep your hands clean during the process.
- Squeeze bottle or cup – For easy pouring.
Step-by-Step Tutorial
Step 1: Prepare Your Borax Solution
Start by creating the Borax solution. In a separate bowl, mix 1 cup of warm water with 4 teaspoons of Borax. Stir until the Borax is fully dissolved. This step is crucial because Borax acts as a hardening agent that interacts with the glue to create the bounce.
Tip:
If you’re working with kids, ensure they don’t ingest Borax or touch it while it’s in powdered form. Although it's a common household product, safety always comes first.
Step 2: Mix Glue and Food Coloring
In your mixing bowl, pour 1 cup of Elmer’s glue. If you want your bouncy balls to have some color, add a few drops of food coloring to the glue now. This is where you can unleash your creativity—mix colors, or even try layering them for an ombre effect!
Personal Anecdote:
I remember the first time I tried this, I mixed too much food coloring, and my balls turned out a bit darker than I wanted. But they were still super fun and unique!
Step 3: Combine Borax Solution and Glue
Now for the magic part! Slowly pour the Borax solution into the glue mixture while stirring continuously. The reaction will be almost instantaneous: you will see the mixture start to clump together and form a pliable semi-solid mass. Keep stirring until it becomes too thick to mix effectively.
What Could Go Wrong:
If the mixture remains too sticky or gooey, it means you need more Borax. You can fix this by adding a bit more Borax solution gradually until you reach a satisfying consistency.
Step 4: Shape Your Balls
Once you have formed a ball, it’s time to give it a good squeeze and roll it between your palms to shape it into a perfect sphere. You’ll notice the texture becomes smoother as you knead it.
Safety Warning:
Keep in mind that while these balls are generally safe to play with, they are not edible! Please supervise young children to prevent them from putting the balls in their mouths.
Step 5: Let Them Set
After you’ve shaped your balls, let them sit out for about 10-15 minutes. This will allow them to firm up further. You can place them on a paper towel to dry a bit if you’d like.
Creative Variations and Enhancements
Why stop at just one color? Here are a few exciting variations to consider:
- Layered Bounce Balls: Create multiple colors by making several smaller balls. Then, layer them together into a larger ball for a beautiful and colorful effect.
- Scented Balls: Add a drop of essential oil to the glue before mixing to create delightful, scented bouncy balls!
- Glow-in-the-Dark: Use glow-in-the-dark paint or powder mixed into the glue for nighttime fun.
Troubleshooting and FAQs
- My balls aren’t bouncy!
- Ensure that the Borax was fully dissolved and mix well. A lack of Borax can result in a less elastic ball!
- They’re too sticky to handle.
- Knead them more forcefully or add a little more Borax solution gradually.
- Can I use other types of glue?
- While Elmer’s glue gives the best results, other types of PVA glue can work too! Just keep an eye on the ratios.
Final Thoughts
Making Super Bouncy Balls at home is not just a fun craft activity; it’s also a fantastic introduction to chemistry that sparks curiosity and creative thinking. I hope this guide inspires you to try your hand at this project. Don't be afraid to experiment—that's where the joy of crafting lies!
Remember to share your creations with friends and family, and let me know how your bouncy balls turned out. Happy crafting!
—
SEO Optimization
This article uses relevant keywords such as "DIY bouncy balls," "how to make super bouncy balls," and other variations throughout the content, ensuring that it gains visibility in search engines. Keep experimenting and bouncing, and I look forward to seeing all your colorful creations!