How to Make Super Bouncy Balls: A Fun and Engaging DIY Activity
Hello fellow crafters! Today, I'm excited to share one of my all-time favorite DIY activities—making your very own super bouncy balls! If you're looking for a fun project that combines science, creativity, and a touch of childhood nostalgia, you’ve come to the right place. Not only are these bouncy balls a blast to make, but they also become entertaining toys that can be used for games, parties, or simply bouncing around the house.
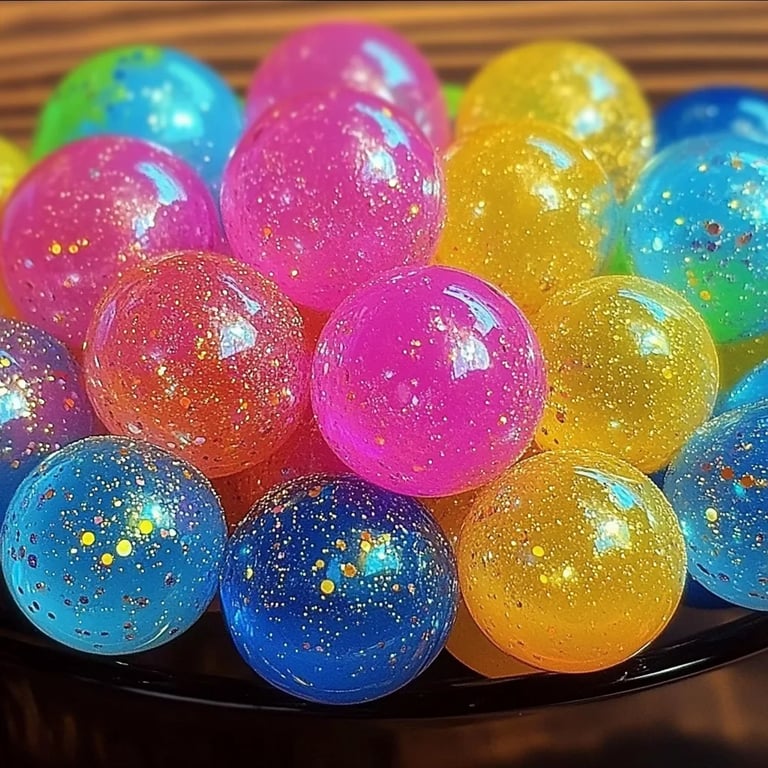
Why Super Bouncy Balls?
Super bouncy balls have gained popularity due to their colorful designs, satisfying bounce, and simple construction process. They’re perfect for kids and adults alike and serve as great party favors or fun gifts for friends. I can recall making these balls during rainy days as a child, and it delighted me to see how a simple mix of ingredients could create such an enjoyable toy. Plus, nothing beats that satisfying bounce!
In this article, I'll guide you through a comprehensive step-by-step tutorial for crafting your own super bouncy balls using easy-to-find materials. We'll go over everything from the ingredients to the best techniques to ensure your bouncy balls turn out perfect. So, let’s dive in!
What You'll Need
Before we get started, gather the materials. You’ll need:
- Boric Acid (commonly found in the laundry section or pharmacies)
- White Glue (like Elmer's)
- Cornstarch
- Food Coloring (optional, for a splash of color)
- Water
- A small bowl or container for mixing
- A measuring spoon
- Rubber gloves (optional, but recommended for cleanliness)
- Wax paper or plastic wrap to catch any mess
Step-by-Step Tutorial
Step 1: Measure Your Ingredients
Begin by measuring 1 tablespoon of white glue and put it into your bowl. This will serve as the base for your bouncy ball.
Tip: Use measuring spoons for accuracy. An improper glue-to-boric acid ratio can result in a ball that lacks bounce!
Step 2: Mix in Boric Acid
Next, measure 1 tablespoon of boric acid and add that to the glue. Boric acid is what gives our homemade bouncy balls their elasticity, making them bounce.
Potential Issues: Too much boric acid can create a ball that's too hard, while too little will lead to a soggy mess. A well-balanced mix is key!
Step 3: Add Cornstarch
Now, add 1 tablespoon of cornstarch to the mix. The cornstarch gives your bouncy ball additional structure, allowing it to hold its shape.
What to Watch For: If the mixture seems too liquidy at this point, don't worry! It will come together with the next steps.
Step 4: Introduce Food Coloring
If you'd like to bring some flair to your bouncy ball, this is where you’ll add a few drops of food coloring. Feel free to experiment with mixing colors for unique patterns.
Personal Anecdote: Last time I made these balls, I combined blue and yellow to create a vibrant green that my kids loved! Crafting can be a wonderful way to bond with family.
Step 5: Mix Everything Together
Using a spoon or your hands (wear gloves if you prefer), mix all the ingredients until you form a thick paste. The mixture should be gooey but not runny.
Important Note: Don't skip this step! A thorough mixture ensures that all ingredients combine effectively for a uniform ball.
Step 6: Form Your Ball
This is the most exciting part! Take a small scoop of the mixture and roll it in your hands to form a ball. Aim for about the size of a marble. If the mixture is too sticky, you can dust your hands with a little cornstarch.
Step 7: Let it Set
Once you've formed your balls, place them onto wax paper or plastic wrap and let them dry. Ideally, let them sit for 24 hours. This time allows the balls to harden, enhancing their bounce quality.
Safety Warning: Ensure that cornstarch and boric acid do not get ingested. Supervise younger crafters closely during this activity.
Troubleshooting Tips
- If your ball lacks bounce after it’s dried, consider that it may need more boric acid or a longer drying time.
- If the balls feel too soft, you might have included too much water. In future attempts, keep measurements precise.
Creative Variations
Once you’ve mastered the basic bouncy ball, try these fun variations to spice things up:
- Glow-in-the-Dark Balls: Add a few drops of glow-in-the-dark paint to the mixture for nighttime fun.
- Scented Balls: A drop of essential oil (like lavender or citrus) will make your balls smell delightful.
- Patterned Balls: Use multiple colors to swirl and create fun patterns. Simply layer the colors when rolling!
In Conclusion
Making super bouncy balls is not only entertaining but also a great introduction to basic chemistry for younger crafters. By following this guide, you’ll create colorful, bouncy balls that can bring joy to anyone who uses them.
Crafting is all about experimenting, so don’t hesitate to make mistakes and try new things. I hope you feel inspired to gather your materials and dive into this project. Remember, developing a love for crafting starts at home! Happy bouncing, and I can’t wait to hear about your own adventures in making super bouncy balls!