How to Make Summer Car Crayons: A Bright, Colorful Craft for All
Hello, fellow crafters! Today, I am thrilled to share with you one of my all-time favorite DIY projects: creating colorful Summer Car Crayons. These vibrant, quirky crayons are not just fun to make; they also make for fantastic gifts, party favors, or even a rainy day activity for kids. The best part? They’re an eco-friendly project made from recycled materials—perfect for summer creativity without the clutter of single-use items.
What exactly are Summer Car Crayons, you ask? Imagine a nostalgic summer day spent coloring with friends, each crayon shaped like a little car, bursting with lively colors that mimic the bright hues of summer. They are perfect for road trips, summer camps, or lazy afternoons at home. These crayons can be used on various types of paper or coloring books, providing the perfect outlet for artistic expression!
Let's Dive In: What You'll Need
Materials:
- Old Crayons: If you have a whole stash of broken crayons lying around, this is the perfect opportunity to repurpose them! (If you don’t have any, you can typically find packs of cheap crayons at craft stores).
- Silicone Molds: A car-shaped silicone mold is ideal. If you don’t have one, other fun shapes or even regular molds can work in a pinch.
- Oven or a Microwave: For melting the crayons.
- Parchment Paper or Baking Tray: To catch spills and make cleanup easier.
- Optional Add-ins: If you want to get a bit fancy, consider adding some glitter, scented oils, or even spices like cinnamon for an aromatic twist.
Tools:
- Knife or Crayon Sharpener: For reducing the crayons to smaller pieces.
- Measuring Spoon (if using add-ins): For precise additions.
Step-by-Step Process
Step 1: Prepare the Crayons
Start by gathering all of your old, broken crayons. If you have crayon stubs that are too small to color with, this is a great time to rescue them! First, peel off any paper wrappers from the crayons. This step is crucial because the paper can create a gritty texture in your finished product.
Personal Tip: I use a small blade to cut away the paper easily, but I always recommend asking an adult for help if you’re working with kids. Safety first!
Step 2: Break Them Down
Once the wrappers are off, break the crayons into smaller pieces. Aim for roughly the same size—about 1-inch pieces—so they melt evenly. If crayon pieces are uneven, you may end up with some crayons that aren’t fully melted or take longer to melt than others.
What Could Go Wrong? If the pieces are too big, the crayons might not melt fully, leading to a lumpy texture. Trust me, I’ve been there!
Step 3: Preheat the Oven or Prepare the Microwave
If you're using an oven, preheat it to 250°F (120°C). If you're going for the microwave method, you can skip this part and proceed to the next step.
Step 4: Fill the Molds
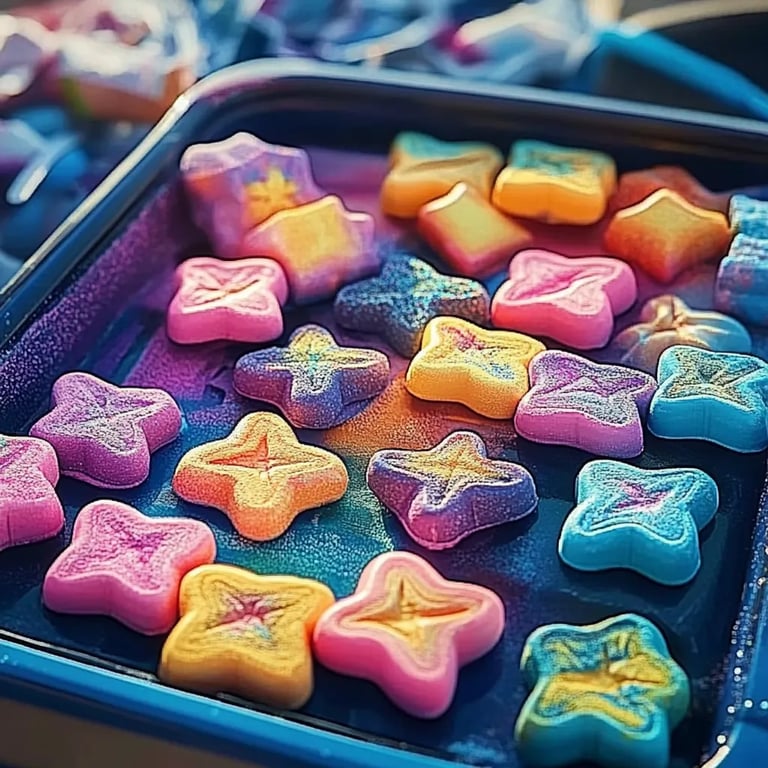
Now comes the fun part! Fill your silicone molds with the crayon pieces. You can create color combinations in each mold or keep them uniform.
Creative Variation: Since it's summer, I love mixing bright colors like yellow, pink, and turquoise for a sunny vibe.
Step 5: Melt the Crayons
- Oven Method: Place your filled molds on a baking tray covered with parchment paper to avoid spills. Pour the melted crayon mixture into the preheated oven for about 10-15 minutes. Keep an eye on them, as melting times can vary.
- Microwave Method: Place the molds in the microwave and heat in 30-second intervals until fully melted. Again, be vigilant!
Step 6: Cool and Set
Once your crayons have melted completely, remove them (carefully!) from the oven or microwave. Allow them to cool for about 10-15 minutes at room temperature. After that, place them in the refrigerator for another 30 minutes to speed up the setting process.
Safety Alert: Be careful when handling hot molds!
Step 7: Pop Them Out
Once they are thoroughly cooled, gently bend the silicone mold to pop out the car crayons. If you notice they’re sticking a bit, simply let them sit in the fridge for a little longer.
Troubleshooting Common Issues
- Crayons won’t come out: If they seem stubborn, place the mold back in the freezer for a few minutes. The cold will help them release more easily.
- Uneven colors or lumps: If you end up with a problematic batch, do not despair! You can always melt them again, rearranging the pieces in a different mold to create a new design.
Final Thoughts and Tips
Making Summer Car Crayons is not only a fun activity; it’s also an excellent way to encourage creativity in kids and reuse old materials that might otherwise end up in the landfill. As you embark on your crayon-making journey, remember that crafting is about enjoying the process as much as it is about the final product.
Optional Add-Ins
Feel free to experiment with additional embellishments. Want your crayons to shine? A dash of glitter is sure to do the trick! For scented crayons, add a few drops of essential oils to the melted crayon mix, like lemon or mint, for a refreshing twist. Just remember that scents can impact the overall melting and coloring properties, so test in small batches first.
Clean Up
Finally, remember that melting crayons can create a bit of a mess (colorful drips can make for a tough clean-up!). Have some paper towels or a cleaning cloth ready to wipe up any spills.
In conclusion, creating these Summer Car Crayons is enjoyable and a fantastic alternative to store-bought options. Whether it's for yourself, friends, or craft parties, they'll bring a splash of color to any summer activity. So gather your materials, invite some friends, and let the creativity flow; I promise once you make these once, you’ll never want to stop! Happy crafting!