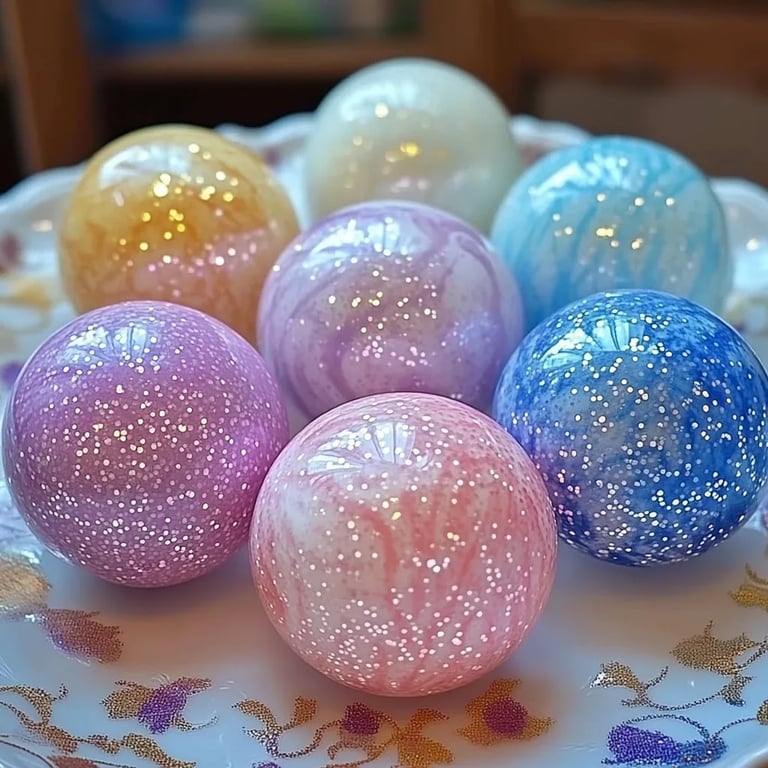
How to Make Squishy Rainbow Stress Balls: A Detailed, Step-by-Step Guide
Hello, fellow crafters! Today, I want to share with you one of my favorite DIY projects: making Squishy Rainbow Stress Balls. These colorful little wonders not only bring a smile to your face but serve an important purpose in our hectic lives—they help relieve stress! Whether you're at work, school, or just relaxing at home, having a stress ball within arm's reach can make all the difference. Over the years, I've crafted a variety of stress balls, but there's something incredibly therapeutic about creating these vibrant rainbow versions.
In this guide, I will walk you through the entire process, sharing my tips, insights, and personal experiences along the way. By the end of this article, you’ll feel empowered to create your own Squishy Rainbow Stress Balls, perfect for gifting or simply indulging in a bit of self-care. So let’s dive in!
Why Squishy Rainbow Stress Balls are Popular
Stress balls have gained widespread popularity because they are simple yet effective tools for stress relief. The act of squeezing a stress ball allows you to channel your tension and anxiety into something tangible, promoting relaxation. The bright colors of the rainbow add an element of joy and positivity, making the experience even more enjoyable. Plus, they’re great for all ages—from kids who enjoy the sensory experience to adults seeking a calming fidget.
Materials You'll Need
Let’s gather our supplies! The beauty of this project is that it requires minimal and easily accessible materials:
- Balloons: You’ll need several balloons of different colors (make sure to get the party-sized or regular-sized balloons for a nice round shape). Pastel or bright colors work well to create an inviting rainbow effect.
- Flour or Rice: These are excellent fillers. Flour will give you a softer squish, while rice creates a more textured feel. Feel free to use either or mix them!
- Funnel: A funnel is essential to help you pour your chosen filler into the balloons without making a mess. If you don’t have one, a paper funnel can be easily made.
- Scissors: You’ll need scissors to trim the balloon’s neck if necessary.
- Permanent Markers: To decorate your stress balls. I recommend non-toxic markers, especially if kids are involved in this craft.
- Glitter (optional): For a touch of sparkle!
- One extra balloon: This is for a ‘double balloon’ technique, which I’ll explain later for added durability.
Step-by-Step Tutorial
Step 1: Preparing Your Balloons
Start by selecting your colors for your rainbow stress ball. Inflate each balloon slightly to stretch them a bit before you start filling them. You don’t need to blow them up all the way—just enough to make them pliable. This step is crucial as it helps prevent any accidental popping later.
Step 2: Filling the Balloon
Using your funnel, carefully pour the flour or rice into the balloon. Here’s the fun part! If you’re using flour, fill the balloon until it’s about ⅔ full. If you’re using rice, you can fill it a little more due to its more compact nature.
Tip: If you find the filler getting stuck, a narrow pencil or straw can aid in guiding the filler down without breaking the balloon.
What Could Go Wrong?
Accidents happen! If you pop a balloon during this step, don't fret. Just have a few extras on hand. I once had a whole session go south when one balloon burst unexpectedly, but it was an excellent opportunity to scoop up some laughs and refocus.
Step 3: Tying Off the Balloon
Once your balloon is filled, carefully pinch the neck of the balloon and remove it from the funnel. Tie a knot at the end to secure the filler. Pull it tight but avoid overdoing it—after all, we want to retain some bounciness.
Step 4: Double Balloon Technique (Optional)
For added stability, you can use the double balloon technique. Simply take a second balloon (of a different color for aesthetic purposes!) and place your filled balloon inside it, then tie it off. This extra layer not only adds durability but also creates a wonderful layered effect.
Step 5: Decorating Your Stress Balls
Here lies the fun! Use permanent markers to draw faces, patterns, or even rainbow stripes. Don’t hesitate to let your creativity shine through! If you’re using glitter, apply a small amount to the balloon to give that sparkly finish.
Tip: Do this on a non-porous surface to avoid unwanted stains.
Step 6: The Final Touch
Give your squishy stress ball a gentle squeeze to make sure everything is secure. If you notice any weak areas, consider adding a bit of tape for reinforcement, or remove excess filler until it feels just right.
Creative Variations
As an added note, I’ve experimented with a few variations you might want to try:
- Essential Oil Infused: Add a few drops of essential oil (like lavender or eucalyptus) to the filler before sealing it. It adds a relaxing scent to your squishy.
- Sibling Colors: If you have kids, allow each of them to craft their own squishy with their chosen colors and designs, promoting creativity and personalization.
Safety Warnings
Always supervise young children when crafting, especially with balloons. A popped balloon can become a choking hazard, so ensure they are being used responsibly.
Conclusion: Embrace Your Crafting Journey
And there you have it! Your very own Squishy Rainbow Stress Balls, ready to add a splash of color and stress relief to your day. This project is not only an enjoyable craft but also a reminder that self-care can be bright, fun, and a little messy.
Join me in exploring the world of crafting—every project is a journey of discovery. Share your creations and any unique variations you come up with, as I love seeing others express their creativity. Happy crafting, and may your Stress Balls bring you all the relaxation and joy they promise!
If you enjoyed this tutorial, be sure to share it with fellow crafters and consider exploring more DIY projects. Remember—the more you create, the more you grow!