How to Make Sparkling Rainbow Bubble Slime with a Twist: A Step-by-Step Guide
Hello, fellow crafters! Today, I’m thrilled to share one of my absolute favorite DIY projects: Sparkling Rainbow Bubble Slime with a Twist! This project is not only a blast to make but also wonderfully satisfying to play with. Perfect for kids and adults alike, it’s an excellent activity for parties, playdates, or a cozy afternoon at home. Plus, who wouldn’t love the shiny, colorful goo that can double as stress relief? If you’re ready, let’s dive into this slime-tastic adventure!
Why Sparkling Rainbow Bubble Slime?
Slime has become a phenomenon in the crafting world, thanks to its mesmerizing texture and endless possibilities for customization. Sparkling Rainbow Bubble Slime adds an extra layer of fun with its vibrant colors and delightful sparkle. Each hue mixes and swirls beautifully, creating a rainbow effect that’s sure to captivate anyone who lays eyes on it!
This slime is fantastic for sensory play, teaching kids about color mixing and science in a fun, hands-on way. As an added bonus, it makes a fantastic gift or party favor! And let me emphasize, making your own slime is far more fulfilling than buying it pre-made. You customize it to your liking, ensuring it’s safe and eco-friendly.
What You’ll Need
Basic Materials:
- White school glue (approximately 8 oz)
- Baking soda (1 teaspoon)
- Contact lens solution (1 tablespoon) – This is what makes the slime come together!
- Food coloring (red, yellow, green, blue, and purple)
- Glitter (fine or chunky, whatever suits your fancy!)
- Water (1/2 cup)
Optional Tools:
- Bowls for mixing
- Spoons or spatulas
- Measuring cups and spoons
Safety Tip:
Make sure you’re using non-toxic ingredients, especially if kids will be involved. Always supervise younger children during this crafting project. While the slime is generally safe, you should avoid eating it.
Step-by-Step Tutorial
Step 1: Prepare Your Workstation
I always start by clearing my workspace. Cover your table with a disposable tablecloth or some newspaper, just in case of any spills. Gather all your materials to ensure you have everything ready – trust me, it makes the process smoother!
Step 2: Mix Glue and Water
In a mixing bowl, combine the white glue (8 oz) and water (1/2 cup). Stir it well until you achieve a uniform mixture. This step is crucial because adding water helps create the slime’s initial stretchy texture.
Potential Pitfall:
If you find the mixture too thick, you can add a little more water (a tablespoon at a time) to get it to your preferred consistency.
Step 3: Add Baking Soda
Stir in 1 teaspoon of baking soda to the glue-water mixture. This ingredient is essential as it helps firm up the slime, giving it that perfect squishy feel. Mix thoroughly until there are no lumps; this usually takes a minute or two.
Step 4: Time for Color and Glitter!
Now comes the exciting part—adding color! Divide the slime mixture into individual bowls based on however many colors you’d like to create. A good rule of thumb is to start with three or four colors for a solid rainbow effect.
Add a few drops of food coloring to each bowl and stir until you get your desired shades. Don't be afraid to mix colors; creating your own shades can be fun!
This is also the stage to add glitter. I like to sprinkle in some glitter to give my slime that dazzling effect. Keep in mind that the finer the glitter, the smoother it will feel, while chunky glitter offers a more textured experience.
Step 5: Activate the Slime
Once you’re happy with the color and sparkle, it’s time for the slime magic! Gradually add 1 tablespoon of contact lens solution into each bowl while mixing. The mixture will begin to thicken and pull away from the sides of the bowl.
Troubleshooting:
If your slime is too sticky or slimy after stirring, don’t panic! You can add a tiny bit more contact solution until you achieve the right consistency. Just make sure you do this sparingly; too much can make the slime too solid.
Step 6: Kneading the Slime
Now it’s time to get your hands in there! Once it’s firm enough, pull the slime out and start kneading it by hand. This step is essential as it enhances the texture and elasticity of the slime.
Be aware that the slime might feel a bit sticky at first, but it will gradually become smoother as you knead. If it’s still too sticky, a little more contact solution can help.
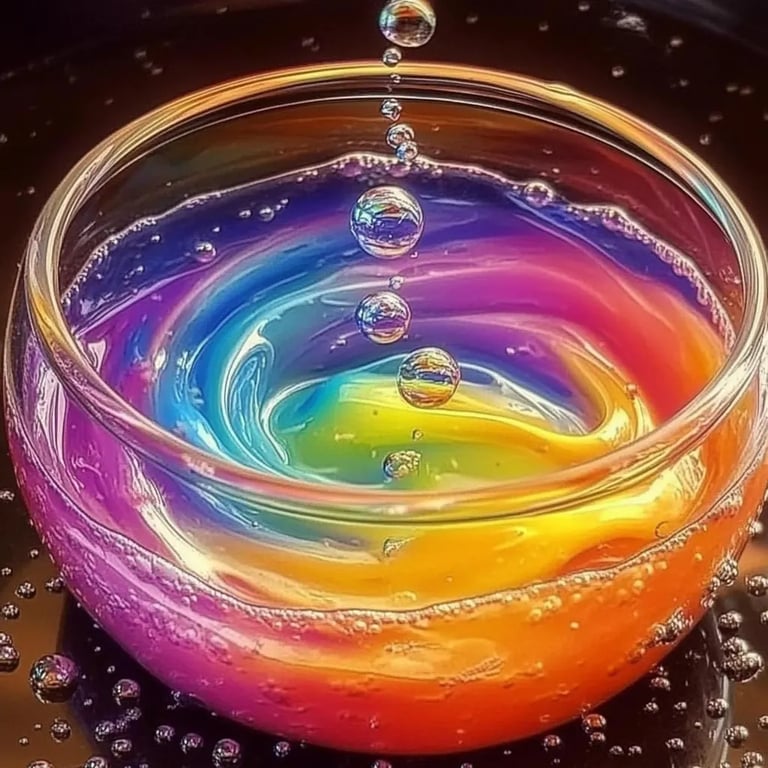
Step 7: Layer the Colors
Here's the fun twist! Instead of mixing all your colors, layer them in a clear container. Think of a parfait—spoon in a little bit of each color, one layer at a time. When you play with the slime, you'll see the beautiful rainbow swirl as they mix!
Step 8: Store Your Slime
To ensure your Sparkling Rainbow Bubble Slime lasts, store it in an airtight container or Ziploc bag. It can generally last for a couple of weeks if kept away from heat and moisture.
Creative Variations
Feeling adventurous? Here are a few twists and variations you could try:
- Scented Slime: Add a few drops of essential oil or flavored liquid (like vanilla extract) to make it smell delightful.
- Glow-in-the-Dark Slime: Use glow-in-the-dark powder or paint to give your slime an enchanting after-dark effect.
- Textured Slime: Incorporate foam beads or even small, safe plastic toys for a fun sensory experience!
Final Thoughts
Crafting makes for wonderful memories, and making Sparkling Rainbow Bubble Slime with a Twist is no exception. Not only do you end up with a delightful product to enjoy, but you also get to tap into your creativity and maybe even spark some curiosity in the kids about colors and science!
As I wrap up this crafting session, remember that the most important part is to have fun. Don’t get discouraged if things don’t go perfectly the first time—you’ll only improve with practice. Enjoy the squishy, sparkly delight of your homemade slime, and let your imagination run wild!
Happy crafting, and may your next batch of slime bring you joy!