How to Make Snowy Mountain Slime Balls: A Fun and Creative Guide
Hello, fellow crafters! I’m so excited to dive into the wonderful world of slime-making with you today. As an experienced DIY enthusiast, I've spent countless hours experimenting with all kinds of slime. But today, I'm thrilled to share my recipe for Snowy Mountain Slime Balls. These fluffy, squishy, and delightfully textured creations are not just a hit with kids; they’re also a fantastic way for adults to unwind and spark their creativity. Whether you’re decorating for the holidays, creating an engaging sensory experience, or simply enjoying a little crafty fun, Snowy Mountain Slime Balls are perfect for any occasion.
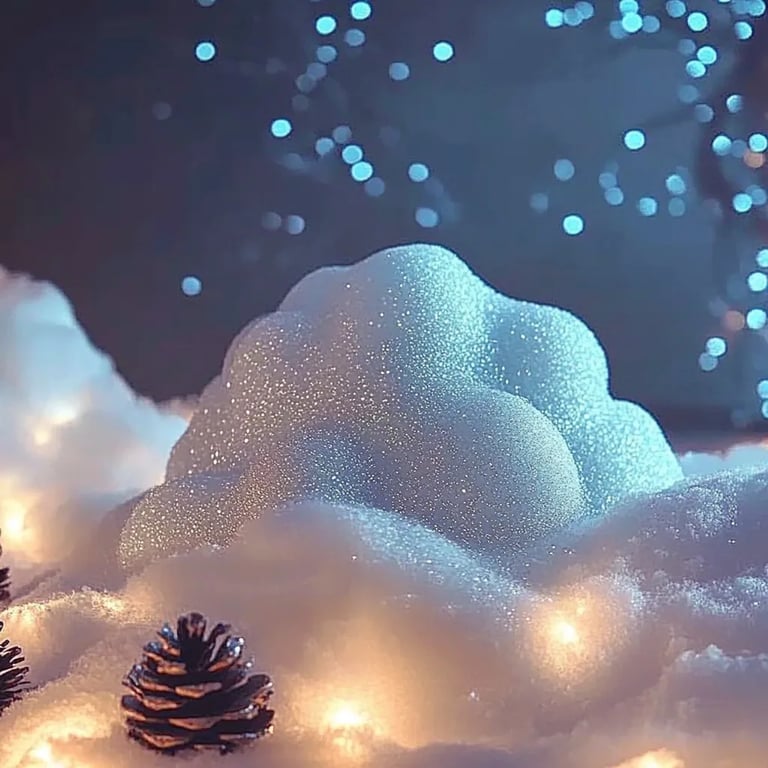
What Are Snowy Mountain Slime Balls?
Snowy Mountain Slime Balls are essentially fluffy, textured slime that resembles the soft, pillowy snow atop a majestic mountain. Thanks to their unique composition, they not only look delightful, but they also provide a satisfying squishing experience. These slime balls have gained popularity on social media and among crafting circles, known for their relaxing properties and their ability to foster creative play.
Whether you're hosting a winter-themed gathering, looking for a creative outlet, or wanting to engage kids in a stimulating sensory activity, these fluffy slime balls will surely impress!
When to Use Snowy Mountain Slime Balls
These delightful creations are incredibly versatile! Here are just a few ideas for when you can use Snowy Mountain Slime Balls:
- Holiday Decor: They can add a whimsical touch to your holiday setup.
- Party Favors: Make small portions and package them in cute jars as gifts for birthday parties or seasonal celebrations.
- Sensory Play: Perfect for kids to squish and stretch, providing tactile stimulation and engaging their imaginations.
- Crafting Workshops: Great for incorporating into DIY classes or craft workshops, keeping both adults and kids entertained.
Materials Needed
Let’s gather our materials before diving into the fun. Here’s what you’ll need:
- School glue (preferably white): Basic, easy to find, and safe for kids.
- Liquid starch: This acts as a slime activator. You can find it in the laundry aisle of your local supermarket.
- Foam soap or shaving cream: This gives our slime the fluffy snow-like texture.
- Baking soda: Helps to give our slime a little stretch and stability.
- Water: To adjust the consistency to your liking.
- Food coloring (optional): Add a pop of color if you’re feeling creative!
- Glitter (optional): For that magical snowy effect; I personally recommend iridescent glitter to imitate the sparkle of fresh snow.
Step-by-Step Tutorial
Step 1: Prepare Your Workspace
To start, it’s essential to prepare your workspace. Cover your table with a plastic tablecloth or old newspapers for easy cleanup. Trust me, slime can get a bit messy, and we want to enjoy this process without a headache afterward!
Step 2: Mixing the Base
- Pour about 8 oz of school glue into a mixing bowl.
- Add 1/2 cup of water to the glue. Mix thoroughly until well combined. This creates the perfect gooey base for your slime.
Why It Matters: A good mixture here is crucial. If your base mixture lacks balance, your slime might not achieve the right consistency.
Step 3: Adding Baking Soda
- Stir in 1/2 teaspoon of baking soda to your glue and water mixture. This step is vital as it helps to stabilize the slime and give it that nice stretch.
Step 4: Incorporate Foam Soap or Shaving Cream
- Now, for the magic! Stir in 1 to 2 cups of foam soap or shaving cream. The more you add, the fluffier it will become. I typically use about 1.5 cups for a good balance of fluff and stretch.
Tip: If your slime is too sticky, it’s advisable to add a bit more baking soda. Don’t panic if it seems like a blob of goop—fluff and stretch are added next!
Step 5: Introducing the Activator
- Gradually add liquid starch to your mixture, starting with about 1/4 cup. Pour it in slowly, stirring continuously. Stop when you see the mixture start pulling away from the sides of the bowl.
Important Note: Adding too much liquid starch at once can lead to overly stiff slime. If this happens, simply add a touch of warm water to soften it.
Step 6: Kneading the Slime
- Once mixed, use your hands to knead the slime. I always recommend wearing gloves during this process, as it can get a bit sticky. If it feels too slimy, add more liquid starch, a little at a time, until you reach your desired consistency.
Step 7: Personal Touches
- If you choose to add glitter or food coloring, now’s the time to fold those into the slime. Go wild! I recommend going for a pearl or iridescent shimmer for that snowy effect.
Step 8: Forming the Snowy Mountain Slime Balls
- Finally, shape your mixture into balls—about the size of a golf ball. This is where you can really unleash your creativity: vary the sizes for a more whimsical look or form them into themed shapes if you’re feeling festive.
Tips and Troubleshooting
- Too Sticky? If your slime is too sticky after adding the starch, knead in more starch or sprinkle a bit of baking soda until you achieve a better consistency.
- Too Stiff? If it becomes overly firm, add small amounts of warm water until it softens.
- Storage: Keep your Snowy Mountain Slime Balls in airtight containers to retain their fluffiness, and store them in a cool, dry place. They can last for several weeks if stored correctly.
- Safety Warning: While all materials used are safe for crafting, always supervise younger crafters to avoid ingestion of the slime ingredients.
Creative Variations
- Flavored: Add a few drops of essential oils like peppermint or lavender for a soothing aroma.
- Color Theme: Create layers of different colors in your slime balls for a stunning visual effect!
- Winter Wonders: For added decoration, apply fake snow or small winter-themed embellishments to your finished slime balls.
Wrapping Up
Making Snowy Mountain Slime Balls is not just about the end product; it’s about the joy of crafting and the memories you’ll create along the way. Whether you’re making them for a gathering or just to enjoy during a quiet evening at home, this process is sure to bring a smile to your face.
So roll up your sleeves, embrace the fluff, and let your creativity shine! Remember, crafting is all about exploration and fun, so don’t be afraid to experiment. Happy crafting, and may your snowy creations bring warmth and joy to your days ahead!