How to Make Silky-Smooth Homemade Play Dough: A Step-by-Step Guide from an Experienced Crafter
Hello there! If you’ve stumbled upon this guide, it's likely because you’re ready to embark on an exciting crafting journey with homemade play dough. Whether you’re a parent looking to entertain your little ones, a teacher wanting an engaging classroom activity, or simply someone who enjoys crafting, homemade play dough is the perfect project. Not only is it incredibly fun to make, but it also allows for endless creativity and sensory play.
Why Homemade Play Dough?
Homemade play dough has sustained its popularity due to its texture, malleability, and the fact that it’s made from simple, non-toxic ingredients. It's safe for kids and offers a sensory-rich experience, promoting fine motor skills, imagination, and creativity.
You can customize colors, scents, and textures, making it suitable for different ages and interests. Crafting play dough at home can also save you money and reduce the number of chemically-laden products in your home. If you’re excited to dive into this creative endeavor, let me guide you through the process step by step.
What You'll Need
Basic Ingredients:
- 2 cups all-purpose flour
- 2 cups water
- 1 cup salt
- 2 tablespoons vegetable oil
- 4 tablespoons cream of tartar
- Food coloring (optional)
- Scent (essential oils or vanilla extract, optional)
Equipment:
- Large mixing bowl
- Whisk
- Medium saucepan
- Wooden spoon
- Airtight containers for storage
Step-by-Step Tutorial
Step 1: Gather Your Ingredients
Start by assembling all your ingredients and tools. Working with everything at hand will streamline the process, ensuring you don’t have to rush back and forth looking for items.
Step 2: Mix the Dry Ingredients
In a large mixing bowl, combine the flour, salt, and cream of tartar. Whisk them together until they are evenly mixed. Why does this matter? Properly mixing the dry ingredients ensures consistent texture and color throughout your play dough.
Step 3: Heat the Wet Ingredients
In a medium saucepan, combine the water and vegetable oil, then heat over medium heat until it’s warm but not boiling. If you’re adding food coloring or scents, this is the perfect stage to incorporate them. Pro Tip: Add food coloring gradually to reach your desired shade.
Step 4: Combine the Mixtures
Once the water is warm, gradually pour it into the dry mixture while stirring constantly with a wooden spoon. This step is crucial; if you pour too quickly, it can create lumps, leading to a grainy texture. If this happens, don't panic! Just continue stirring and whip it until the lumps are minimized.
Step 5: Cook the Dough
Return the saucepan to the stovetop and cook the mixture over medium heat. Stir consistently until it begins to thicken and form a ball. You’ll notice it pulling away from the sides of the pan—this indicates it’s ready. The cooking process typically takes about 3-5 minutes. Be mindful not to overcook, as this can dry out your dough.
Step 6: Knead the Dough
Once the dough forms a ball and is no longer sticky, transfer it to a clean surface. Allow it to cool for a few minutes (be careful, it might be hot!). Knead the dough for a couple of minutes until it reaches a smooth, silky texture. This step is essential for ensuring it’s playable and not crumbly.
Step 7: Store It Properly
After kneading, let your play dough cool completely before storing it in airtight containers. Properly stored, it can last for several weeks. If you notice any drying, you can fix it by kneading a bit of water back into it.
Troubleshooting Tips
- Dough is too sticky: If your play dough is sticking to your hands and the surface, add flour a tablespoon at a time while kneading until smooth.
- Dough is too dry or crumbly: This can happen if it was overcooked. To fix it, add small amounts of water gradually, kneading until it reaches the desired texture.
- Dough has a strange smell: Ensure your ingredients are fresh, especially if you've stored them for a long time. Using fresh ingredients prevents unwanted odors.
Safety Warnings
While the ingredients used in homemade play dough are non-toxic, it’s still wise to supervise young children during playtime to ensure they don’t ingest any play dough. Teach them that play dough is for playing—but not eating.
Creative Variations
One of the most exciting aspects of homemade play dough is that you can customize it! Here are a few creative variations to try:
- Scented Play Dough: Add a teaspoon of vanilla extract or a few drops of essential oils like lavender or lemon for a delightful aroma.
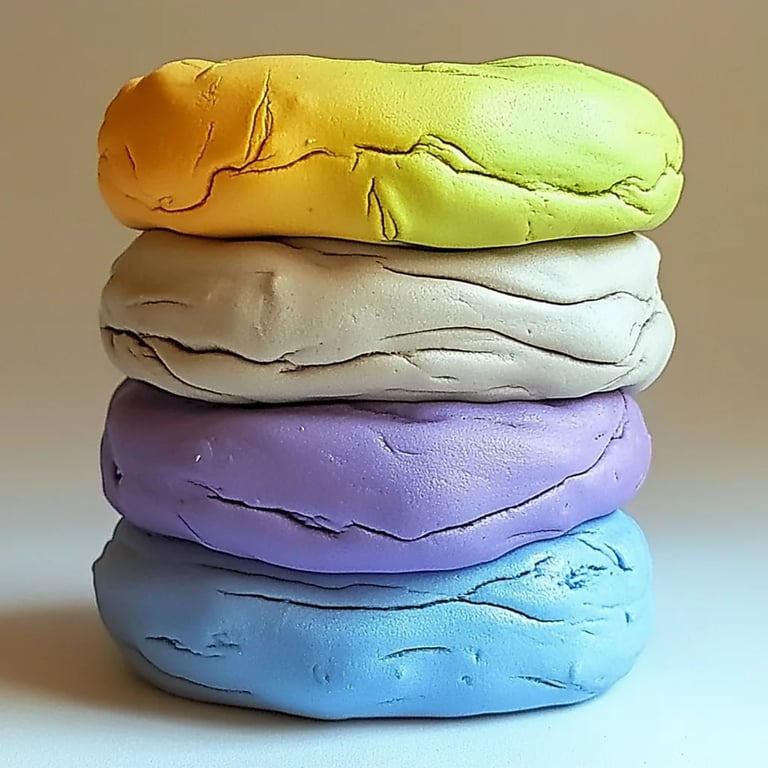
- Color Mixing: Create multiple batches with basic colors, and allow kids to mix them to discover new shades.
- Add-ins: Consider mixing in glitter, essential oils, or even small beads to give your dough unique textures!
Personal Anecdote: Crafting Memories
I remember the first time I made homemade play dough with my youngest niece. We filled the kitchen with laughter as she mixed ingredients, her tiny hands dusted with flour. The look of joy on her face when she created her own beautiful masterpiece was priceless. Moments like these are why I cherish making play dough at home!
Final Thoughts
Homemade play dough is a delightful and engaging activity that brings joy to both kids and adults alike. With a few simple ingredients and some care, you can create a versatile crafting material that fuels imagination. I hope this guide empowers you to experiment and share your unique creations with others. Remember, crafting is not just about the final product, but also about the experience and memories created along the way.
So, what are you waiting for? Roll up your sleeves, gather those ingredients, and let's get crafting! Enjoy the tactile joy of making silky-smooth homemade play dough!