How to Make Salt and Glue Fireworks Painting: A Fun and Creative Craft for All Ages
Hello, fellow crafters! Today, I’m thrilled to share my absolute favorite project—Salt and Glue Fireworks Painting. If you’re looking for a unique and engaging way to channel your creativity while having a blast (pun intended!), this project is perfect for you. It’s popular among kids, teachers, and craft enthusiasts alike, especially during festive seasons like the Fourth of July, New Year’s Eve, and even as a colorful summer activity. Not only is it visually stunning, but it’s also a wonderful sensory experience. Get ready to dive into the world of vibrant art with a sprinkle of science!
What Is Salt and Glue Fireworks Painting?
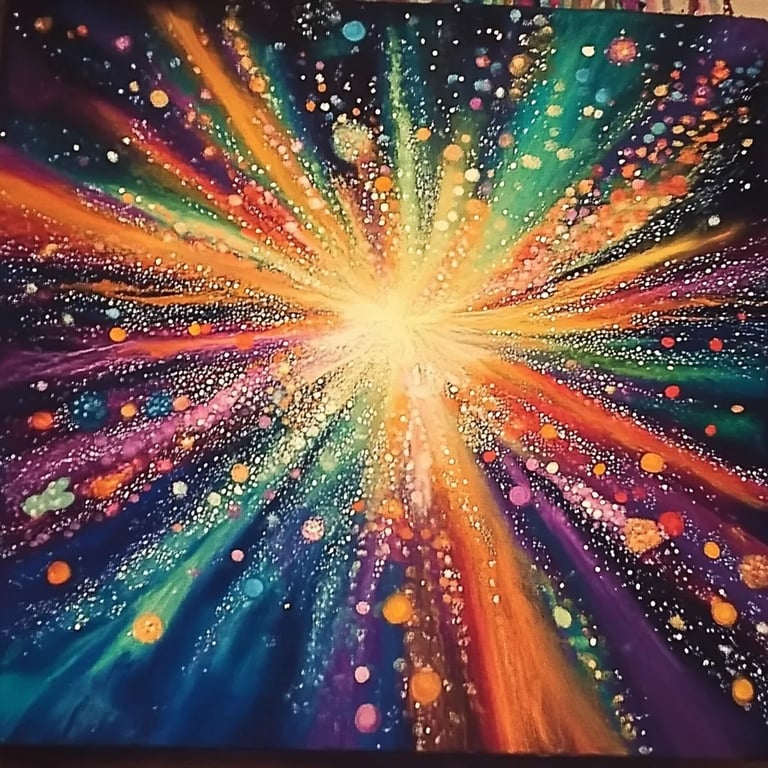
Salt and glue fireworks painting is a fun and interactive art project that allows you to create colorful, fireworks-like explosions on paper. By using simple materials like salt, glue, and food coloring or liquid watercolors, you can mimic the brilliant bursts in the night sky. It’s a fantastic way to engage with younger crafters while also being an enjoyable project for adults. Whether you're decorating your home for Independence Day or just looking for a creative outlet or a fun day indoors, this craft is perfect for all occasions!
What You Need
Let’s gather our materials! You’ll be pleased to know that this project uses simple items that you most likely already have at home. Here’s what you’ll need:
Basic Materials:
- Thick White Paper or Cardstock: This will serve as your canvas.
- White School Glue or Clear Liquid Glue: It’s essential for forming the design.
- Salt: Regular table salt works perfectly!
- Food Coloring or Liquid Watercolors: Choose your favorite colors for the fireworks! I personally love using bright primary colors for maximum effect.
- Water: For diluting the food coloring.
- A Small Plate or Palette: For mixing colors and cutting down on mess.
- A Paintbrush or Dropper: To apply the color onto the salt.
- Paper Towels: Just in case things get a bit messy!
Optional Materials:
- Glitter: For extra sparkle!
- Cotton Swabs: Perfect for detailed painting.
- Spray Bottles: For a different technique using liquid watercolors.
Step-by-Step Tutorial
Now that we have our materials ready, let’s get crafty! I’m here to walk you through each step, sharing my personal tips and tricks along the way.
Step 1: Design Your Fireworks
Grab your thick white paper or cardstock and place it on a flat surface. Using your glue, draw out your firework shapes. Think about those explosions of color in the sky—the rounded centers with rays shooting out.
Tip: Don’t worry about making it perfect! The beauty of fireworks is in their unique patterns. Feel free to use swirling lines and dots.
What Could Go Wrong: If your glue isn’t thick enough, it might not hold the salt properly. A good rule of thumb is applying a generous amount.
Step 2: Sprinkle the Salt
Once your glue masterpiece is ready, take your salt and sprinkle it generously over the wet glue. Ensure you cover all areas where the glue is applied. Give it a good shake over a tray or newspaper to catch any excess salt.
Why It Matters: The salt will absorb the water from the food coloring once applied, allowing for that cool reactive effect. The more salt, the better the effect!
Fix It: If you find too little salt adhering to your glue, don’t fret! Just dab more glue on and sprinkle more salt on the areas where it’s lacking.
Step 3: Mix Your Colors
In a small plate or palette, mix your food coloring or liquid watercolors with a bit of water to thin them out. This will help them flow easily onto the salt and create beautiful bursts of color.
Tip: Use separate containers for each color to avoid muddying them together. The vibrant colors pop best when kept distinct!
Step 4: Paint the Fireworks
Using your paintbrush or dropper, gently touch the mixed colors to the salt. You'll witness this magical moment when the color travels through the salt, creating delightful tendrils and bursts.
Creative Anecdote: One time, I used a dropper for a really bold look—watching the colors spread across the salt was mesmerizing. It reminded me of how a firework unfurls in the sky!
Step 5: Allow to Dry
Once you've added your colors, let your artwork sit undisturbed for a few hours or until it dries completely. A sunny spot can speed up this process.
Tip: If you want to speed things up, gently use a heat gun or hairdryer on a low setting, maintaining some distance to avoid blowing salt away.
Step 6: Clean Up and Display!
After it’s dry, carefully shake off any unadhered salt. Depending on your artistic vision, you can frame your work or simply hang it up as is. Either way, display your beautiful creation proudly!
Safety Warnings
- Supervision: If kids are involved, be sure to supervise their glue and color application.
- Keep Food Coloring Away: This can stain fabrics and surfaces, so be cautious.
Creative Variations
- Texture: Experiment with different grains of salt (like coarse salt) for varied textures.
- Colors: Try contrasting colors, like purple and yellow or red and green, for holiday-themed projects.
- Additional Layers: If you want a more complex design, layer different fireworks over one another once the first layer is dry.
Final Thoughts
Creating Salt and Glue Fireworks Painting is not just about crafting; it’s about experimenting, learning, and most importantly, having fun. Remember, art doesn’t need to be perfect—it’s all about the journey of creation! Embrace those happy accidents along the way—who knows what beautiful masterpieces you’ll create?
Next time you’re looking to spark creativity in your life or with your loved ones, consider this project. I guarantee you’ll leave with vibrant artwork and delightful memories! Happy crafting! 🌟