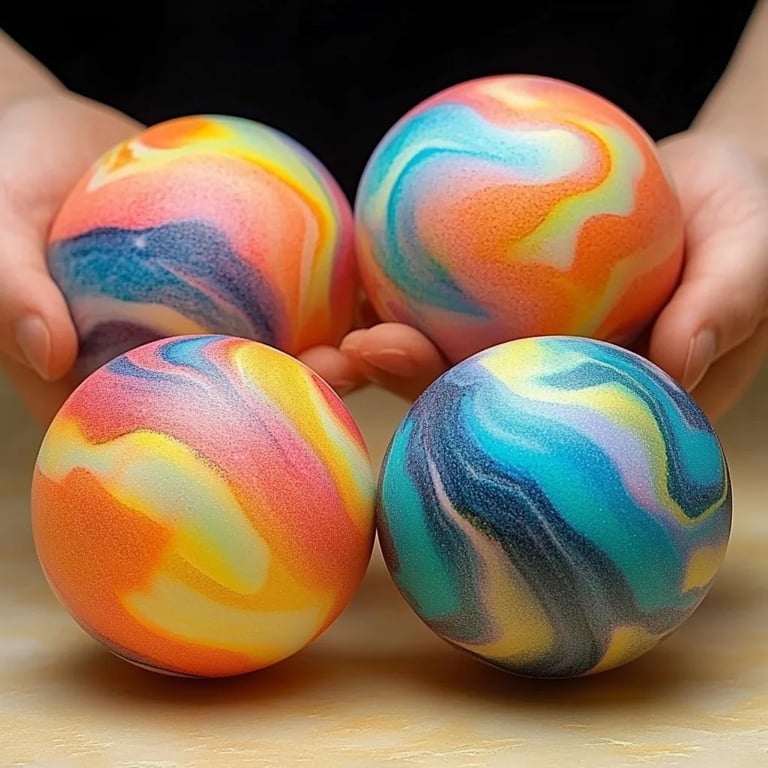
How to Make Rainbow Swirl Bouncy Balls: A Step-by-Step Guide
Hey there, fellow crafters! I’m thrilled you’ve joined me on this colorful journey where we’ll create stunning rainbow swirl bouncy balls. Not only are these delightful orbs a joy for kids, but they also serve as an excellent stress relief tool for adults. Whether you’re looking for a fun weekend project or an engaging activity for kids, rainbow swirl bouncy balls are sure to brighten your day. You might be wondering, “What’s so special about these bouncy balls?” Well, they are bright, vibrant, and most importantly, incredibly satisfying to bounce! So, let’s dive into the process of creating these beauty DIY balls step-by-step!
What You’ll Need
Before we get started, let’s gather our materials. The great thing about this project is that you likely already have many of these items at home or can find them at your local craft store. Here’s what you’ll need:
- White school glue (about 1 cup)
- Cornstarch (1 tablespoon)
- Baking soda (1 tablespoon)
- Food coloring (various colors for that rainbow effect)
- Liquid laundry detergent (1 tablespoon)
- A mixing bowl
- Spoon or spatula (for mixing)
- Plastic gloves (optional for keeping hands clean)
- Wax paper or parchment paper (for placement)
- Small plastic ball mold (optional, but highly recommended)
- Water (a few tablespoons for adjustments)
Why Each Material Matters
- White School Glue: This is the base of your bouncy ball and gives it its playful gooeyness. It’s important to use the right type of glue for the best results.
- Cornstarch: This helps to bind and give structure to your ball, making it more durable and bouncy.
- Baking Soda: It serves as a thickening agent and reacts with the glue to create a denser mix.
- Liquid Laundry Detergent: This is the magic ingredient that will transform your gooey mix into something solid and bouncy!
- Food Coloring: This adds personality and vibrant colors to your balls!
- Mold: Using a mold can ensure uniformity, but if you’re comfortable, you can simply form the balls by hand.
Step-by-Step Tutorial to Make Rainbow Swirl Bouncy Balls
Step 1: Mix the Base
In a large mixing bowl, combine 1 cup of white school glue and 1 tablespoon of cornstarch. This step is crucial as it sets the texture of your bouncy ball. Mix it well until there are no lumps of cornstarch. If you notice it’s too stiff, feel free to add a spoonful of water to loosen the mix a bit.
Tip: Use a spatula instead of a spoon to ensure a smoother consistency.
Step 2: Add the Color
Now comes the fun part! Divide the glue mixture into separate bowls—one for each color you plan to use. Add several drops of food coloring to each bowl and mix thoroughly until you achieve your desired shades.
Personal Anecdote: I remember the first time I made these balls with my kids, and we went a little overboard with the colors—our kitchen looked like a rainbow exploded! The joy on their faces was priceless, and it encouraged them to express their creativity.
Step 3: Combine Ingredients
Once your colors are mixed, it’s time to combine them. Add 1 tablespoon of baking soda to one of the colored mixtures, then 1 tablespoon of liquid laundry detergent to the same bowl. Mix everything thoroughly until it begins to clump together.
Why This Step Matters: The baking soda and detergent activate the glue to create a polymer chain that’s crucial for the bouncy texture. If it’s not mixed well, your balls might not bounce properly.
Step 4: Form Your Balls
Now, for the creative swirl part! Take small amounts of each colored dough and roll them into balls between your palms. Then gently squish them together, creating a lovely swirl effect. If you’re using a mold, just scoop the mixed dough into the mold and press it down firmly.
Safety Warning: If you’re crafting with kids, remind them not to put the dough in their mouths, as it’s not edible.
Step 5: Drying Time
Place your colorful creations onto wax paper or parchment paper. Let them dry for about 24 hours. The drying time is essential—as hard as it may be to wait, it really does pay off in the end for a great bounce!
What Could Go Wrong? If you try to play with them before they’re fully dry, they may not hold their shape. Be patient; the waiting game is part of the fun!
Step 6: Test Your Bouncy Balls!
The next day, gently bounce your creations on a hard surface, and watch them spring back up! There’s nothing quite like that moment of joy and surprise when they bounce higher than expected.
Step 7: Storage
To keep your bouncy balls fresh, store them in a cool, dry place. Avoid direct sunlight, as heat can make them deform.
Variations & Creative Alternatives
- Scented Balls: Add a few drops of essential oils to your mix for a scented twist.
- Glow-in-the-Dark: Use glow-in-the-dark paint instead of food coloring for an exciting nighttime play option.
- Large Bouncy Balls: Use a larger mold to create supersized versions for even bouncier fun!
Conclusion
Creating rainbow swirl bouncy balls is not only a fun craft but also a fantastic way to encourage creativity and imagination in both kids and adults alike. Whether you’re crafting alone or with your family, the process is just as enjoyable as the finished product. Remember, crafting is about experimenting and having fun! So don’t be afraid to tweak the recipe or try out different colors and scents.
I truly hope you enjoyed this guide and feel inspired to make your own colorful creations. Happy crafting, and may your bouncy balls bring you endless joy and laughter!