How to Make Rainbow Soap Foam: A Step-By-Step Guide
Hello, dear crafters! Today, I’m thrilled to share with you a fun and colorful project that is bound to bring joy not only to you but to anyone lucky enough to experience it. We’re diving into the whimsical process of creating Rainbow Soap Foam. This vibrant concoction has become popular at parties, playdates, and even in classrooms as a sensory activity for kids and adults alike. Trust me, once you’ve made it, you’ll want to whip it up again and again!
What is Rainbow Soap Foam?
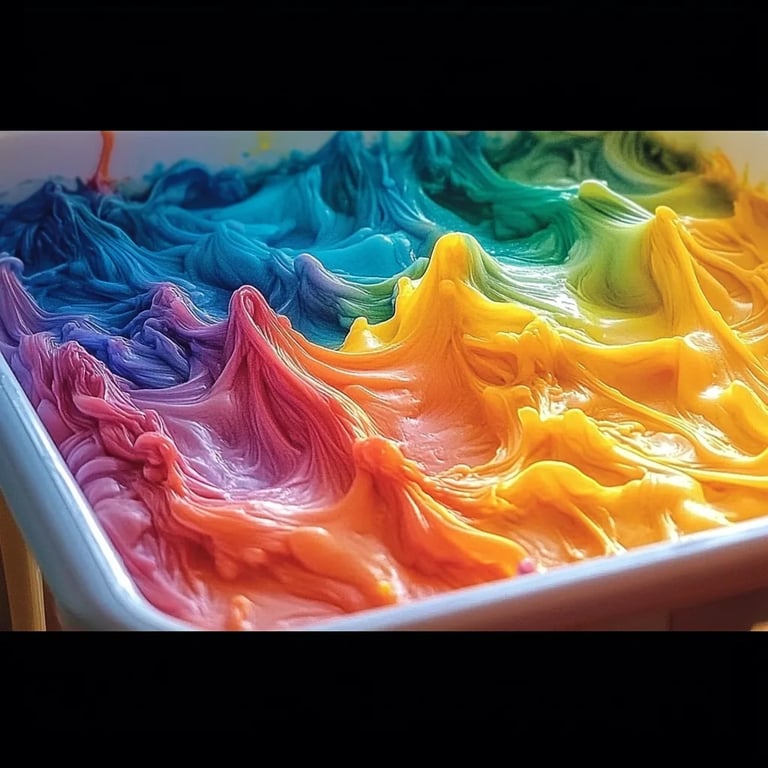
Rainbow Soap Foam is exactly what it sounds like: a light, fluffy, colorful foam made from soap solutions that can engage the senses and spark creativity! It’s perfect for activities like bubble play, art projects, or even a fun bath time twist. The colors blend beautifully, creating mesmerizing swirls that are sure to captivate anyone watching.
Why is it So Popular?
The beauty of Rainbow Soap Foam lies in its simplicity and versatility. Not only is it easy to make, but it also provides an opportunity for learning about colors, textures, and even basic chemistry! It's been a hit at birthday parties, as an art activity, or simply as a playful experience in the backyard.
What You’ll Need
Before we dive into the step-by-step process, let’s gather our materials. Here’s what you’ll need:
Ingredients:
- Dish Soap: 1 cup (Use a clear, non-toxic dish soap for better results.)
- Water: 4 cups (Distilled water is best, but tap water will work too.)
- Food Coloring: Red, Yellow, Green, Blue (Choose your desired colors!)
- Corn Syrup: 2 tablespoons (This ingredient helps stabilize the foam.)
- Optional: Glycerin (1 tablespoon can add extra thickness to the foam.)
Tools:
- A large mixing bowl
- A whisk or an electric mixer (a hand mixer is perfect for this task)
- Small cups or containers (for dividing the soap solution)
- A large bin or tray for catching the foam
- A small straw or a bubble blower (for creating foam)
—
Step-by-Step Tutorial
Alright, let’s get crafting! Follow along with my detailed guide below, and remember, patience is key.
Step 1: Prepare Your Soap Solution
In a large mixing bowl, combine 1 cup of dish soap with 4 cups of water. I prefer using a whisk for this step as it ensures a nice blend without creating too many bubbles at first.
Why this matters: Mixing the dish soap with water creates the base of our foam, while the soap breaks the surface tension of the water, allowing bubbles to form. If you don’t mix them well, you may not achieve the desired foam.
What Could Go Wrong:
- If the mixture is too watery, your foam will lack structure. You can fix this by adding a little more dish soap.
- If it’s too soapy, the foam will collapse quickly. Adjust by adding more water.
Step 2: Add Corn Syrup and Optional Glycerin
Stir in the 2 tablespoons of corn syrup, and if you’re using it, also add the glycerin. Gently mix until everything is well combined.
The science here is cool: Corn syrup and glycerin add thickness, which helps stabilize the foam and keeps it from collapsing too quickly!
Step 3: Divide and Color
Next, pour the soap solution into several small cups or containers—one for each color you plan to use. Add a few drops of food coloring to each container; feel free to mix and match to create new shades! Use a spoon to gently stir the colors into the soap solution.
Why this step is essential: This is the moment you introduce the rainbow! The colors will swirl through the foam, creating that dazzling visual appeal.
Step 4: Create the Foam
Now comes the fun part! Use a straw or bubble blower to blow into the soap solution, creating foam. If using an electric mixer, turn it on low until the foam begins to thicken.
Tip: Do not blow too hard; otherwise, your foam may turn into a sudsy disaster! Keep it gentle.
What Could Go Wrong:
- If little or no foam is forming, try increasing the soap concentration. You may also be using too high of a speed if you’re mixing—reduce it.
Step 5: Assemble Your Rainbow Foam
Once you have a good amount of foam formed, transfer different colors into your large bin or tray. Make sure to alternate layers of foam to form your rainbow. Gently move some of the foam to allow the colors to blend and swirl together, but don't mix too much!
Personal Insight: I love to use my hands for this step! It’s messy but adds to the fun. Just be prepared for a colorful adventure afterwards—an apron might just save your clothes!
Step 6: Enjoy!
Your Rainbow Soap Foam is now complete! Get creative by using different tools to sculpt, play, or even paint with the foam. Offer it as an interactive activity to kids, or use it as a calming sensory experience.
—
Creative Variations and Tips
- Scented Foam: Add a few drops of essential oil or flavored extract to the solution for an aromatic twist.
- Glow-in-the-Dark Foam: Add glow-in-the-dark paint for a magical nighttime sensory experience.
- Natural Dyes: For a natural twist, use beet juice for red, turmeric for yellow, and spirulina powder for green.
Safety Warnings
- Always ensure that any food coloring or additives used are non-toxic, especially if kids are playing with the foam.
- Be cautious if anyone has allergies to specific ingredients—double-check labels!
—
Conclusion
Making Rainbow Soap Foam has been such a wonderful addition to my crafting repertoire and is a sure-fire way to bring joy and creativity into any gathering. Whether you’re crafting with kids or exploring on your own, this project is to inspire you to make your playtime colorful and exciting!
So, what are you waiting for? Gather your materials and let your creativity soar! If you try this project, I’d love to hear your stories and see your rainbow creations. Happy crafting!