How to Make Rainbow Glow Moon Dough: A Creative Crafting Adventure
Welcome, crafty friends! Today, I'm excited to share a delightful project that holds a special place in my heart: Rainbow Glow Moon Dough. If you're unfamiliar with it, Moon Dough is a soft, moldable substance that brings a pinch of magic to playtime. Its unique texture resembles a cross between traditional modeling clay and kinetic sand, making it incredibly enjoyable for children (and adults!) to knead, squeeze, and create. The rainbow swirl and gentle glow add an enchanting twist that sparks the imagination, making it perfect for sensory play, themed parties, or quiet time creativity.
Why is Rainbow Glow Moon Dough So Popular?
One of the many reasons this dough has become a favorite among parents and educators is its versatility. It’s not only an excellent tool for developing fine motor skills but also a fantastic way to engage in sensory exploration. Whether you’re hosting a birthday party, seeking an engaging weekend activity with your kids, or simply looking to unwind through creativity, Moon Dough fits the bill. Plus, it’s both non-toxic and easy to clean up, making it a win-win for parents.
Let's jump right into the fun of making Rainbow Glow Moon Dough! Grab your supplies, and if you're ready, let me guide you through each step of this colorful and soothing crafting process.
Materials You’ll Need
Before we start, let’s gather our materials. This recipe is simple and can be made with ingredients you likely already have at home:
- 2 cups of flour (all-purpose)
- 1 cup of salt
- 2 tablespoons of vegetable oil (can substitute with coconut oil)
- 2 cups of water
- 1 tablespoon of cream of tartar (essential for that lovely dough texture; you can find it in the spice aisle!)
- Food coloring (gel colors yield the most vibrant results)
- Glow-in-the-dark paint (available at craft stores, ensure it’s non-toxic)
Step-by-Step Tutorial
Step 1: Creating the Base Dough
- Mix Dry Ingredients: In a large mixing bowl, combine 2 cups of flour, 1 cup of salt, and 1 tablespoon of cream of tartar. Stir these together until well blended. This is an important step because the cream of tartar helps achieve that soft, pliable texture we’re after.
*Tip*: Use a whisk or fork for easy mixing! Ensuring your dry ingredients are well blended will prevent clumps in your dough later.
- Combine Wet Ingredients: In another bowl or measuring cup, combine 2 cups of water and 2 tablespoons of vegetable oil. You’ll combine these into the dry mixture in the next step.
*Note*: If you’re using coconut oil, melt it first to incorporate more easily.
- Mix the Dough: Slowly pour the wet ingredients into the dry mixture. Using a wooden spoon, mix until a dough starts to form. If it seems too dry, add a splash more water; if it's too sticky, gradually add more flour until you reach a workable consistency.
*What Can Go Wrong?*: The most common issue is ending up with dough that’s either too wet or too dry. If your dough is too sticky, don't panic! Just add flour a tablespoon at a time until it reaches your desired texture.
- Knead the Dough: Once the dough comes together, turn it out onto a clean surface and knead it for 2-3 minutes. This action helps the dough become smooth and elastic.
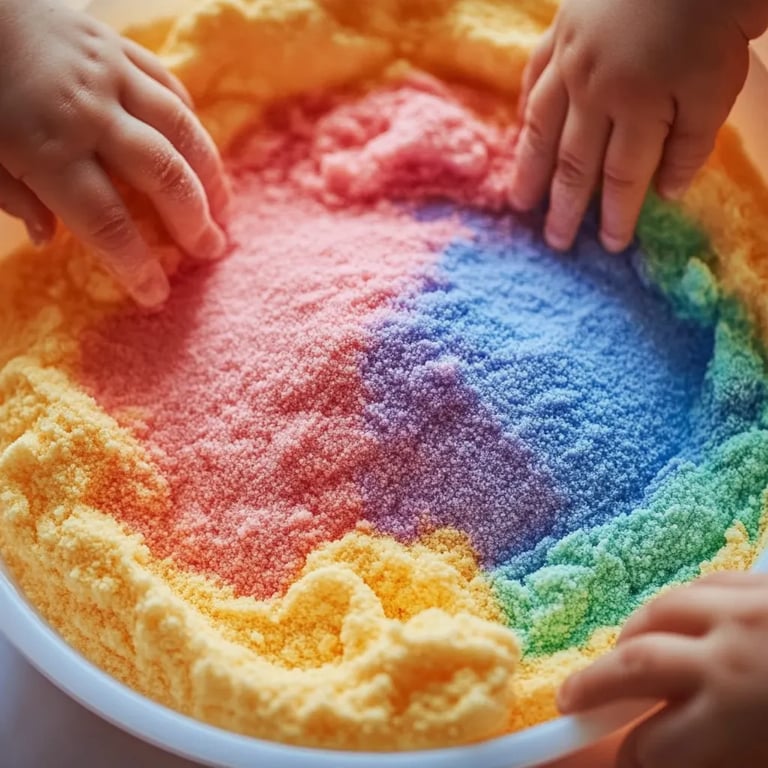
Step 2: Creating the Rainbow Swirl
- Divide the Dough: Now that you've created a lovely, singular dough base, divide it into four equal parts. This is when the fun (and the rainbow magic) starts!
- Add Color: Take one portion of the dough and create a small well in it. Add a few drops of your chosen food coloring into the well. Fold the dough over the color and knead it until the color is fully incorporated. Repeat this for all colored portions.
*Pro Tip*: Using gel food coloring gives you brighter hues. If you only have liquid food coloring, you'll likely need more, or to account for the fact it can make your dough a bit stickier. Just add extra flour as needed.
- Creating the Rainbow Effect: Once each portion is colored, you can gently form each colored piece into a "snake" shape and place them side by side. Roll these together with your hands to create a swirling effect.
*What Can Go Wrong?*: If your colors begin to mix too much and turn into a brownish hue, don’t panic! You can always start a new small batch and add it to the mixed dough gradually to restore some of the color variations.
Step 3: Adding the Glow
- Incorporate Glow-in-the-Dark Paint: You can mix glow-in-the-dark paint directly into the dough or sprinkle it lightly over the surface. I recommend adding it to smaller portions of dough first so you can create glowing swirls or patterns!
*Safety Warning*: Always ensure the glow paint you choose is labeled safe for children. Avoid letting kids ingest any of the paint, and supervise play closely.
Step 4: Store Your Creation
- Storage: When you're done playing with your Rainbow Glow Moon Dough, be sure to store it in an airtight container to keep it fresh. An old plastic food container or zip-top bag works perfectly.
*Tip for Longevity*: If the dough starts drying out, add a few drops of water and knead it back to life!
Creative Variations and Personal Anecdotes
As someone who loves to craft for occasions, I've made variations of this Moon Dough for themed parties. One time, we created a galaxy version for a space-themed birthday bash—deep blues and muted purples with sparkles. The kids were awe-struck when they could mold planets and stars! You can try similar adaptations with seasonal colors or scents (like pumpkin spice for fall!).
I’ve also discovered that you can swap some of the flour for cornstarch for an even softer dough if you’re after a silkier feel!
Conclusion
And there you have it—a complete guide to creating your own Rainbow Glow Moon Dough! I hope my steps, tips, and personal anecdotes inspire you to dive into this sensory crafting adventure. It’s such a rewarding experience, and I promise the smiles from your kids (or your inner child) will be worth the effort.
Remember, crafting can be a marvelous mess, but it’s also about letting go and embracing creativity. Don't hesitate to experiment and make this recipe your own! Happy crafting, and may your days be filled with colorful creativity and glowing imaginations!