How to Make Race Car Ice Rescue: A Step-by-Step Guide to Create a Fun and Functional Craft
Hello fellow crafters! Today, I'm excited to share with you my comprehensive guide on making Race Car Ice Rescue—a creative and playful ice pack that can be used to soothe bumps and bruises or to keep your snacks cool during a summer event. This charming DIY project is not only popular among those with kids or racing fans, but it embodies a sense of fun that ignites joy in everyone who encounters it! Whether you’re preparing for a spirited birthday party, a summer barbecue, or just need a special touch for first aid kits, Race Car Ice Rescue will surely be a hit.
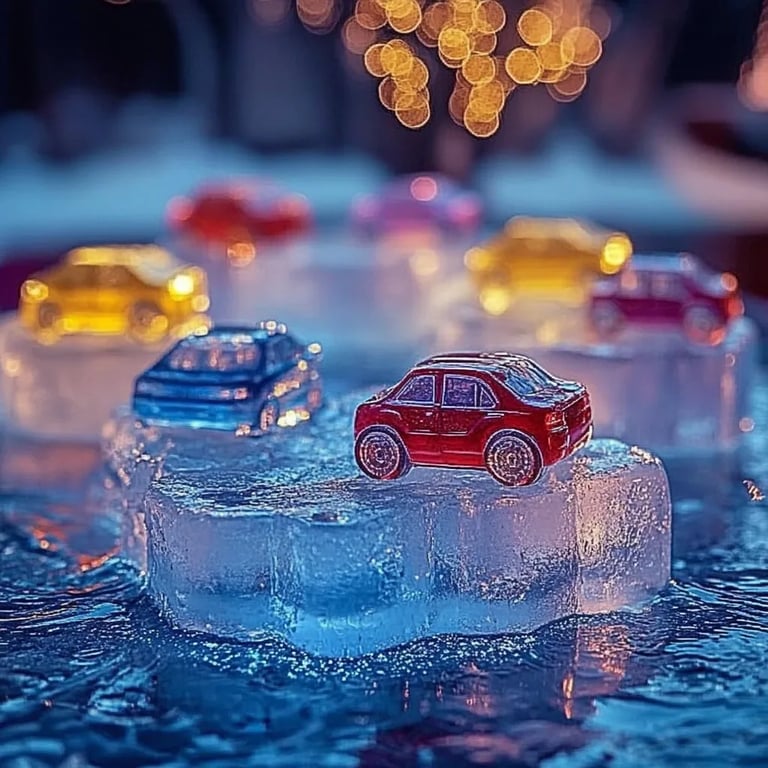
What is Race Car Ice Rescue?
Race Car Ice Rescue takes the innovative twist of combining a classic ice pack with a fun race car design. This makes it appealing, especially to children—or even adults who are young at heart. Picture your little one accidentally bumping into something and feeling that immediate sting; what if they could grab a lively, colorful race car-shaped ice pack instead of a plain one? Plus, it's a great way to keep snacks cool when you're on the go. There’s just something so uplifting about using a race car design that adds a sprinkle of joy to an otherwise mundane experience!
When and How Can It Be Used?
Use your Race Car Ice Rescue during various situations, such as:
- After sports practice, to soothe sore muscles.
- When dealing with those spontaneous bumps and bruises.
- Preparing for a picnic or outdoor event to keep your snacks cool.
- As a fun element in themed parties.
Materials Needed
Before we dive into the process, let's gather our materials. You will need:
- Small resealable plastic bags (ideally sandwich size)
- Water (about 1-2 cups)
- Dish soap or corn syrup (for a gel-like consistency)
- Blue food coloring (optional, for added flair)
- Race car stickers or images (for decoration)
- Permanent markers or erasable fabric markers (for personalization)
- Wrapping paper or cloths (for constructing a cozy casing)
- Scissors
- Tape
A Step-by-Step Tutorial
Now that we have our materials, let’s get started on creating our very own Race Car Ice Rescue!
Step 1: Preparing the Ice Pack
- Why this matters: This step sets the foundation for your ice pack's effectiveness.
- Instructions: Fill a small resealable plastic bag with *one cup of water*. For a more gel-like consistency, add about *two tablespoons of dish soap or corn syrup*. If you choose to maximize aesthetics, sprinkle in a few drops of blue food coloring to mimic water or the color of the race car theme.
- What could go wrong: If you fill the bag too full, it might burst. Make sure to leave some air in the bag before sealing it tightly.
Step 2: Seal and Shake
- Why this matters: Mixing well ensures an even distribution of the gel-like substance, which is essential for effective cooling.
- Instructions: Seal the bag carefully to minimize leakage, then give it a good shake! You want to ensure that the soap or corn syrup is evenly mixed with the water.
Step 3: Freeze the Ice Pack
- Why this matters: Proper freezing will define how effective your ice pack will be.
- Instructions: Place your bag flat in the freezer. Ideally, let it freeze for about *1-2 hours*. This duration allows the mixture to fully set and become a comfy gel.
- What could go wrong: If left for too long, it might freeze solid, and you won’t get the desired comfort when applying it. If this happens, gently let it sit at room temperature for a few minutes before use.
Step 4: Decorating the Race Car Ice Rescue
- Why this matters: Personalization not only makes it unique but also encourages kids to embrace the ice pack.
- Instructions: While waiting for your pack to freeze, you can start decorating! Take the wrapping paper or cloth and cut it into a size that can wrap around your plastic bag snugly. Use race car stickers or draw fun race car designs with permanent markers to make it visually appealing.
- Personal anecdote: I remember vividly when I first made these; I added my child’s name in bold colors, and it sparked an instant connection. We still use that first one regularly!
Step 5: Constructing a Cozy Casing
- Why this matters: A cozy casing adds an additional layer of comfort and playfulness to the ice pack.
- Instructions: Once your ice pack is frozen and your wrapping is designed, you can wrap it up! Use tape to secure the edges of the wrapping or cloth you’ve chosen, ensuring the bag remains protected and free from dirt.
Step 6: Using and Storing
- Why this matters: Correct use and storage keep the ice pack longer lasting.
- Instructions: Your Race Car Ice Rescue is ready to go! When needed, simply apply it to the affected area, and after use, store it back in the freezer for your next need. When not in use, leave it in the freezer as a reliable, on-hand remedy.
Safety Warnings
- Be cautious around sharp edges. When using scissors, make sure to supervise younger children.
- Avoid direct contact with skin for extended periods to prevent frostbite, especially in sensitive areas.
Creative Variations
- Swap the Theme: Use different stickers or colors to create an entire fleet of vehicles. You could have trucks, boats, or even planes!
- Make it a Game: Turn the ice pack into a friendly competition where kids ‘rescue’ their race cars during “crashes” at playtime. This could reinforce their comfort with using the ice pack during real bumps!
Final Thoughts
Creating your very own Race Car Ice Rescue is a delightful blend of fun and functionality! Not only can it provide relief to little ones after a mishap, but it serves as a great interactive craft project that you can enjoy together. I hope this guide inspires you to bring a splash of creativity into your home. Remember—crafting is all about experimentation and joy, and your unique take on this craft can lead to wonderful memories that last a lifetime. Happy crafting!