How to Make Puffy Slime: Your Ultimate Guide to Crafting the Perfect Fluffy Fun
Hello fellow crafters! Today, I'm thrilled to share a delightful and engaging project that you can do right at home: making puffy slime! This fluffy concoction is not only fun to play with but also serves as an excellent stress reliever for both kids and adults alike. With its airy texture and satisfying squishiness, it’s no wonder puffy slime has become a viral sensation on social media and a favorite among DIY enthusiasts. Whether you’re looking to entertain your kids during a rainy day, de-stress after a long week, or just dive into a fun craft, puffy slime is the perfect choice!
Why Puffy Slime?
Puffy slime is often celebrated for its therapeutic qualities as well as its playful properties. Kids love squishing and stretching it, while adults often find it a great sensory tool for mindfulness relaxation. Plus, the best part? You can customize it with colors, scents, and add-ins to suit your own unique style. Whether you’re creating it for a birthday party, a sensory bin, or simply for your personal enjoyment, puffy slime is versatile and endlessly fun!
Materials You’ll Need
Before we dive into the step-by-step process, let’s gather our supplies. You can find many of these ingredients at your local craft store or possibly even in your kitchen. Here’s what you need:
Essential Ingredients:
- White school glue (PVA glue): 1 cup
- Shaving cream: 2-3 cups (the foamy kind, not the gel)
- Baking soda: 1 teaspoon
- Contact lens solution: 1-2 tablespoons (this contains boric acid, which acts as an activator)
- Food coloring or paint: Optional, for any color you desire
- Mixing bowl and spoon: For combining your ingredients
- Storage container: To keep your slime fresh when you're done playing
Step-by-Step Tutorial
Step 1: Mix the Glue and Shaving Cream
In a large mixing bowl, start by pouring in 1 cup of white school glue. I love using washable school glue as it’s non-toxic and safe for children. Next, add 2-3 cups of shaving cream. This is where the magic happens! The shaving cream gives the slime its puffy and fluffy texture.
Why This Step Matters: The ratio of glue to shaving cream is key. Too much glue will yield a denser slime, while too little will not hold its shape. Aim for a light and airy mixture!
What Could Go Wrong: If you accidentally add too much shaving cream or glue, don't worry! Just adjust with a little more of the other ingredient until you find a good balance.
Step 2: Add Baking Soda
Once you’ve thoroughly mixed the glue and shaving cream together, it’s time to add in 1 teaspoon of baking soda. This ingredient helps to stabilize the slime and gives it a bit of a stretch.
Why This Step Matters: Baking soda is crucial for the chemical reaction that allows the slime to form properly. Skipping this step may result in runny or non-forming slime.
Step 3: Choose Your Color
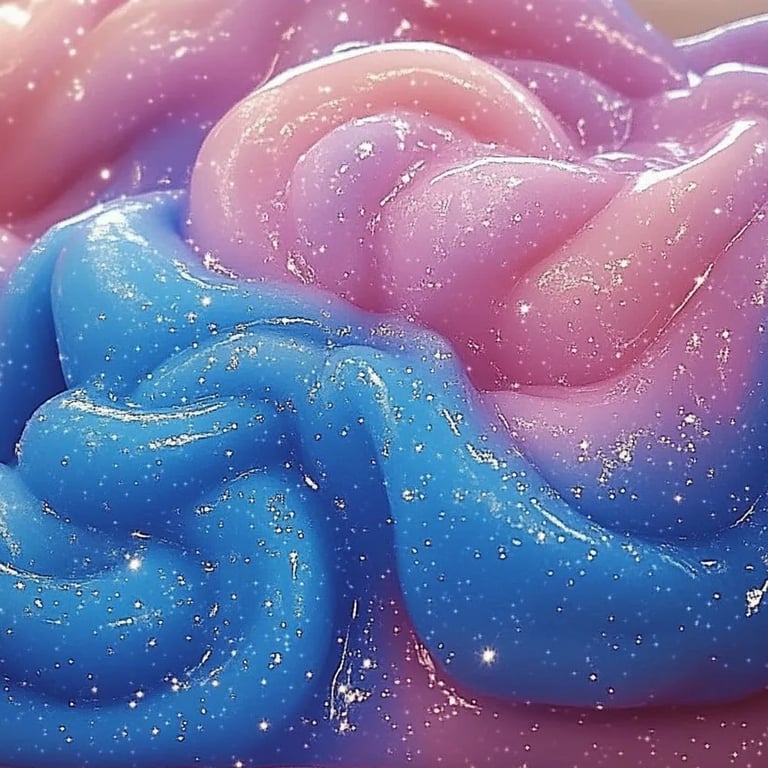
This is the fun part! Add a few drops of food coloring or paint to the mixture. If you’re feeling adventurous, you can even mix different colors to create your own unique shade!
Personal Anecdote: I remember one time, my daughter and I were making slime and accidentally mixed blue and yellow—it turned into a beautiful green that we couldn’t have planned better if we tried!
Step 4: Activate Your Slime
Now for the magic! Gradually add 1-2 tablespoons of contact lens solution to the mixture while stirring. You’ll start to see the slime pull away from the sides of the bowl. Keep mixing until the slime begins to form a cohesive mass.
Tip: If it’s still too sticky, add a little more contact lens solution until you reach your desired consistency.
Step 5: Knead the Slime
Once the slime starts to come together, take it out of the bowl and knead it with your hands. This step is essential for giving the slime that iconic puffy texture. Kneading helps to evenly distribute the ingredients and air throughout the slime.
Safety Warning: Be cautious about using contact lens solution if you or anyone in your family has sensitive skin or allergies. Consider wearing gloves or adjusting the amount if necessary.
Troubleshooting Common Issues
- Too Runny: If your slime is not holding together, add a little more baking soda and contact solution. Make sure to mix thoroughly.
- Too Sticky: Knead in more contact solution, but do this gradually to avoid making the slime too firm.
- Doesn’t Hold Shape: Check the ratio of glue to shaving cream. If there’s too much glue, the slime will be dense instead of puffy.
Creative Variations to Try
- Scented Slime: Add a few drops of essential oils to your mixture for a lovely aroma. This can add an additional sensory dimension to your slime.
- Add-ins: Consider adding glitter, foam beads, or confetti to give your puffy slime some sparkle and texture.
- Color Themes: Create seasonal or holiday-themed colors! Think green for St. Patrick’s Day, orange for Halloween, or pastel shades for spring.
Storage Tips
To keep your puffy slime fresh, store it in an airtight container. If the slime becomes sticky after a few days, you can revive it with a small addition of contact lens solution.
In Conclusion
Making puffy slime is not only gratifying but also allows for creativity and experimentation. Whether you're making it for yourself, sharing it with friends, or teaching kids a new crafting skill, there’s something magical about squishing and stretching your very own fluffy creation.
So gather your materials, invite a crafting buddy, and dive into the world of puffy slime. Remember to enjoy the process, experiment with variations, and most importantly—have fun! Happy crafting!