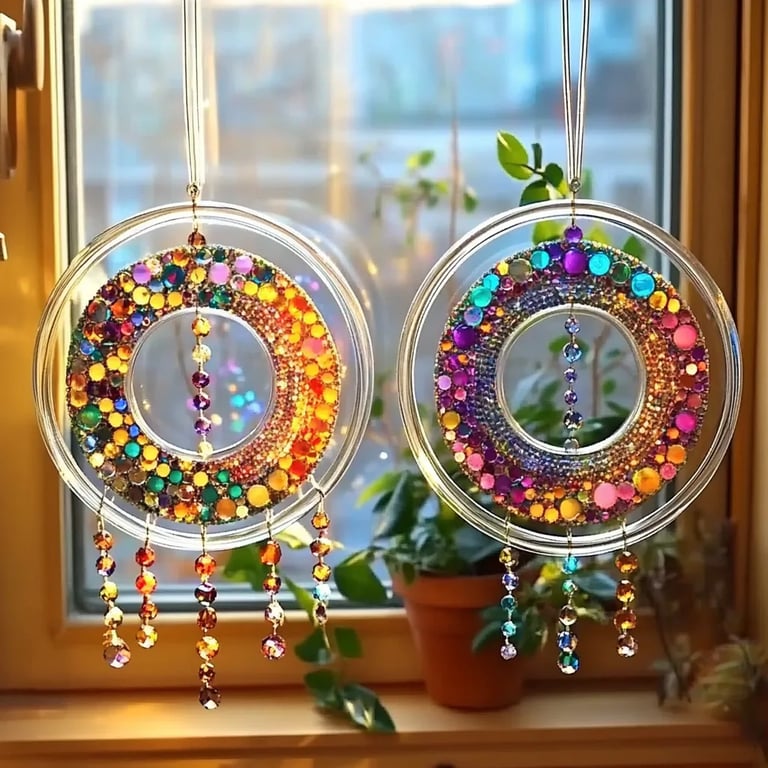
How to Make Pringle Lids Suncatchers: A Joyful Crafting Adventure
As someone who has always found joy in crafting, I'm delighted to share one of my favorite projects with you: Pringle Lids Suncatchers! These vibrant creations not only brighten your windows with colorful light but also serve as a wonderful reminder of how creativity can transform everyday objects into something magical. Whether you’re a seasoned crafter or a beginner looking for a fun weekend project, making suncatchers from Pringle lids is a delightful way to spend your time.
In this in-depth guide, I'll take you through the complete process—from preparing your materials to hanging your finished suncatcher in the sunlight. You'll see why this project has become increasingly popular among crafters of all ages. Let’s jump in!
Why I Love Pringle Lids Suncatchers
These suncatchers are not only beautiful, but they’re also eco-friendly! Using Pringle lids means upcycling something that would typically be tossed aside, giving it new life and purpose. Plus, they are versatile—perfect for decorating your home, adding a pop of color to your garden, or even crafting gifts for friends. I can assure you that watching the light dance through these suncatchers will put a smile on your face every time.
Materials You’ll Need
Before we dive into the crafting process, here's what you’ll need:
- Pringle Lid: Cleaned and dried.
- Acrylic Paints: Any colors you love! Bright and bold colors work best.
- Paintbrushes: A couple of sizes (one for larger areas, another for detailing).
- Plastic Wrap or Wax Paper: For the paint to dry on.
- Mod Podge or Clear Acrylic Sealer: For a glossy finish and to protect your artwork.
- Glass or Plastic Beads: Optional, for added embellishment.
- String or Fishing Line: For hanging the suncatcher.
- Glue (optional): If you're adding beads.
- Scissors: For cutting string or any additional materials.
Step 1: Prepare Your Workspace
Before jumping into crafting, take a moment to set up a clean, well-lit workspace. Make sure to cover your surface with newspaper or an old tablecloth to protect it from paint spills. Trust me; this will save you from a lot of unnecessary cleanup!
Step 2: Cleaning the Pringle Lids
Make sure your Pringle lids are clean and free of any grease or residue. Rinse them under warm water and gently scrub with a mild soap if needed. Lay them on a towel to dry completely. If the lids are still sticky or have any residue, the paint won't adhere properly, which could lead to frustration later on.
Step 3: Paint the Lids
This is where the fun begins!
- Choose Your Colors: I find that a mix of bold and pastel colors adds a playful contrast.
- Start Painting: Use your larger brush to apply a base coat of color to the lid. Keep in mind that lighter colors may require multiple coats, while darker colors usually cover well with one.
- Add Detail: Once the first layer dries (usually takes about 30 minutes), use a smaller brush to add details—swirls, dots, or whatever inspires you!
Helpful Tip: If you accidentally paint outside the lines, don’t panic! You can either touch it up with a more delicate brush once it dries or embrace the happy accident as part of your unique design.
Step 4: Optional Beads Addition
If you’re feeling extra crafty, you can glue beads onto the lid after the paint has dried. These beads will catch the light and add an extra dimension to your suncatcher. Just make sure you let the glue dry completely before moving on. I usually find that adding a little sparkle can enhance the overall beauty of the piece.
Step 5: Seal Your Artwork
Once your paint is completely dry, it’s important to seal it. This step not only protects your beautiful artwork from fading but also gives it a lovely glossy finish.
- Apply Mod Podge or Clear Sealer: Use a clean brush to apply a thin layer over the painted surface.
- Let it Dry: Follow the manufacturer’s drying instructions, which usually take about an hour.
Step 6: Add Your Hanging Mechanism
To turn your painted lids into a proper suncatcher, you need to create a way to hang them up:
- Cut a Length of String: About 12-24 inches long, depending on how high you want to hang it.
- Puncture a Hole: Use a sharp object (like a needle or pin) to poke a small hole near the edge of the lid. Be extremely careful during this step to avoid injury.
- Thread the String Through: Pull the string through the hole and tie a knot, leaving enough length to hang it securely.
Step 7: Hang and Enjoy!
Choose a sunny window or a bright spot in your garden. As the sunlight hits your suncatcher, you’ll see the colors dance and twirl in the light—nothing is more satisfying than enjoying the fruits of your creativity!
Troubleshooting Tips
- Paint Doesn’t Stick: If your paint isn’t sticking, it’s likely due to leftover oils on the lid. Make sure your lids are thoroughly cleaned.
- Beads Falling Off: Ensure your glue is strong enough for the beads and give them ample time to dry before hanging.
- Not Enough Color: If you find that the colors are looking muted when dried, consider adding another coat before sealing.
Creative Variations
Feel free to get creative with this project! Here are a few variations when making your Pringle lids suncatchers:
- Layering Colors: Experiment with layering different colors of paint. You can create beautiful ombre effects with just a little trial and error.
- Stencils: Use stencils to create intricate designs if freehand painting isn’t your strong suit.
- Seasonal Themes: Change the colors and designs with the seasons—think pastel colors for spring, vibrant hues for summer, warm tones for fall, and cool colors for winter.
Final Thoughts
Crafting is an incredibly rewarding experience, and making Pringle lids suncatchers is no exception. I hope this guide has inspired you to gather your materials and start creating. Remember, there’s no right or wrong way to craft; it’s all about expressing your creativity and enjoying the process.
As you hang your suncatcher and watch it catch the light, reflect on the joy you’ve poured into this project. Happy crafting, and may your windows be filled with sunshine!