How to Make Princess Elsa Slime: A Step-by-Step Guide to Crafting Frozen Fun
Hello, fellow crafters and Frozen fans! Today, I’m excited to share with you my beloved recipe for making Princess Elsa Slime—an enchanting creation that you can enjoy any time of the year, but especially perfect for themed parties, playdates, or just a fun day at home. Inspired by the beloved character from Disney's *Frozen*, this slime is not just a tactile treat; it’s a whimsical project that brings joy to children and adults alike.
Why is Princess Elsa Slime So Popular?
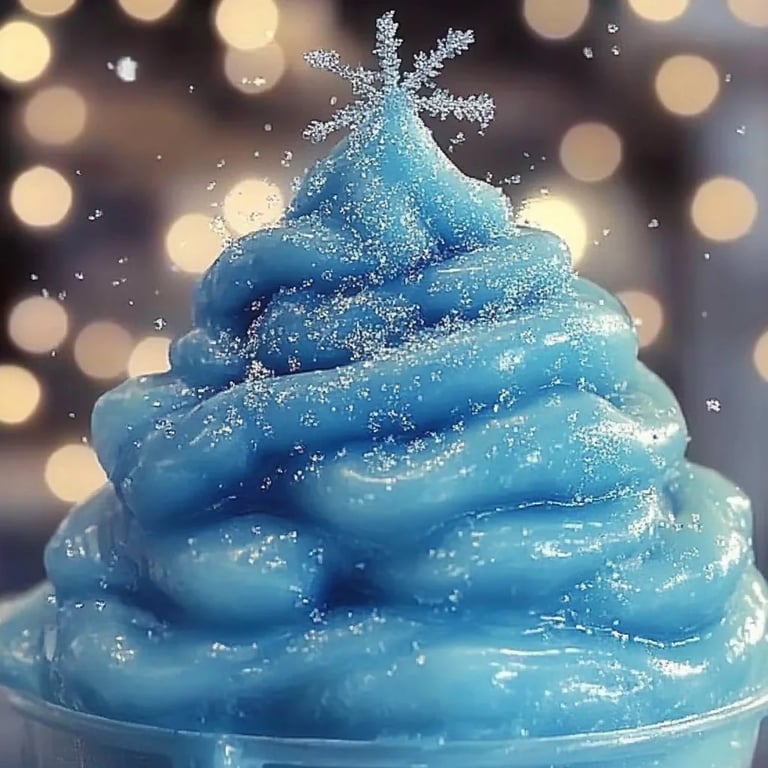
Princess Elsa Slime has captured the hearts of many thanks to its vibrant blue and sparkly appearance reminiscent of Elsa’s frosty kingdom. It’s an engaging activity that encourages creativity and sensory exploration. Whether you're a parent, a teacher, or a craft enthusiast, making slime can provide a perfect bonding experience and offer hands-on learning about science, texture, and colors.
So gather your ingredients and let’s dive into the magical world of slime-making!
When Can You Use Princess Elsa Slime?
The beauty of making Elsa slime lies in its versatility. You can use it for:
- Themed birthday parties: Perfect for a *Frozen*-themed celebration.
- Indoor activities: Great for rainy days when kids need something fun to keep them entertained.
- Sensory play: Ideal for sensory bins and therapeutic play, promoting fine motor skills and stress relief.
- Creative play: Inspire storytelling and imaginative situations with the slime being a vital part of the narrative.
What You’ll Need
Before we begin our slime adventure, let’s gather our materials. Here’s what you will need to make Princess Elsa Slime:
- White school glue or clear glue (1 cup): This is the base of our slime, and clear glue gives a fun, translucent effect.
- Baking soda (1/2 teaspoon): This will help to thicken the slime when combined with contact lens solution.
- Contact lens solution (1-2 tablespoons): This acts as an activator, prompting the slime to form. Make sure it contains boric acid and sodium borate.
- Glitter (iridescent or blue): Elsa’s signature touch! Keeps the slime sparkly and magical.
- Food coloring (blue and white): For that cool color reminiscent of ice and snow.
- Mixing bowl and spoon: I prefer a large bowl for easy mixing and a spatula or spoon for mingling the ingredients.
- Storage container: To keep your slime fresh for future play.
Step-By-Step Tutorial
Step 1: Prepare Your Work Area
First, I always find it helpful to lay down some parchment paper or an old tablecloth to keep the work area clean—slime can get messy! Then, gather all your ingredients and tools.
Step 2: Mix the Glue and Baking Soda
In your mixing bowl, pour in 1 cup of white glue or clear glue. Using white glue gives your slime a beautiful opaque consistency, while clear glue can give it a fun, shiny look. Next, sprinkle in 1/2 teaspoon of baking soda. This step is crucial as it helps to create the perfect slime texture. Mix them thoroughly until the baking soda is dissolved. If you don’t mix this step well, your slime could end up too runny.
Step 3: Add Color and Glitter
Now, it’s time to add a splash of color! Drop in a few drops of blue food coloring and a couple of tablespoons of glitter. I love iridescent glitter as it catches the light beautifully, resembling Elsa’s magical powers. Mix this all together until you achieve a beautifully vibrant blue.
Tip: If you want to create a snowy effect, you can add a pinch of white glitter as well!
Step 4: Activate Your Slime
Here comes the fun part! Slowly add 1-2 tablespoons of contact lens solution to your mixture while stirring. You’ll notice the slime start to gel together. The warmth of your fingers will help you knead it together as it forms. Make sure you add this solution gradually; too much can cause your slime to become rubbery and hard. If this happens, don’t worry! Simply knead in a bit more glue until it reaches the desired consistency.
Step 5: Knead the Slime
Once your slime begins to pull away from the sides of the bowl, it’s time to get your hands involved! Knead the slime with your fingers for about 2-3 minutes. This helps to improve its elasticity. If your slime is sticky, add a little more contact lens solution until you get that delightful, stretchy texture.
Step 6: Store Your Slime
After you’ve achieved your perfect slime, store it in an airtight container to maintain its squishy goodness. It can be kept in the refrigerator for up to two weeks!
Common Issues and How to Fix Them
- Slime is Too Sticky: If your slime is sticking to your hands or the table, add more contact lens solution, a little at a time, and knead it until it's manageable.
- Slime is Too Tough: If you've accidentally added too much contact solution, just mix in another tablespoon of glue to soften it up.
- Color Not Vibrant Enough: Simply stir in more food coloring until you reach the desired shade.
Safety Tips
- Always supervise young children during the slime-making process.
- Ensure no one has allergies to any of the ingredients, especially glue and food coloring.
- Encourage hand washing after dealing with the slime for hygiene.
Creative Variations
Now that you have mastered the basic recipe, why not try some creative variations?
- Add essential oils for a lovely scent—lavender or vanilla can create a calming experience.
- Include figurines or confetti pieces for added fun! Little Elsa toys or snowflakes can enhance imaginative play.
- Try using liquid starch instead of contact lens solution for a different texture.
Final Thoughts
Making Princess Elsa Slime is not only a fantastic crafting activity but also a perfect opportunity for engaging fun and creativity. I hope this guide helps you along your slime-making journey and provides you the confidence to explore creative variations. Don't forget to share your slime creations and let your imagination run wild!
Feel free to drop your questions or comments below. Happy crafting, and may your slime always be sparkly and magical!