How to Make Pink Salt Scrub: A Step-by-Step Guide to Revitalize Your Skin
Hello, fellow crafting enthusiasts! Today, I’m thrilled to share my personal journey and expertise in creating something truly delightful and beneficial for your skin: Pink Salt Scrub! If you’ve ever marveled at the luxurious spa experience of exfoliation while standing in the comfort of your own home, you're in for a treat. Pink salt scrubs have gained immense popularity, not just for their effectiveness in exfoliating dead skin cells, but also for their rich mineral content and mesmerizing color.
Why Pink Salt Scrub?
Pink salt scrub is an incredible blend of natural ingredients that leaves your skin feeling rejuvenated and incredibly smooth. The vibrant pink hue comes from Himalayan pink salt, which is mineral-rich and packed with benefits for your skin. Exfoliating with this scrub can help remove dry and dead skin, improve circulation, and even promote a radiant glow. Moreover, it's a versatile product that you can use during self-care rituals, post-workout rejuvenation, or whenever you need a little extra pampering.
Using Pink Salt Scrub
Routine applications of pink salt scrub can help in various ways:
- Regular exfoliation: Achieve softer skin, helping to fight off dullness.
- Hydration boost: When mixed with oils, it nourishes and hydrates.
- Detoxification: Salt can assist in drawing out impurities from the skin.
So, whether you're prepping for a special occasion or just indulging in a little self-care, this scrub is an ideal addition to your beauty regimen.
Crafting Your Own Pink Salt Scrub: A Comprehensive Guide
What You'll Need
Before we dive into the tutorial, let’s gather the materials you’ll need:
Ingredients:
- 1 cup of Himalayan pink salt (you can find this at health food stores or online)
- 1/2 cup of carrier oil (like coconut oil, olive oil, or almond oil)
- 1 tablespoon of essential oil (fragrance of your choice, e.g., lavender, eucalyptus, or lemon)
- Optional: 1 tablespoon of Vitamin E oil (for extra nourishment)
- Optional: Dried flowers or herbs (like lavender buds or rose petals for aesthetic appeal)
Tools:
- Mixing bowl
- Spoon or spatula for mixing
- Airtight jar or container for storage
- Measuring cups and spoons
Step-by-Step Tutorial
Step 1: Begin with the Base
First, I always start by measuring one cup of Himalayan pink salt. This is the primary ingredient, and the reason your scrub will be so effective! The coarser the salt, the better it will exfoliate. However, be cautious: if you want a gentler scrub for sensitive skin, you might consider using fine salt.
Tip: The color and quality of the salt will affect the final product's appearance and texture. Look for quality Himalayan pink salt that has a nice, vibrant hue.
Step 2: Choose Your Carrier Oil
Next, add half a cup of your chosen carrier oil to the salt. Coconut oil is my long-time favorite due to its hydrating properties and delightful scent. When melted, it blends beautifully, but you can use olive or almond oil based on your preferences.
Why it matters: The carrier oil not only helps bind the scrub but also nourishes and hydrates your skin during exfoliation.
Incorporate the oil gradually. The consistency should be moist yet crumbly — if it’s too dry, add a splash more oil, but don’t overdo it.
Common mistake: Too much oil can make the scrub greasy rather than exfoliating. If you find yourself in this situation, you can easily remedy it by adding a bit more salt.
Step 3: Add Scent with Essential Oils
Now, the fun part — adding that aromatic touch! I usually go with a tablespoon of essential oil for a gentle fragrance. Lavender is my go-to for its calming effects, but citrus scents are refreshing and invigorating.
Safety warning: Ensure that you use skin-safe essential oils, and if you’re unsure, perform a patch test first to avoid allergic reactions.
Step 4: Include Extra Nutrients
If you'd like to up the ante on nourishment, stir in a tablespoon of Vitamin E oil, which is also a fantastic antioxidant. It can deeply penetrate your skin, aiding in healing and hydration.
Step 5: Mix It All Together
With all your ingredients in the bowl, use your spoon or spatula to mix them thoroughly until well combined. The mixture should feel coarse but cohesive.
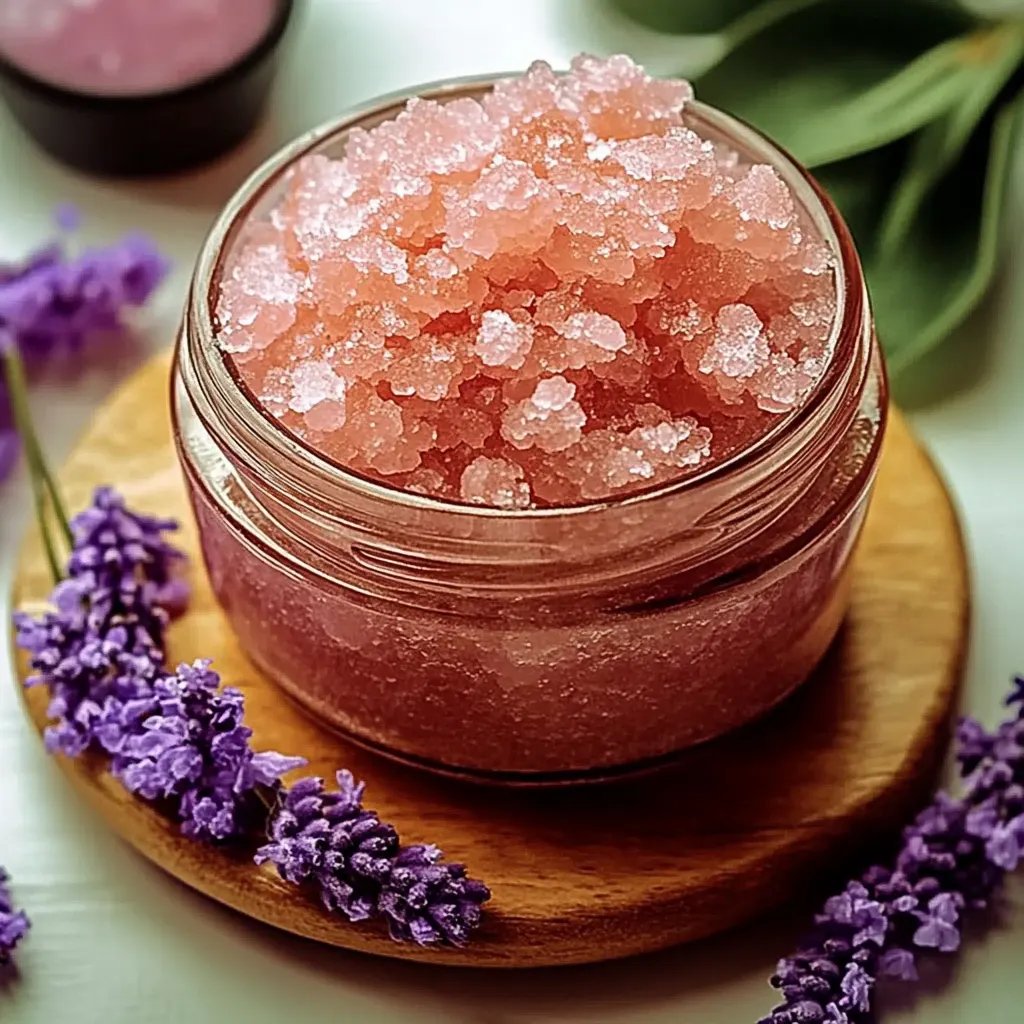
Tip: At this stage, if you prefer a more decorative scrub, you can gently fold in dried flowers or herbs. Not only do they add visual appeal, but they also provide additional benefits depending on the plant used.
Step 6: Store Your Scrub
Now it’s time to transfer your lovingly crafted scrub into an airtight jar. Look for cute jars that fit with your bathroom decor, which can serve as a delightful accent in your space!
Personal Experience: What I Learned
In my early days of making scrubs, I faced a common hiccup — my first batches were either too fragrant or fell apart! It took some experimentation to balance the oils properly. Remember, this crafting journey is all about finding what works best for your skin type, fragrance preference, and personal style.
Creative Variations
Now that you have the basic recipe down, don’t be afraid to get creative! Here are some variations I love experimenting with:
- Coffee Scrub: For extra exfoliation, try adding a quarter cup of coarse coffee grounds.
- Citrus Adventure: Use grapefruit essential oil and add some zest from an orange or lemon peel for a bright, zesty kick.
- Seasonal Themes: Incorporate cinnamon and clove in the fall or peppermint in the winter for a seasonal touch.
Final Thoughts and Tips
Making your own pink salt scrub is a fulfilling and therapeutic experience, and I wholeheartedly encourage all crafters, regardless of experience, to give this a try. Remember to perform patch tests, especially when trying new essential oils. Don't hesitate to adjust measurements to find the perfect balance for your needs!
Creating something handmade, like this pink salt scrub, is not just about nourishment but is also about expressing love for yourself. So go ahead — treat yourself or perhaps share this delightful jar of goodness with friends and loved ones. Happy crafting!