How to Make Painted Strawberry Rocks: A Step-by-Step Guide
Hello fellow crafters! Today, I'm bubbling with excitement to share a delightful crafting project that has captured the hearts of many: Painted Strawberry Rocks. As an avid crafter and self-proclaimed lover of all things artistic, I've found this project to be not only engaging but also rewarding. Painted strawberry rocks can serve as eye-catching garden decorations, thoughtful gifts, or even charming paperweights. The vibrancy and whimsy they bring to any setting are simply unmatched!
Why Painted Strawberry Rocks Are Popular
Over the past few years, painted rocks have surged in popularity as a form of creative expression and a community-building tool. People paint messages of kindness and love on rocks, hiding them in public spaces for others to find. The painted strawberry rock, in particular, allows for a symphony of colors and textures, resembling lush strawberries and evoking feelings of warmth and nostalgia.
Whether you’re decorating your garden, hosting a summer picnic, or looking for a fun activity with children, painted strawberry rocks are always a hit. They can brighten up dull corners in your home, complement your garden’s aesthetics, or even be used as unique placeholders at events. Now, let’s dive into the delightful process of crafting these charming pieces!
Materials You'll Need
Before you start, make sure you have all the materials ready to avoid frustrations later on. Here’s a comprehensive list:
- Smooth, Medium-Sized Stones: Look for stones that resemble the shape of strawberries. River rocks work great for this project!
- Acrylic Paints: Choose vibrant reds for the strawberry body, green for the leaves, and yellow for the seeds.
- Paintbrushes: A range of sizes, from fine-tipped for detail work to broader brushes for covering larger areas.
- Palettes: An old plate or a cardboard piece for mixing and holding your paint.
- Sealer: A clear acrylic spray or paint sealer to protect your finished rocks.
- Paper Towels: For clean-up and blotting excess paint.
- Water Cup: For rinsing brushes.
- Pencil: For sketching your design lightly.
- Newspaper or Disposable Table Cover: To protect your workspace.
Step 1: Choosing Your Stones
The very first step is to pick stones that can easily fit into your palm and have a somewhat rounded shape. This helps in mimicking the form of strawberries! While I was on the hunt for stones, I often found river beds, garden centers, or even my local craft store had wonderful selections. Tip: Look for stones that are smooth; this will make painting a lot easier.
Step 2: Cleaning the Stones
Before we start painting, it’s crucial to clean the stones thoroughly. Grit, dirt, and moisture can hinder the paint from adhering properly. I usually scrub the stones using water and a mild detergent, then rinse them and allow them to dry completely. Always keep them in a ventilated area as they air dry.
Common Mistake: Don’t skip cleaning! If any dirt remains, your paint might bubble or peel later on.
Step 3: Sketching Your Design
Once your stones are dry, take a pencil and lightly sketch where you want your strawberry features (like the seeds and leaves) to go. This step is particularly helpful if you’re a beginner or if you want to create a more intricate design. Remember, the more you plan, the smoother the painting process will be!
Step 4: Base Layer
Now it’s time to unleash your artistic side! Using a brush, start by painting the entire stone red. This acts as the base layer. Depending on the color opacity of the paint, you might need to apply a second coat once the first one dries. When painting, use gentle strokes, and don’t worry too much about the edges; they will be covered by leaves and seeds.
Tip: Go for a quick-drying acrylic paint to minimize waiting time.
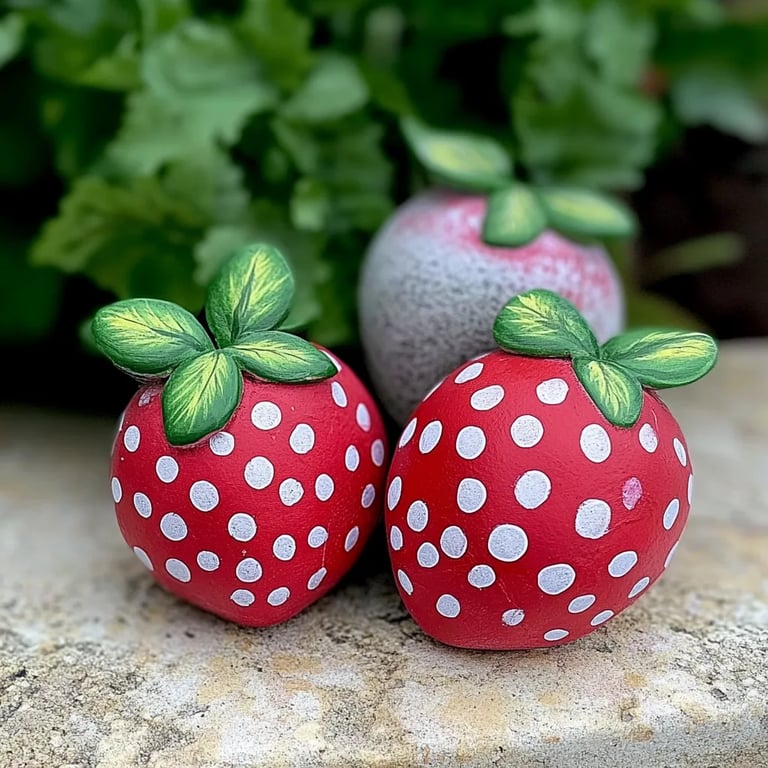
Step 5: Adding the Leaves and Seeds
Once the red paint is dry (which usually takes about 30 minutes), it’s time to get creative! Using a smaller brush, paint small green leaves at the top of the stone. You can create a contrasting pattern for the leaves, such as a mix of light and dark greens, to add dimension.
For the seeds, I love using yellow for that vibrant pop. Carefully dot the seeds around the body of the stone with a fine-tipped brush. Make sure they’re well-staggered and varied for a more natural look.
Common Mistake: If your yellow paint is too thin, it might not show up well against the red background. Make sure to use a thick enough coat, or wait until the first layer dries before applying the second.
Step 6: Final Touches
After everything is dry, it’s time to grab your sealer! Spraying a clear acrylic coat will provide a protective barrier, ensuring your rocks withstand outdoor elements if you decide to display them in the garden. Apply a few light coats, allowing each coat to dry before applying the next one.
Step 7: Displaying Your Painted Strawberry Rocks
Now that your rocks are sealed and dried, it’s time to find them a perfect spot! Place them in your garden, arrange them on a windowsill, or gift them to a friend. Their bright colors and charming designs can uplift any space.
Alternative Methods: If you want to get more creative, consider using glow-in-the-dark paint for night-time visibility or experimenting with other fruit designs.
Additional Tips and Tricks
- Safety First: Always work in a well-ventilated area. If you're using spray sealants, a mask is a good idea to protect against fumes.
- Engagement: This is a great project to involve kids; you could turn it into a fun family activity. Just ensure they use child-safe paints.
- Variations: Try painting tiny flowers, ladybugs, or other fruits on your stones to create a garden theme!
Final Thoughts
Creating your painted strawberry rocks is an exciting way to express creativity while bringing a touch of charm to your home. As you embark on this project, remember that the aim is to have fun and enjoy the process! No two rocks will turn out the same, and that’s the beauty of crafting.
So gather your materials, unleash your inner artist, and start making those lovely strawberry rocks! I can't wait to see what you all create – share your results and any variations on social media using #StrawberryRockArt. Happy crafting, and may your rocks be vibrant and cheerful!