How to Make Outdoor Foam Sidewalk Paint: A Complete Guide from My Crafting Journey
Hello fellow crafters! I’m thrilled to share my experience and passion for making outdoor foam sidewalk paint—a fun, vibrant, and versatile medium that can turn any ordinary pavement into a whimsical canvas. Whether you're a parent looking for a great way to entertain the kids, a teacher wanting to add a splash of creativity to your classroom outdoors, or simply someone who enjoys crafting, sidewalk paint is an amazing project that brings joy to life.
What is Outdoor Foam Sidewalk Paint?
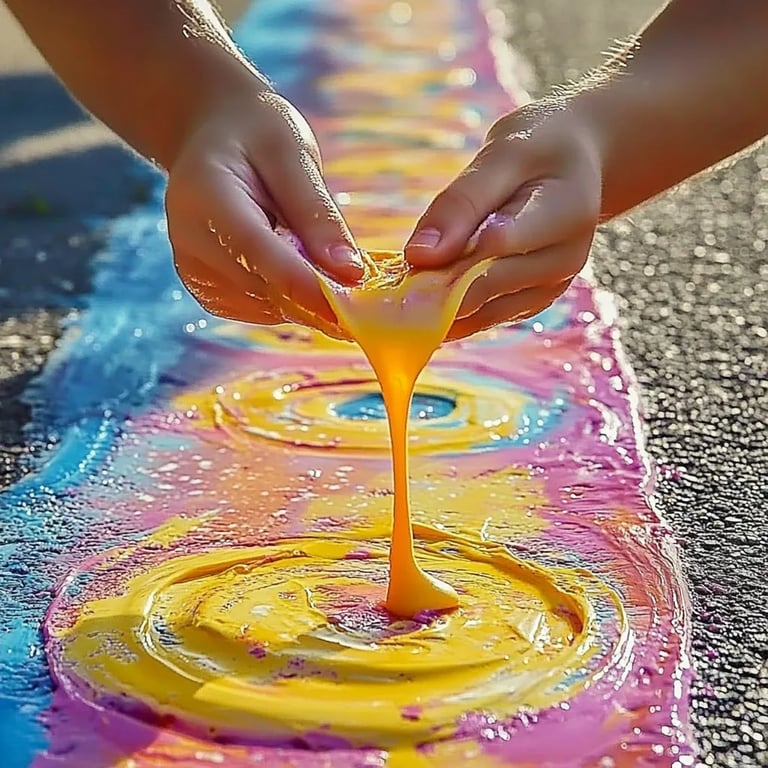
Outdoor foam sidewalk paint is a lively, textured paint made primarily from foam—popular among crafters for its smooth application and easy cleanup. This paint doesn’t just stick to the surface; it creates a soft, puffy finish that’s a delight for both the creative and tactile senses! It's water-based, making it safe for children and the environment.
Why is it so popular? Well, because it’s a perfect outdoor activity during the warmer months! Kids can engage in art, exercise, and imagination all at once. From vivid hopscotch grids to elaborate murals, the opportunities are as boundless as your creativity.
When and How to Use Outdoor Foam Sidewalk Paint
I often bring out my foam sidewalk paint during sunny weekends or family gatherings. It’s perfect for birthdays, playdates, or art-themed gatherings. Simply set it up in your driveway or backyard, and let the kids unleash their creativity.
Materials You'll Need
Before we dive into the process, gather these materials:
- Foam (Shaving foam works best!): This will be your base ingredient for creating the puffy texture.
- Non-toxic, washable paint: Choose vibrant colors to make the art pop. You can use liquid watercolors, tempera paints, or even food coloring for a budget-friendly alternative.
- Cornstarch: This thickens the paint and gives it the desired texture.
- Dish soap: Added for fun bubbles and to enhance the texture.
- Mixing bowls and spoons: For blending your ingredients.
- Container or squeeze bottles: Storage options for easy application on the pavement.
- Water: To adjust the consistency as you see fit.
Step-by-Step Tutorial
Ready to dive in? Let’s start our creative journey together!
Step 1: Mix Your Foam Base
In a large mixing bowl, take about 1 cup of shaving foam. This is the foundation of our sidewalk paint. The lighter and airier the foam, the softer the final product will be. You can experiment with brands; some create more foam than others, so choose one that you like best!
Tip: If you're sensitive to strong scents, opt for fragrance-free shaving cream.
Step 2: Add Color
Next, we’re going to introduce color. Add about 1 cup of washable paint to your foam. You can create a vibrant spectrum by mixing different colors. The more paint you add, the more intense the hue will be. But be careful not to overwhelm the foam—if you add too much, it may lose its puffiness.
Possible Pitfall: If the color doesn’t match your expectation, you can always add more paint in small increments. Mix well to see the resulting shade.
Step 3: Blend in Cornstarch
To achieve the right consistency, add ½ cup of cornstarch to the mix. This not only thickens the paint but also provides a smoother texture that holds up against foot traffic or any creative activities.
Why It Matters: Cornstarch helps bind the ingredients and enhances the creamy feel of the paint. If it’s too runny, you can always add a little more cornstarch to thicken it up!
Step 4: Incorporate Dish Soap
Add 1 tablespoon of dish soap to the mixture. This gives your sidewalk paint a lovely bubbly quality and also adds to the overall texture.
Safety Warning: Make sure to use non-toxic dish soap if kids will be playing with it.
Step 5: Adjust the Consistency
Now, evaluate your mix. You may want to adjust its thickness or runniness according to your personal preference. If it seems too thick, stir in a little water (1 tablespoon at a time) until you reach your desired consistency. If it’s too thin, add a bit more cornstarch.
Step 6: Prepare for Application
Once you’re satisfied with your paint, it’s time to get ready for creativity! Transfer the paint into squeezable bottles or larger containers, making it easy to apply on the sidewalk. This process also helps keep everything mess-free for your little artists.
Personal Anecdotes and Creative Variations
I remember the first time I introduced my kids to sidewalk paint. They were skeptical when they saw the foam but watched in amazement as we turned the dull concrete into a colorful masterpiece. We spent an entire afternoon rolling up our sleeves and painting hopscotch, roads for toy cars, and even a giant rainbow.
Feeling inspired? Here are some creative variations to try:
- Glow-in-the-dark sidewalk paint: Add glow-in-the-dark paint to your mixture for nighttime fun!
- Scented paint: Incorporate a few drops of essential oil or food flavoring to make your artwork fragrant!
- Textured effects: Experiment with adding sand or glitter to create unique finishes.
Troubleshooting and Tips
- Paint not sticking? Ensure that the surface was clean before painting. Dust and dirt can prevent adhesion.
- Paint fading quickly? Ensure you’re using washable and non-toxic products; this helps maintain the vibrancy even after exposure to rain.
- Kids losing interest? Create themed activities, like painting specific shapes or colors, or have contests to see who can make the most creative design.
Final Thoughts
Making outdoor foam sidewalk paint is not just an art project; it creates valuable bonding memories with your loved ones. Remember, there’s no right or wrong way to create art! Each mishap can turn into a unique masterpiece.
So, unleash your creativity, guide your little ones along, and transform your outdoor space into a festival of color and fun! I hope you enjoy making outdoor foam sidewalk paint as much as I do, and I’d love to hear your experiences and variations!
Happy Crafting! 🎨✨