How to Make Ornament Water Marbling: A Step-by-Step Guide to Stunning Craftsmanship
Hello, fellow crafters! Today, I’m thrilled to guide you through the delightful and mesmerizing world of ornament water marbling. This technique allows you to create beautiful, swirling patterns on ornaments that can easily become keepsakes or cherished gifts. It's a wonderful way to express your creativity, especially during the holiday season or for any occasion that calls for a special touch.
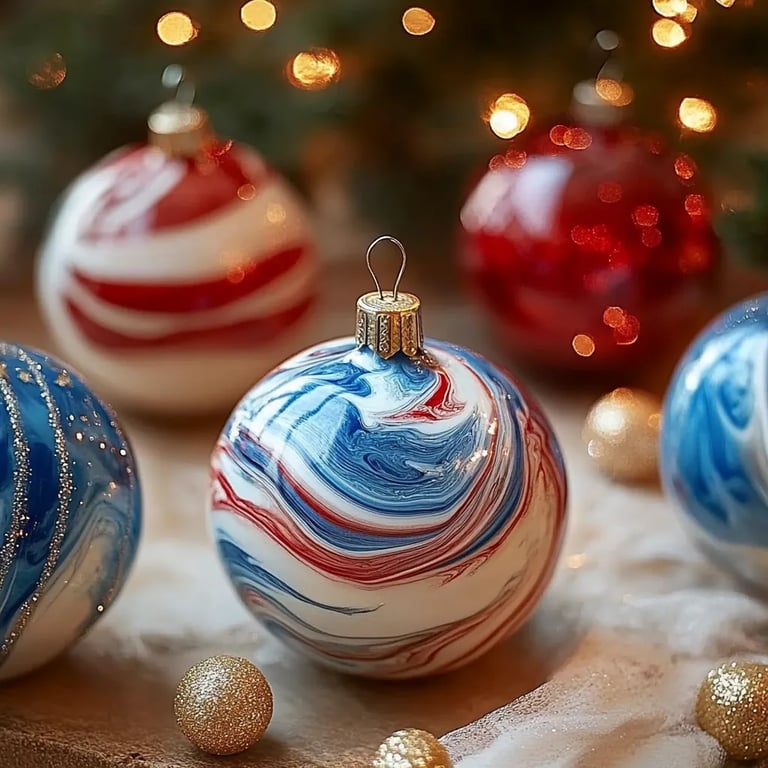
With its eye-catching colors and unique designs, water marbling has gained popularity as a fun crafting project for both seasoned crafters and beginners alike. Whether you’re looking to embellish holiday decorations, create unique gifts, or simply explore a new art form, water marbling provides an enjoyable experience that results in something truly beautiful.
Materials You'll Need
Before we dive into the hands-on process, let's gather all the materials you will need. This project is accessible and can be done with common supplies you might already have at home:
- Clear Plastic Ornaments: You can use glass ornaments too but be careful as they can break easily. The clear plastic ones are also more beginner-friendly.
- Water: Room temperature water works best. A shallow container or a large baking dish is ideal for the marbling process.
- Acrylic Paint: Choose a selection of vibrant colors. I've had the best results with paint that is fluid and not too thick. Craft paints work best!
- Toothpicks or Skewers: You’ll need these for swirling the paint to create your design.
- Kitchen Disposable Gloves: These aren’t just for safety; they help keep your hands clean!
- Paper Towels: You’ll want these handy for any spills or to dry ornaments after marbling.
- Spray Sealant (optional): To protect your finished ornaments.
Step-by-Step Tutorial
Step 1: Prepare Your Workspace
Choose a well-ventilated area to work. The marbling process can get a little messy, so covering your workspace with newspaper or a disposable tablecloth is a wise move. Make sure you have paper towels within reach for quick clean-ups.
Step 2: Fill Your Container
Pour room temperature water into your chosen container until it’s about 1-2 inches deep. The depth is crucial—too shallow and the paint might not spread properly; too deep and your ornament may get too submerged.
Step 3: Add Acrylic Paint
This is where the magic begins! Using a squirt bottle or a paint dropper, add a few drops of acrylic paint onto the surface of the water. You can layer different colors, but be careful not to use too much paint—otherwise, it will become a thick, muddy mix.
Step 4: Swirl the Paint
Take your toothpick or skewer and gently swirl it through the paint. This is an opportunity to get creative! You can create spirals, zig-zags, or floral patterns. Just remember: less is more. Over-swirling can lead to muddled colors.
Pro Tip: If you find that the colors are not mixing as you’d like, take a second and let the paint rest for a moment before swirling again.
Step 5: Dip the Ornament
Holding the ornament vertically, carefully dip one side into the marbled surface of the water. For a more even coverage, you can tilt the ornament and rotate it slightly as you dip it, allowing the paint to wrap around the shape.
What Could Go Wrong?
If you've dipped too quickly, you might miss getting a good amount of paint, causing a weak design. If that happens, don’t fret! Just take the ornament out, carefully clean it with a damp paper towel, and try dipping it again.
Step 6: Remove Excess Paint
Once you've dipped it, lift the ornament straight up out of the water. Use a toothpick to gently pull away any excess paint that has collected around the opening.
Step 7: Dry the Ornaments
Set your ornament down on a paper towel, ensuring it’s positioned upright. Allow it to fully dry before touching it. Depending on the humidity and paint thickness, this can take anywhere from an hour up to a full day.
Step 8: Seal It (Optional)
Once your ornament is completely dry, you can spray it lightly with a clear sealant to protect your stunning design, especially if you plan on hanging it outdoors or using it frequently.
Creative Variations
- Metallic Paint: Consider using metallic acrylic for a shimmering effect. These stand out beautifully against a holiday backdrop.
- Glitter: Add an extra sparkle by sprinkling glitter onto the wet paint before letting them dry.
- Batch Production: Create a variety of ornaments at once by preparing multiple containers, or by waiting for the paint to dry and then repeating the swirled designs.
Personal Anecdote
I remember the first time I tried this technique. I was skeptical if the results would live up to my expectations. However, as soon as I pulled my first marbled ornament out of the water, I was awestruck! The way those colors blended and created a delightful pattern filled my heart with joy. Now it's one of my favorite holiday traditions—I love making a batch of ornaments to gift to family and friends.
Safety Warnings
- Always work in a well-ventilated area when using spray sealant to avoid inhaling fumes.
- If working with glass ornaments, handle them with care to prevent breakage.
- Acrylic paints can be messy; don’t wear your favorite shirt!
Conclusion
Creating ornament water marbling is not just a crafting project; it's a chance to express your artistic side and make something beautiful. With just a few materials and some guidance, I hope this tutorial inspires you to pick up your supplies and start crafting. Don't shy away from experimenting—your masterpiece is just waiting to happen!
So there you have it—a step-by-step guide full of tips and insights on how to create stunning marbled ornaments. I can’t wait to see what you’ll create! Happy crafting!