How to Make Ocean Slime: A Step-by-Step Guide to Crafting an Underwater Adventure
Hello fellow crafters! Today, I’m thrilled to take you on a creative journey that will transport you straight to the shimmering shores of the ocean without ever getting wet—let’s make Ocean Slime! As a longtime slime enthusiast and craft lover, I can tell you that this squishy, gooey creation is not just a fun sensory experience; it’s also a great way to engage kids (and adults!) in a tactile world of creativity.
What is Ocean Slime?
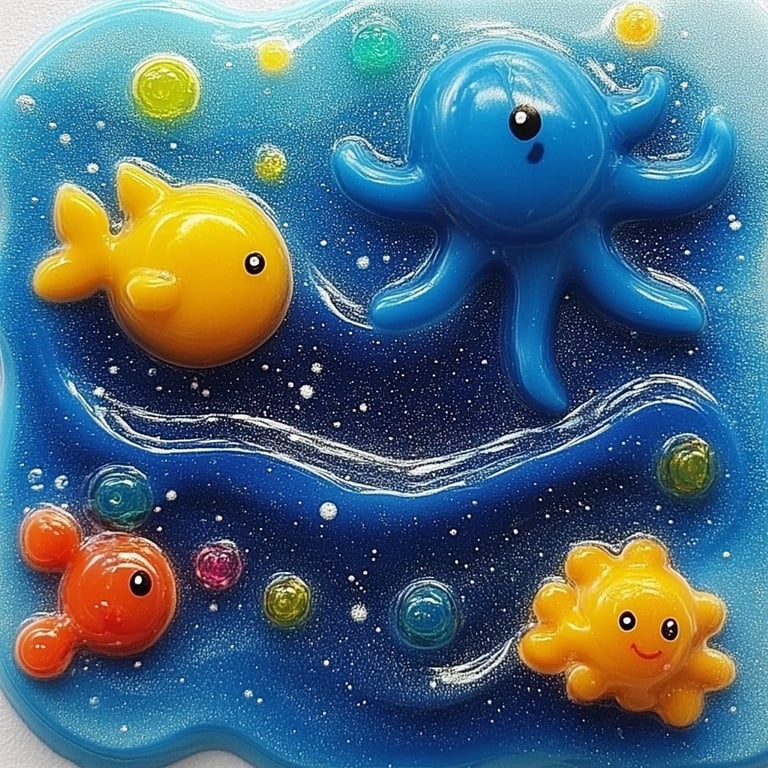
Ocean Slime is an enchanting, visually stunning slime that mimics the colors and textures of ocean waves, complete with seashells, glitter, and beads for that added sparkle. Its popularity has surged, especially among kids and DIY enthusiasts during crafting parties, rainy days, or as a soothing stress-relief activity. Making Ocean Slime is not only a fun project but also a relaxing one that stimulates creativity and fine motor skills. Whether you want to create it for your kids, a party, or just for yourself, you’re in for a delightful DIY experience!
Essential Materials
Before we dive into the crafting process, let's gather our materials. You probably already have most of these around your home, making this a hassle-free adventure:
- White Glue (PVA glue) – 1 cup
- Baking Soda – 1 teaspoon
- Contact Lens Solution – 1.5 tablespoons (make sure it contains boric acid)
- Food Coloring or Gel Coloring – Blue, turquoise, or green
- Fine Glitter – Blue or aqua for the ocean sparkle
- Small Plastic Sea Creatures or Shells (optional) – To create that ocean vibe
- Foam Beads (optional) – Adds a unique texture to the slime
- A mixing bowl and spatula or spoon for mixing
- Airtight container for storage
Step-by-Step Tutorial to Craft Ocean Slime
Step 1: Prepare Your Workspace
Before starting, I cannot stress enough the importance of preparing your workspace. Cover your table with a plastic tablecloth or newspaper to protect from glue spills, and wear old clothes or an apron. Make sure you have all your materials at hand. Slime-making can get a little messy!
Step 2: Mix the Glue and Baking Soda
In your mixing bowl, pour 1 cup of white glue. I find that using washable PVA glue works best, as it’s non-toxic and easy to clean up. Add in 1 teaspoon of baking soda. This ingredient is crucial, as it helps to thicken the slime and gives it a stretchy consistency.
Why This Step Matters: The baking soda aids in the activation process, giving the slime its texture.
Possible Issue: If you skip the baking soda, your slime may turn out too watery and won’t hold its shape.
Step 3: Incorporate Food Coloring
Now, it’s time to add a magical splash of color! Choose your desired shade of blue or turquoise and gradually add it to your glue mixture. Start with a few drops, and mix until you achieve your desired ocean hue. You can even mix different colors for a gradient effect!
Tip: For the most vibrant color, I recommend gel coloring over liquid food coloring, as it provides a more intense color without adding too much moisture.
Step 4: Add Glitter
A little shimmer goes a long way in crafting Ocean Slime! Add in your fine blue or aqua glitter at this stage. Mix it into your colored glue until it's evenly distributed.
Why Does Glitter Matter? It gives the slime an ethereal ocean sparkle, simulating sunlight dancing on the waves.
Step 5: Activate Your Slime
This step is where the magic happens! Gradually add in 1.5 tablespoons of contact lens solution to your mixture. Stir it well after each addition. You’ll notice the slime beginning to pull away from the sides of the bowl and become more cohesive.
What Could Go Wrong? If the slime is too sticky, keep adding small amounts of the contact solution until the desired texture is achieved. However, be careful not to over-activate, which can make the slime stiff.
Step 6: Knead and Play!
Once your slime begins to pull away, take it out of the bowl and start kneading it with your hands. This step is essential as it binds everything together and activates the slime’s stretching properties. Don’t be alarmed if it feels a bit sticky at first; with some kneading, it will transform into a soft, pliable goo.
Step 7: Customize with Ocean Treasures
Here’s where you can let your creativity shine! If you want to add small plastic sea creatures, shells, or foam beads, gently fold them into your slime. This adds a lovely surprise that makes your Ocean Slime unique!
Storage and Safety Tips
Once you've finished crafting, store your Ocean Slime in an airtight container. This will keep it fresh and fun for weeks! Just remember that slime can be a choking hazard for younger children due to small beads or animal figurines, so always supervise playtime.
Variations and Creative Add-Ons
- Seafoam Slime: Make your slime slightly thicker by adding more baking soda for a ‘foamy’ look!
- Glow-in-the-Dark Ocean: Use glow-in-the-dark pigment to create a nighttime ocean effect that’s both fun and eerie.
- Scented Slime: Add a few drops of your favorite essential oil for a lovely scent, transforming your slime into a total sensory experience!
My Personal Anecdote
When I first discovered how to make Ocean Slime, it was for my niece’s birthday party. We had a blast customizing the colors and adding tiny seashells we collected from local beaches. Seeing the joy on her face as she played with the slime and felt the ocean theme truly brought back childhood memories of summer days spent exploring the coast. It's these moments that make crafting so rewarding.
Final Thoughts: Embrace the Mess
Crafting Ocean Slime has the potential to be your next favorite DIY project, whether you’re a seasoned crafter or a parent trying to engage your kids. Remember, the most important aspect is to enjoy the process! Embrace the mess, experiment, and allow your creativity to flow like ocean waves.
So gather your materials, harness your inner artisan, and let’s dive deep into the world of Ocean Slime making! Happy crafting!