How to Make Ocean Moon Dough: A Step-by-Step Guide to an Engaging Craft Project
Hello, fellow crafters! Today, I want to share a delightful project that evokes the whimsy of the ocean and the therapeutic nature of crafting — Ocean Moon Dough. This sensory dough is not only a fantastic tool for creative play but also a versatile medium for educational activities. Kids love it, parents appreciate the calm it can bring, and it makes for a wonderful group activity during birthday parties or rainy days.
What is Ocean Moon Dough?
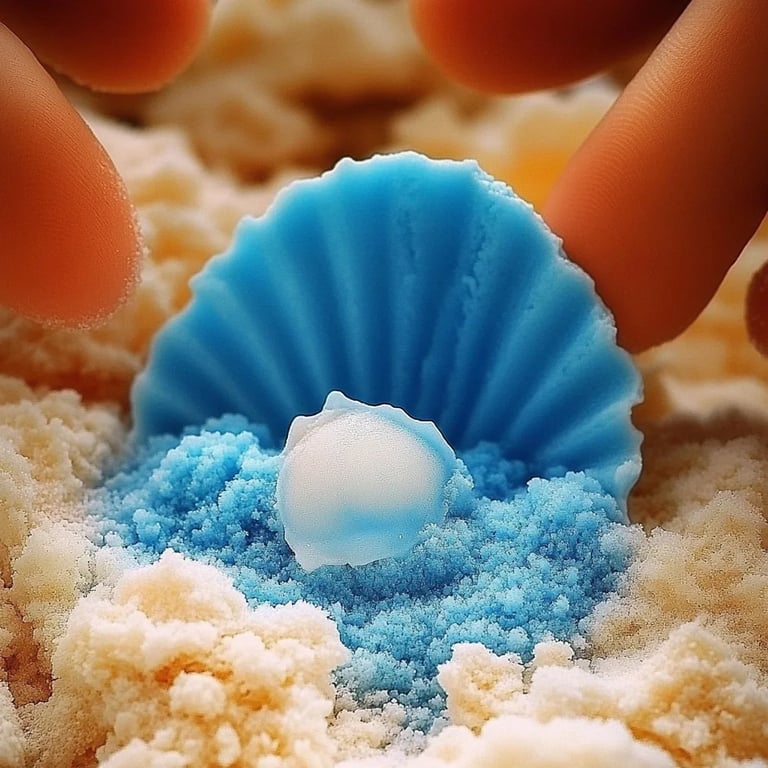
Ocean Moon Dough is a soft, moldable mixture that captures the essence of the beach with its vibrant colors and texture. This dough is ideal for imaginative play, helping children to engage their senses and express their creativity. Unlike traditional playdough, moon dough has a unique fluffy consistency that allows it to crumble and mold alike, making it delightful to work with. It's an excellent activity for countless occasions—be it at the beach, in classrooms, or simply to keep the children entertained at home during a rainy afternoon.
Why is Ocean Moon Dough Popular?
The popularity of moon dough comes from its ease of making and the endless possibilities it offers. Children can create sea creatures, build sandy castles, or simply enjoy the tactile experience of molding and squishing the dough. As parents and educators, we know how important sensory play is in early childhood development, which is another reason ocean moon dough has found a special place in our hearts.
Now, let’s roll up our sleeves and dive in! It’s time to create our very own Ocean Moon Dough. The following recipe is simple, made from ingredients you likely already have at home, and yields an impressive amount of dough.
Materials Needed
- 5 cups of flour (all-purpose works best)
- 1 cup of vegetable oil (coconut oil can also work for a pleasant scent)
- 1 cup of salt (helps with preservation)
- 2 and 1/2 cups of water (added gradually)
- Food coloring (blue, green, and even a hint of white)
- Optional: Glitter or ocean-themed sensory elements (like shells or sand)
Step-by-Step Instructions
Step 1: Gather Your Ingredients and Tools
Before we start, make sure you have a large mixing bowl, a wooden spoon, measuring cups, and a clean work surface. I can’t overstate how important it is to have everything at hand. It makes the process smoother and more enjoyable.
Step 2: Mix the Dry Ingredients
In your large mixing bowl, combine the 5 cups of flour and 1 cup of salt. Stir them together using your wooden spoon until they’re thoroughly mixed. This step is crucial as it distributes the salt evenly throughout the flour, which helps with both texture and preservation.
Step 3: Add the Oil
Now, slowly pour in 1 cup of vegetable oil while stirring continuously. This step is essential! The oil gives the moon dough its soft, crumbly texture. If you prefer a more natural scent, consider coconut oil. Take your time mixing; you want the oil to coat the flour completely and avoid any clumps.
Step 4: Add Water Gradually
Here’s where the magic begins. Gradually add 2 and 1/2 cups of warm water to your mixture, one cup at a time. Stir after each addition. The warmth helps the proportions bind nicely together. If your dough feels too dry, you can always add a tablespoon of water at a time to reach your desired consistency. On the flip side, if it's too wet, sprinkle in a bit more flour until it balances out to a moldable state.
Step 5: Color Your Dough
Now comes the fun part! Divide your dough into sections and add a few drops of food coloring to each section. I love using multiple hues of blue and green to mimic the colors of the ocean, and a touch of white gives it a beautiful wave-like effect. Knead the dough with your hands until the color is evenly distributed. Make sure to wear gloves if you want to keep your hands clean!
Step 6: Add Extra Sensory Elements
To enhance the ocean theme, sprinkle in some glitter or mix in small shells and pieces of sand. These additions not only make the dough more visually appealing but also add delightful textures for little hands to explore.
Tweaks and Fixes
What Could Go Wrong?
- Dough Too Wet: If your dough is too sticky and wet, you can remedy this by kneading in a bit more flour until you reach the desired consistency.
- Dough Too Dry: Conversely, if your dough crumbles excessively, add water, a tablespoon at a time, until it binds correctly.
Safety First!
While the ingredients in moon dough are generally safe, it’s essential for parents to supervise younger children, especially if you decide to use items such as glitter or small ocean-themed objects. Always watch for small parts ensuring they're appropriate for the age group.
Personal Anecdotes
One summer afternoon, I decided to make Ocean Moon Dough with my niece and nephew. We ended up creating a tiny ocean landscape on our dining room table, complete with miniature seashells and little green toy turtles. Watching their eyes light up as they molded the dough into different shapes was priceless—it turned into an impromptu playdate filled with creativity and laughter.
Creative Variations
Feel free to get creative with your own twists:
- Scented Dough: Add a few drops of essential oils, like lavender or peppermint, to your moon dough mix.
- Beach-Themed Colors: Experiment with colors to create sunset hues or even tropical shades for a more vibrant beach scene.
- Themed Molds: Use ice cube trays or cookie cutters in ocean shapes for added fun!
Final Thoughts
Making Ocean Moon Dough is not just a crafty endeavor; it’s a chance to foster creativity, develop fine motor skills, and enjoy quality time with family and friends. Remember, crafting is about the process as much as it is the product. Embrace the joy, the mess, and the magic of the moment.
So gather your supplies and dive into this ocean of creativity! I simply cannot wait for you to experience the joy of Ocean Moon Dough. Happy crafting!