How to Make No-Glue Soap Slime: A Detailed Guide for Beginners
Hey there, fellow crafters! Today, I'm thrilled to dive into a fun and sensory-rich project that has captured the hearts of kids (and adults alike): No-Glue Soap Slime. If you're like me, you enjoy the flexibility and squishiness of slime but want to avoid the messiness that comes with traditional glue-based recipes. Well, you've landed in the right place! Not only is this slime delightful to play with, but it’s also super easy to make, using just a few simple ingredients.
What is No-Glue Soap Slime?
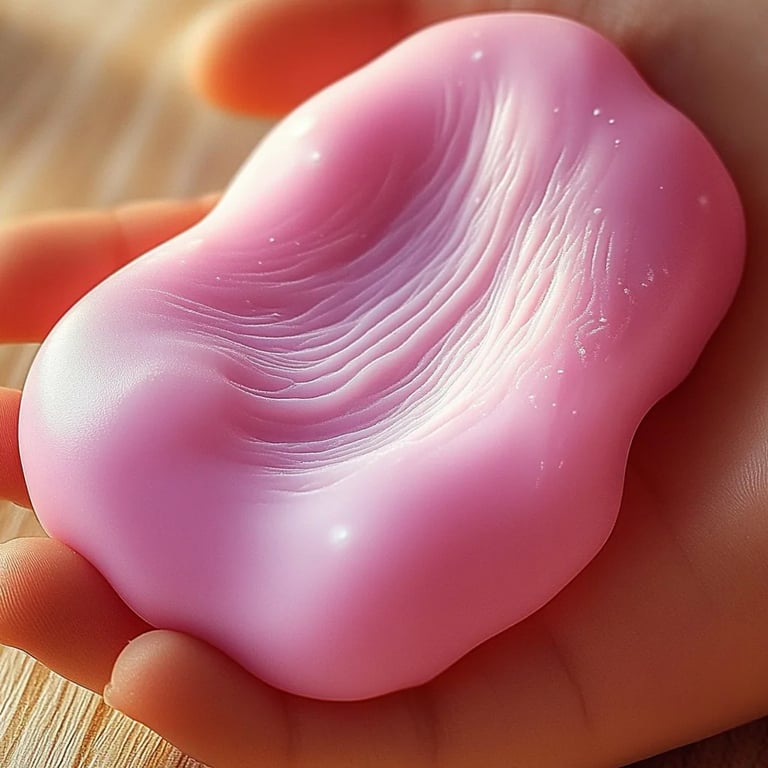
No-Glue Soap Slime is a unique twist on the classic slime recipe. Rather than relying on glue (which can sometimes lead to sticky cleanup), this version uses liquid soap or hand soap as a base. It results in a soft, stretchy, and fragrant slime that's perfect for calming sensory play. I love to make it when I want a quick crafting session that’s both enjoyable and a little bit messy (in all the right ways!).
Why It's Popular
Over the past few years, slime has become all the rage—not just for children seeking out a fun activity, but also for adults discovering the joy of squishing and molding. No-Glue Soap Slime, in particular, has gained popularity for several reasons:
- Quick to Make: It comes together in a matter of minutes, so it’s perfect for spontaneous crafting.
- Easy Cleanup: Since it’s made without glue, the mess is minimal, and it can be easily rinsed away.
- Gentler on Skin: Using soap rather than glue means fewer worries about allergies or skin irritations.
- Versatile: You can customize the color, scent, and texture.
When and How to Use No-Glue Soap Slime
This slime is a fantastic addition to active playdates, craft parties, or simply a cozy afternoon at home. It’s great for sensory activities, as it encourages fine motor skills and imaginative play. Plus, the lovely scents from the soap add an extra element of enjoyment. Let’s get started on how to make this fabulous slime!
Materials You Will Need
Here’s a comprehensive list of the materials for making No-Glue Soap Slime:
- Liquid Hand Soap: Choose a variety or scent that you love. (Note: Avoid the foaming kind for best consistency.)
- Cornstarch: This is crucial for giving your slime the right consistency.
- Water: A small amount helps to adjust the soap's viscosity.
- Food Coloring (Optional): For colorful slime.
- Essential Oils (Optional): To make your slime smell amazing.
- Mixing Bowl: For combining your ingredients.
- Spoon or Whisk: For mixing.
- Storage Container: To keep your slime fresh when you're not playing with it.
Step-by-Step Tutorial for Making No-Glue Soap Slime
Step 1: Gather Your Materials
Before diving into slime-making, I always make sure I have everything within reach. This keeps the process smooth and enjoyable.
Step 2: Mix the Liquid Soap and Water
In your mixing bowl, combine approximately 1/2 cup of liquid hand soap with 1/4 cup of water. The water is essential because it helps thin out the soap and allows for better mixing with cornstarch.
Why this step matters: A proper ratio ensures the right consistency. If too thick, your slime may not stretch well.
Step 3: Add Cornstarch
Slowly add about 1 cup of cornstarch into the mixture, stirring continuously. This will start to thicken the mixture until it forms a dough-like consistency.
Tip: If the mixture seems too liquidy, continue to add cornstarch a tablespoon at a time until you reach your desired consistency.
Step 4: Incorporate Food Coloring and Essential Oils (Optional)
If you want to add color or fragrance to your slime, now is the time! Use a few drops of food coloring and your choice of essential oil to the cornstarch mixture. Stir until the color is evenly distributed.
Personal Anecdote: I love adding a few drops of lavender essential oil to my slime—it’s calming and smells wonderful!
Step 5: Knead the Mixture
Bring the slime mixture together with your hands and knead until it's smooth and uniform. (You might want to wear gloves if your hands get sticky!)
What could go wrong: If the slime is too sticky, sprinkle a little more cornstarch and knead again.
Step 6: Enjoy Your Slime!
Now that you have your beautiful, stretchy slime, it's time to play! Stretch it, squish it, and experience the wonderful texture.
Tips for Success
- Consistent Kneading: The more you knead, the better your slime will be. Think of it as giving your slime a mini workout!
- Storage: Store your slime in an airtight container. It should last several days if kept in cool conditions.
- Reuse for Other Crafts: The great thing about soap slime is that it can be reused and reshaped multiple times!
Safety Warnings
While this slime is generally safe, it's important to supervise younger children while playing with it to prevent accidental ingestion. Also, always check for any skin sensitivities to your soap or essential oils.
Alternative Methods or Ingredient Substitutions
- Soap Base: If you don’t have liquid soap at hand, some people have found that body wash or shampoo works almost as well!
- Cornstarch Alternative: For those unable to source cornstarch, you can try using arrowroot powder, but this may vary the texture.
Creative Variations
Once you've mastered the base recipe, here are a few fun ideas:
- Add Glitter: For an extra sensory experience, mix in some biodegradable glitter.
- Scent Blends: Use different combos of essential oils for themed slimes (e.g., citrus for summer, spice for fall).
- Themed Colors: Create themed slimes for holidays or seasons—green for St. Patrick’s Day or orange for Halloween!
Final Thoughts
Making No-Glue Soap Slime is an easy, enchanting activity that encourages creativity and sensory exploration. Whether you're crafting alone, with friends, or with kids, the process is enjoyable, educational, and leads to a rewarding product. So gather your supplies, let your imagination flow, and enjoy the wonderful world of slime!
Happy crafting, and may your slime always be stretchy!