How to Make No-Glue Soap Slime: A Crafter's Guide to Fun and Creativity
Hello fellow crafters! If you’re looking for a fun and creative project that you can dive into without worrying about any mess from adhesives, you’ve come to the right place. I’m thrilled to share my in-depth guide on how to make No-Glue Soap Slime! This delightful and squishy concoction has been a trending topic in the crafting community, growing in popularity for its unique properties and versatility.
What is No-Glue Soap Slime?
No-Glue Soap Slime is a soft, stretchy, and squishy creation that doesn’t require glue for its vinegar, soap, and water base. It’s incredibly popular among children and adults alike because it’s easy to make, safe, and can be enjoyed in various fun textures. Plus, I find that it serves as a fantastic sensory activity, making it perfect for playdates, stress relief, or just some good, old-fashioned crafting fun!
Why is it So Popular?
- No Mess: Unlike traditional slime that requires glue and often gets everywhere, this soap slime is easier to clean up and doesn’t leave behind a sticky residue.
- Easy to Customize: There's a world of colors and scents waiting to be explored. You can create unique combinations to fit your personal taste or the preferences of your kiddos.
- Eco-Friendly: By using soap, this slime is much more environmentally friendly compared to glue-based alternatives.
- Creative Engagement: Making soap slime engages the senses, which can help enhance fine motor skills in children and provide a fun way for everyone to relax.
Now that we’ve set the scene for what No-Glue Soap Slime is, let’s jump into the step-by-step process of making it!
What You’ll Need
Before we start, let’s gather our materials. You’ll need:
- Liquid hand soap (clear or colored for extra fun)
- Cornstarch
- Water (Pouring water works best)
- Food coloring (optional; your choice of color)
- Essential oils or fragrance oils (optional for scent)
- A mixing bowl
- A spoon or spatula
- Ziplock bags or airtight containers for storage
Step-by-Step Tutorial
Step 1: Gather Your Ingredients
It’s essential to have everything ready before you start. This keeps the process stress-free and enjoyable. Measure out about 1 cup of liquid hand soap, 2 tablespoons of cornstarch, and 1 tablespoon of water. If you want to add color and scent, have those set aside as well.
Step 2: Mix the Soap and Cornstarch
In your mixing bowl, combine the liquid hand soap and cornstarch. Use your spoon to mix them until they form a smooth, paste-like consistency. This step is crucial as the cornstarch will help thicken the soap, giving the slime its desired texture.
Tip: If your mixture is too liquidy, feel free to add a bit more cornstarch, a teaspoon at a time, until you reach that playful, stretchy consistency.
Step 3: Add Water
Slowly pour in the tablespoon of water as you continually mix. This will further help to adjust the slime’s texture. If your soap slime is too thick, you can add a little more water until you achieve your desired stretchiness. However, do this gradually to avoid making it too runny.
What Could Go Wrong? If you find you’ve added too much water, no need to panic! Just incorporate a small amount of cornstarch back in to regain the right consistency.
Step 4: Add Color and Scent
If you’re feeling adventurous, now’s the time to add your food coloring and essential oils! Start with a few drops of food coloring, and mix until you achieve your desired shade. Make sure to mix thoroughly to avoid uneven coloring.
When it comes to scents, a few drops of essential oil or fragrance oil can really amp up the experience. I love using lavender for a calming effect, or lemon for a refreshing twist!
Step 5: Knead and Stretch
Once you’ve got everything mixed up well, it's time to get your hands in there! Knead the slime by rolling it in your hands. This is an essential step because kneading helps to incorporate air into the slime, making it fluffier and more enjoyable to play with.
Optional Creative Variations
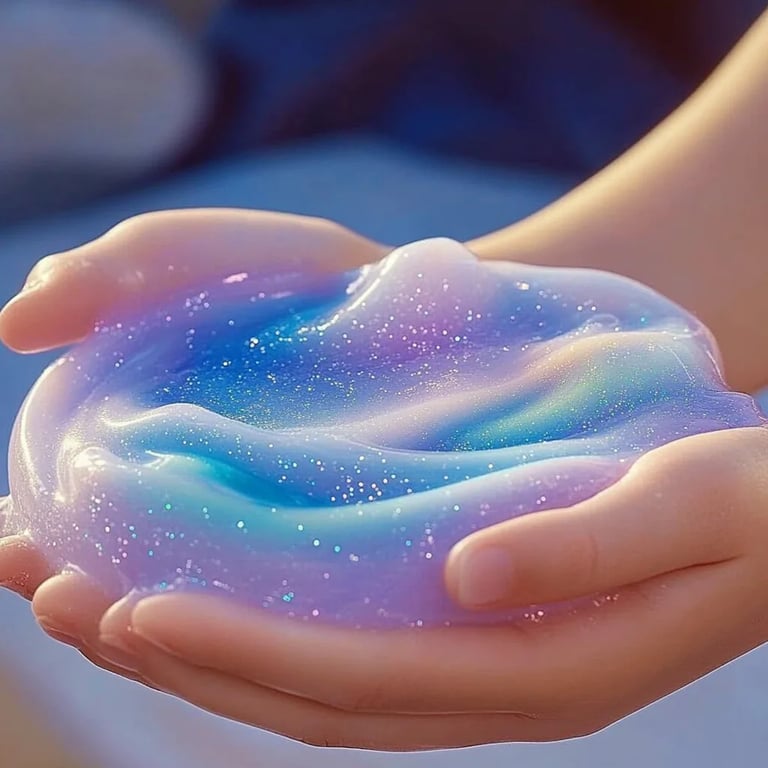
- Glitter Soap Slime: Add glitter for an eye-catching effect. I recommend purchasing biodegradable glitter for a more eco-friendly choice.
- Layered Soap Slime: Create layers by preparing different colors and combining them in one container. It looks fantastic and feels especially squishy!
- Textured Soap Slime: Experiment with adding items such as small foam balls or beads for extra texture!
Safety Warnings and Considerations
- Avoid Ingesting: This recipe uses soap, so make sure not to ingest any. Always supervise young children during playtime.
- Patch Test: If you’re adding essential oils, do a patch test first to ensure there are no allergic reactions.
- After Play, Clean Up: Soap slime should wash off surfaces easily, but make sure it doesn’t sit too long on fabric or carpet.
Helpful Tips and Tricks
- Storage: Store your no-glue soap slime in a Ziplock bag or an airtight container to keep it fresh. I’ve kept mine for weeks when stored properly!
- Easy Cleanup: To clean up after crafting and playing, a damp cloth or some warm water usually does the trick.
- Experiment: Don’t be afraid to tweak the recipe to find your perfect slime consistency. Each soap brand can yield slightly different results.
Final Thoughts
I hope you’ve enjoyed this comprehensive guide on making No-Glue Soap Slime. It’s an incredible way to express creativity while providing an enjoyable sensory experience. Whether you're crafting alone or with friends and family, the joy of manipulating your own slime creation is something special.
Remember, crafting is all about exploring and experimenting. Don’t hesitate to add your personal touch to each slime batch. I look forward to hearing about your creations and any unique variations you discover. Happy crafting!