How to Make Moon Craft: A Step-By-Step Guide to Create Your Very Own Celestial Ornament
When I first stumbled upon the art of Moon Craft, it felt as though I had tapped into a secret world of beauty and creativity that’s both enchanting and calming. Moon Craft, essentially creating stunning celestial-inspired decorations, has surged in popularity recently, and for good reason! These ethereal creations aren’t just whimsical; they can infuse your home with a cozy, celestial atmosphere while providing a wonderful hands-on crafting experience. Whether you're looking to brighten your space, create a unique gift, or just immerse yourself in a relaxing hobby, Moon Craft is perfect for you.
In this detailed guide, I'll walk you through the entire process of making your Moon Craft, sharing my favorite tips and tricks along the way. With just a few accessible materials, you can create beautiful moon phases that are sure to impress. Let’s get started!
Materials You’ll Need
Before diving into the crafting process, let’s gather the materials. Here’s what you’ll need:
- Easy-to-find materials as the foundation:
- Air-dry clay or polymer clay (I personally prefer air-dry clay for easy use)
- Acrylic paint (white, gold, dark blue, and black)
- A paintbrush (preferably one with a fine tip for detail)
- Sandpaper (fine grit for smoothing)
- Clear sealant (for protection and shine)
- Tools for shaping and detailing:
- Rolling pin (to flatten the clay)
- Cookie cutters or a simple knife (to shape the clay)
- String or twine (for hanging)
- Toothpick or sculpting tools (for adding details)
- Decorative elements:
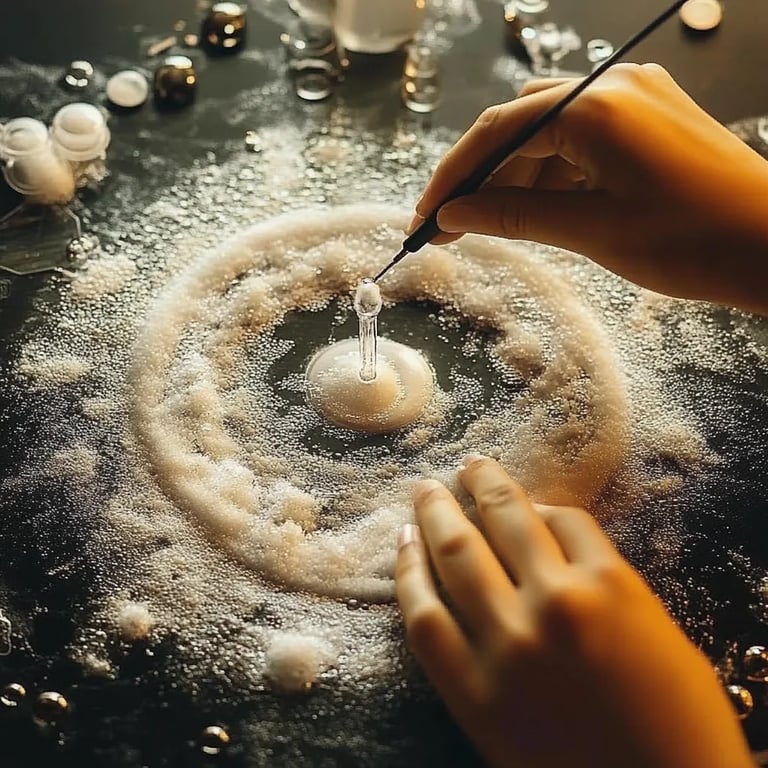
Step-by-Step Guide to Making Moon Craft
Step 1: Preparing the Clay
Begin by taking your clay and kneading it to soften. Why is this step important? Kneading enhances the clay's pliability, making it easier to shape and less likely to crack later. Use a rolling pin to flatten the clay to about 1/4 inch thick.
Tip: If the clay becomes sticky, dust your work surface with a little cornstarch or flour.
Step 2: Shaping the Moon Phases
Using a cookie cutter or your knife, cut out the shapes you want for the moon phases—new moon, crescent, half moon, gibbous, and full moon.
Pro Tip: Make more than one of each phase; you can use the extra moons to showcase creativity or allow for any that may crack during drying.
Place these shapes on parchment paper or a non-stick surface to dry.
Step 3: Detailing
While the moons are drying, it’s the perfect time to get creative! Using a toothpick or sculpting tool, carve details like craters or textures on the moon surfaces. This step really brings your moon to life and makes each piece unique.
What could go wrong? If the clay is too dry or crumbles, simply dampen your fingers with a little water to smooth it. Just don't overdo it—it shouldn't be too wet!
Step 4: Drying Time
Allow your moons to air dry completely—this usually takes around 24 hours. Ensure they are flat and prevent them from curling by turning them occasionally.
Safety Note: Keep them in a space where pets or little hands can’t reach them.
Step 5: Painting Your Moons
Once your moons are dry, it’s time to paint them! Start with a base coat of white acrylic paint; this will serve as your background color. After it’s dry, add depth using dark blue or black paint for shadows, and a touch of gold or silver for highlights.
What’s the secret here? Layering your colors creates a more dynamic look! Use a gentle hand to create blended effects.
Step 6: Adding Embellishments
If you decided to include glitter, gemstones, or sequins, now is the time to apply them. A light layer of clear glue will help them stick! After this is set, apply your clear sealant to protect the paint and give your moons a lovely shine.
Creative Variations
Once you’ve mastered the basic moon shapes, feel free to improvise! Create a moon garland by stringing several moons together, or paint them in a gradient color scheme. Let your imagination roam free—why not turn one of your moons into a whimsical face?
Closing Thoughts
Making Moon Craft has been nothing short of a delightful experience for me, and I hope this guide inspires you to embark on your own celestial crafting journey. Stay patient; every crafter encounters challenges. If a piece doesn’t turn out as expected, remember: It's all part of the creative process.
Embrace your mistakes, learn from them, and don’t hesitate to experiment beyond this guide. The key is to enjoy every step of the journey, letting your creativity shine just like the moon.
Happy crafting, and may your moons illuminate your space with serene beauty!