How to Make Minecraft Cupcake Party Bag Treats: A Whimsical Crafting Adventure
Hello there, fellow crafters! If you’re reading this, it means you’re gearing up for a delightful (and maybe a little pixelated) celebration. Today, I'm thrilled to share with you my step-by-step guide on creating Minecraft Cupcake Party Bag Treats. Whether you're preparing for a birthday bash, a themed gathering, or just a fun craft day with your kids, these treats can add that extra layer of magic and nostalgia to your event.
What Are Minecraft Cupcake Party Bag Treats?
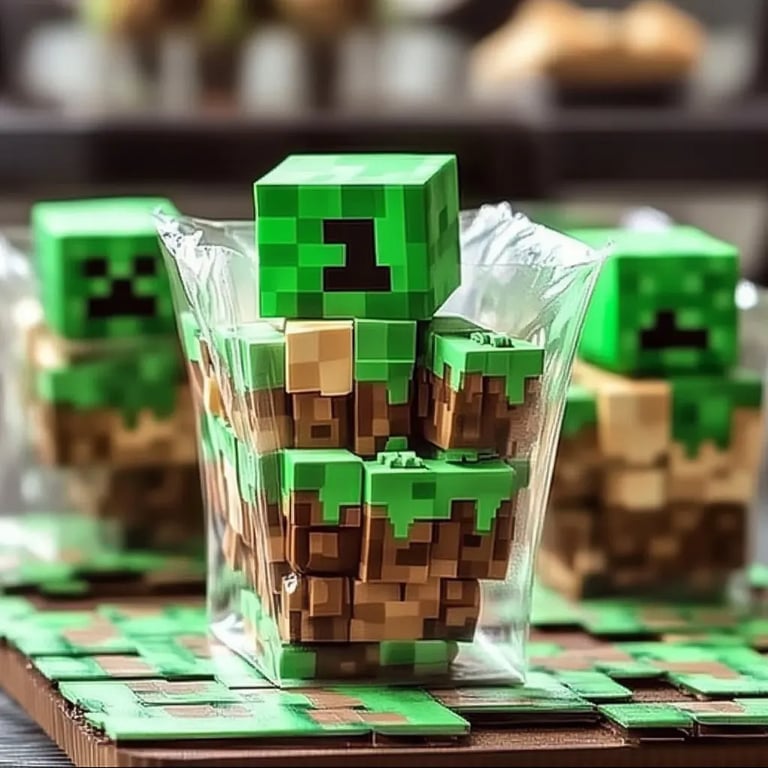
Minecraft, as many of you know, is a beloved sandbox game that has captured the hearts of millions worldwide. Its blocky aesthetic and creative gameplay make it incredibly popular among kids and adults alike. Turning cupcakes into treats inspired by this beloved game is not just trendy—it's an experience! These cupcake party bag treats typically feature colorful cupcake toppers resembling iconic Minecraft characters and elements, such as creepers, pigs, and even diamond blocks.
But why stop at just cupcakes? These treats can be repackaged into adorable party bags filled with goodies. Imagine your guests leaving with a small piece of the Minecraft universe, complete with a cupcake to savor later!
You can throw these parties at birthdays, school events, or simply to indulge in the magical world of crafting. Now, grab your crafting supplies, and let’s embark on this delicious adventure together!
What You'll Need
Before we dive into the tutorial, let’s gather our materials. You don’t need to break the bank or have a master’s degree in pastry arts—just a little creativity and enthusiasm!
Ingredients for Cupcakes:
- 1 box of chocolate cake mix (or your favorite homemade recipe)
- Ingredients required for the mix: Usually water, eggs, and vegetable oil
- Green, light green, brown, black, and white frosting
- Cupcake liners
For the Toppers:
- Fondant in various colors (green, black, and white)
- Edible markers or food coloring pens
- Small square cutters or a knife
- Piping bags and tips (if you prefer piping)
For Party Bags:
- Paper or plastic treat bags
- Minecraft-themed stickers or printouts
- Twine or ribbon for tying the bags
Step-by-Step Tutorial
Now that we have everything ready, let’s get to crafting our Minecraft-inspired cupcake treats!
Step 1: Baking the Cupcakes
- Prepare the Cake Mix: Follow the instructions on your box of chocolate cake mix or whatever cupcake recipe you prefer. Make sure to preheat your oven to 350°F (175°C).
- Why it matters: Properly following the mix instructions ensures that your cupcakes rise well and have the perfect texture.
- Line Your Cupcake Pan: Place cupcake liners in the muffin tin and fill each about two-thirds full with the batter.
- Tip: Use an ice cream scoop for uniformity.
- Baking: Bake the cupcakes for 18-22 minutes, or until a toothpick inserted in the center comes out clean.
- What could go wrong: Overbaking can lead to dry cupcakes—set a timer!
- Cooling: Once they are done, let the cupcakes cool completely on a wire rack.
- Why this matters: Frosting warm cupcakes can lead to a melted, gooey mess.
Step 2: Crafting Your Toppers
- Shape the Fondant: Cut several squares from the fondant to create blocks or characters. For example, a green square can become a creeper’s face when decorated.
- Tip: Use a small square cutter to ensure uniformity. If you don’t have fondant, you can also use colored chocolate melts!
- Decorate: Use edible markers or food coloring pens to draw facial features on your fondant squares.
- Alternative method: You can also pipe details with frosting for a different texture.
Step 3: Frost the Cupcakes
- Divide the Frosting: Split your frosting into separate bowls and tint them according to the Minecraft theme (think grass green for the tops, and dirt brown for the bottoms).
- Tip: If you want to create a more blocky look, consider using a spatula to spread frosting on rather than piping.
- Frosting Application: Frost the tops of the cooled cupcakes with your green frosting and add some brown on the bottom or sides to mimic a grassy surface.
- Creative Variation: Alternate shades of green and brown, or make half your cupcakes grassy and half dirt blocks!
Step 4: Assemble the Party Bags
- Fill Bags: Place your frosted cupcakes in treat bags, making sure to tie them securely. Lining them with a paper towel can help prevent smudging.
- Why this matters: Proper sealing keeps the cupcakes fresh for your guests.
- Finishing Touches: Decorate the treat bags with Minecraft-themed stickers, and tie them with twine or ribbon.
- Personal Anecdote: I once hand-painted burlap bags for an extra touch, which my kids loved even more than the treats!
Safety Tips
- Food Safety: Ensure that your workspace is clean, and wash your hands before starting your baking.
- Fondant Handling: If you are using fondant, be mindful of food allergies—check with your guests.
Alternative Ingredient Suggestions
If you need substitutions, here are some ideas:
- Instead of boxed cake mix, consider gluten-free or vegan cake mix options.
- For frosting, you can use whipped cream or store-bought frosting if you're short on time.
Final Thoughts
Creating Minecraft Cupcake Party Bag Treats is not just about the end result; it’s about the experience, the laughter, and the joy of crafting together. I've had so many fun times making these with my kids—and seeing their faces light up once they see their favorite characters and elements come to life is absolutely priceless.
So gather your supplies, invite a few friends or family members over, and unleash your creativity! I'm confident that you’ll create something truly enchanting that will make your party unforgettable.
Happy crafting, and may your cupcakes rise as beautifully as your creativity!