How to Make Melted Bead Suncatchers: A Step-by-Step Guide from an Experienced Crafter
If you’re anything like me, you cherish those bright, sunshiny days when light dances off colorful surfaces and fills your living space with joy. One of my absolute favorite crafts that captures that spirit is making melted bead suncatchers. Not only do these vibrant decorations bring a splash of color to your windows, but they also make for a delightful DIY project that’s perfect for every level of crafter—whether you’re a seasoned pro or just starting out. So, grab your supplies, and let’s get started on this crafty journey together!
What Are Melted Bead Suncatchers?
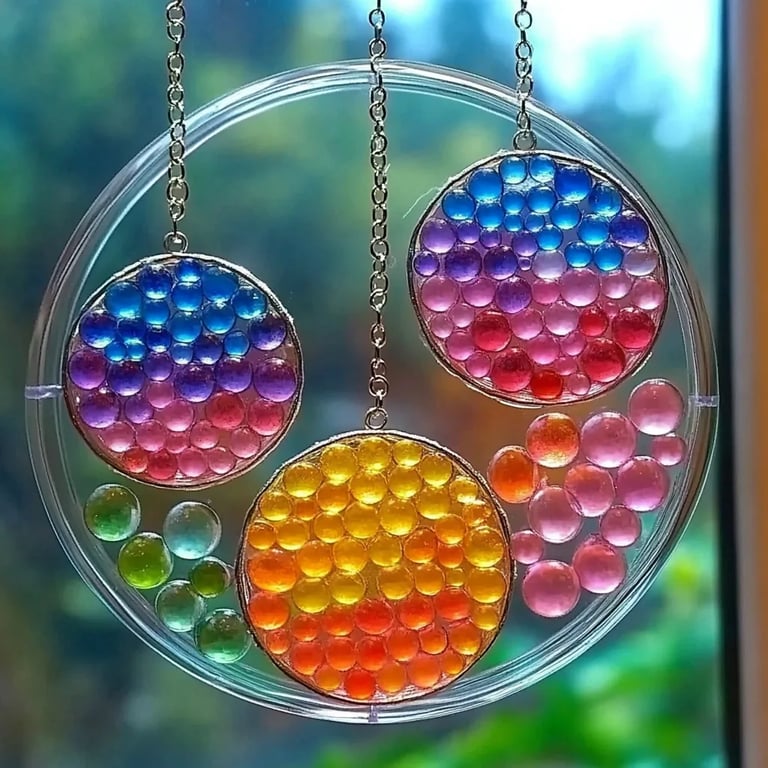
Melted bead suncatchers are decorative items made from plastic beads that are melted down to create beautiful shapes and colors. When held up to sunlight, they transform into stunning pieces of art that can catch and refract light, creating mesmerizing patterns in your home. I love hanging them near windows, and they also make charming gifts for friends and family!
These suncatchers are popular for various reasons: they’re easy to make, customizable for any occasion, and the process is incredibly satisfying. Plus, they’re an eco-friendly way to upcycle plastic beads, which is always a major bonus in my crafting book!
Materials Needed
Before we dive into the crafting process, let’s gather our materials. Here’s what you will need:
- Perler beads (or any plastic beads that can withstand melting)
- Silicone molds or metal cookie cutters (to shape your suncatchers)
- Parchment paper (to prevent sticking)
- Baking sheet
- Oven (set at 400°F or 204°C)
- Baking gloves (safety first!)
- Acrylic paint or glitter (optional for extra flair)
- String or fishing line (for hanging)
Step-by-Step Tutorial: Making Melted Bead Suncatchers
Now that we have everything ready, let’s get into the step-by-step process. I’ll guide you through it, sharing tips that I’ve learned along my crafting journey!
Step 1: Preheat the Oven
Preheat your oven to 400°F (204°C). This is crucial as the beads need a consistent temperature to melt evenly. Take a moment to admire your crafting space; a clean and organized area makes a huge difference in the crafting experience.
Step 2: Choose Your Design
While the oven is heating, decide on the design for your suncatcher. You can create a simple circular design, a heart, or even intricate shapes like flowers or stars. If you’re using a silicone mold, consider the colors you want to use. A good rule of thumb is to select complementary colors rather than clashing shades, which can sometimes muddy the final product.
Step 3: Arrange the Beads
Once you’ve settled on a design, it’s time to arrange your beads. For a classic suncatcher, I typically place a single layer of beads in the mold, leaving a little space between them to allow for expansion when they melt.
Tip: It’s easy to lose track of your design if you’re not careful. I like to lay everything out in order before placing them in the molds, which helps maintain my pattern.
Step 4: Protect Your Baking Sheet
Line a baking sheet with parchment paper. This is essential because melted beads can stick like glue! Place your silicone molds or metal cookie cutters on top of the parchment-lined baking sheet to prepare for baking.
Step 5: Melt the Beads
Once your oven is preheated, carefully place the baking sheet with your bead arrangements inside and set a timer for 10-15 minutes. You’ll want to keep an eye on them as different ovens can heat unevenly. You’ll know they’re done when they have melted fully and have taken on a shiny, smooth appearance.
Important Safety Note: As a precaution, wear baking gloves when handling the hot baking sheet or molds. The melted beads can reach high temperatures, and it’s best to avoid burns.
Step 6: Cool and Remove from Molds
After the beads have melted, remove them from the oven and let them cool completely (about 30 minutes). This step is important because if you try to pop them out too soon, they may break apart. I’ve learned this the hard way, and it’s not fun!
When they are cool, gently flex the silicone mold (if using) or tap the metal cookie cutter to release your beautiful suncatchers.
Step 7: Add Finishing Touches
Now that your suncatchers are popping out, you can enhance them further. If you want to add some sparkle, a coat of acrylic paint or a sprinkle of glitter can do the trick! Just make sure to let everything dry completely before moving on.
Step 8: Hang and Enjoy!
Finally, threading a piece of string or fishing line through your suncatchers will allow you to hang them. I recommend using a sturdy knot to secure them. Once hung, watch as the sunlight streams through, filling your space with vibrant colors and beautiful patterns.
Troubleshooting Common Issues
- Beads stick to the mold: If you're using a metal mold and beads stick, make sure to line the surface properly with parchment paper. For silicone molds, a light spray of non-stick cooking spray can also help.
- Uneven melting: If the beads aren’t melting evenly, check to ensure they are laid out without over-crowding in the mold and that your oven’s temperature is accurate.
- Breaking during removal: If they break when you're trying to remove them from the molds, don’t fret! You can always re-melt the broken pieces and try again.
Personal Anecdotes and Creative Variations
I remember the first time I made melted bead suncatchers with my niece during a family gathering. We spent an entire afternoon experimenting with colors and shapes, laughing as we created amusing creatures and whimsical designs. The joy on her face when she saw the rainbow of colors it projected on the wall was absolutely priceless!
You can also play around with various shapes or even try layering different colors for a more advanced look. For instance, creating a butterfly or a dragonfly involves more intricate designs but can yield stunning results!
Alternative Methods: You can substitute plastic beads with shredded plastic (like from recycled plastic bottles) and follow the same steps for a more eco-friendly approach, though this might require some experimentation with melting times.
Conclusion
Crafting melted bead suncatchers is not only a fun way to spend your time but also adds a splash of joy and color to your home. I hope this detailed guide inspires you to give it a try, whether you're making just one for yourself or hosting a crafting party with friends.
Don’t be afraid to take creative liberties and make it your own! Remember, every crafter starts somewhere, and with practice comes mastery. I can’t wait to see the beautiful suncatchers you create. Happy crafting!