How to Make Magical Sensory Bottles for Kids: A Step-by-Step Guide
Hello fellow crafters! I'm thrilled to share my passion for creating magical sensory bottles—a wonderful, hands-on project that sparks joy and curiosity in children (and adults, too!). If you're looking for a creative outlet that brings sensory play and mindfulness together, you've come to the right place. In this guide, I'll walk you through every detail of the process, from materials to tips, as well as alternatives and personal anecdotes drawn from my own crafting journey.
What are Magical Sensory Bottles?
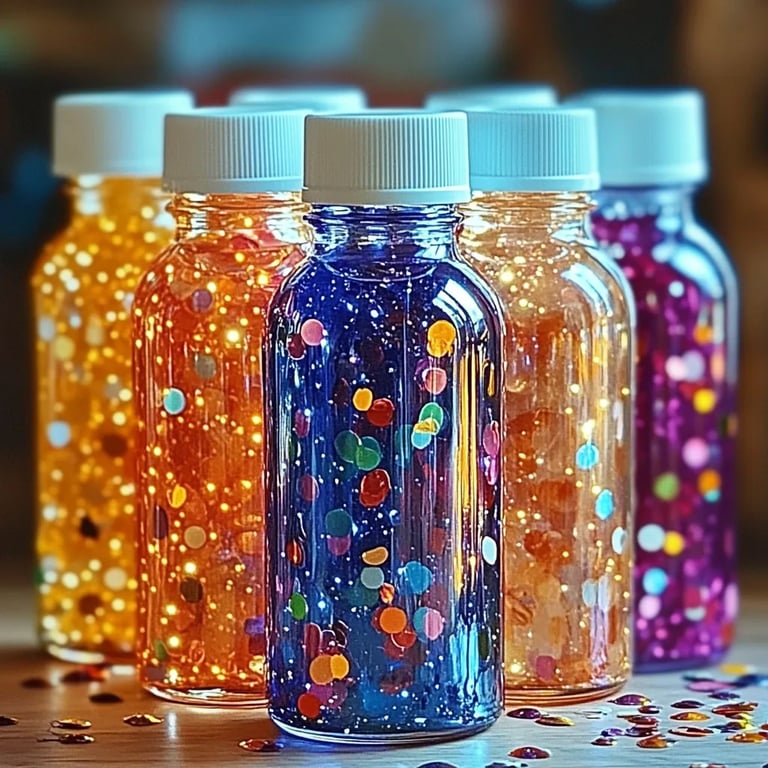
Magical sensory bottles are filled with various materials that create captivating visuals and soothing atmospheres. They can be used for calming activities, educational purposes, or simply as beautiful decorations. These bottles are particularly popular for young kids, helping them explore colors, textures, and concepts like cause and effect. They are also a fantastic tool for promoting mindfulness and emotional regulation—a quiet moment to focus on calming visuals.
When and How to Use Sensory Bottles
Sensory bottles are incredibly versatile! You can use them during quiet time, as a calming tool for tantrums, or as part of a sensory play area. They make great gifts or can be displayed on a shelf as delightful décor. I often find that my kids love them during transition times—after school or before bed, they help create a soft, soothing atmosphere that encourages relaxation.
Materials You'll Need
To create your own magical sensory bottles, you’ll need just a few simple materials:
- Clear Plastic or Glass Bottles: I prefer plastic for kids to ensure safety. Old water or soda bottles work perfectly!
- Filler Materials: You can get creative here! Things like glitter, beads, water beads, and colored sand work wonderfully.
- Liquid: Distilled water, vegetable glycerin, or even flavored oils. Here’s where you get to experiment!
- Colors: Food coloring, liquid watercolors, or craft paints.
- Sealing Materials: Hot glue gun or strong adhesive for sealing the lids.
- Optional Add-ins: Sequins, small toys, or any other captivating elements you can fit in your bottle!
Step-by-Step Tutorial
Step 1: Prepare Your Bottles
Start with clean bottles. If you’re reusing them, make sure they’re free of labels and residue by soaking them in warm soapy water.
Tip: A good scrub with vinegar or baking soda also helps. Stripping down the bottle ensures a clean look, enhancing its magical appearance.
Step 2: Choose Your Liquid
The type of liquid you choose can significantly impact the sensory experience.
- Distilled Water: Great for a clear look, easy to mix with food coloring.
- Vegetable Glycerin: For a slow-moving, viscous effect; perfect if you want glitter to fall slowly.
My Insight: Mixing both liquids (half water, half glycerin) creates a perfect balance—gorgeous effects without being overly thick or thin.
Step 3: Add Color and Texture
Next, add your food coloring or paint. I typically use a few drops of food coloring, but you can always start with less and add more for a deeper hue.
Then, carefully add your chosen filler materials. I adore using glitter for its sparkle, alongside tiny sea-themed toys to create an ocean-inspired bottle.
Safety Note: For younger children, avoid very small objects that can pose a choking hazard. Always supervise during playtime.
Step 4: Filling the Bottle
Pour your liquid carefully into the bottle. For a glitter bottle, aim for just enough liquid to cover the glitter you add. If using heavier fillers (like beads), add more liquid for everything to float nicely.
Tip: An easy way to funnel the liquid into the bottle is to use a plastic funnel or even a rolled-up piece of paper.
Step 5: Seal it Tight!
Once you’re satisfied with the contents, it’s time to seal that lid! Use a hot glue gun to ensure it’s secure, especially if you’re making this for younger kids. You don’t want any spills!
Tip: For extra insurance, consider wrapping the lid and bottle junction in duct tape! It adds another layer of security and can also add a fun design element.
Step 6: Shake it Up!
Give your bottle a gentle shake to mix everything together. Watch as the contents swirl and settle. This is where the magic truly happens!
Troubleshooting: What Could Go Wrong?
- Too Much Liquid: If your filler sinks, it may be due to excess liquid. Just carefully open the bottle and pour a bit out.
- Leaky Lid: Make sure it’s sealed well! If it continues to leak, consider extra sealing around the lid with tape or glue.
- Color Bleeding: If your colors seem to bleed too much, ensure you’re using true craft paint or heavily pigmented food coloring, as some colors can dissipate quickly in water.
Creative Variations to Try
Don't hesitate to get creative! Here are some ideas to switch things up:
- Theme bottles: Create seasonal themes! Use autumn leaves and tiny pumpkins for a fall bottle, or seashells and sand for a beach bottle.
- Glow-in-the-Dark: Add glow-in-the-dark paint for a nighttime effect!
Final Thoughts
Crafting magical sensory bottles is an enjoyable experience that fosters creativity and mindfulness in kids. As someone who has personally engaged in countless crafting adventures, I can confidently say that these bottles are more than simple DIY projects—they are gateways to exploration, relaxation, and a deeper understanding of sensory interaction.
Remember, every crafter's journey is unique. Enjoy the process, and allow yourself the freedom to explore and create. Happy crafting, and may your magical sensory bottles bring joy to your family! If you have any questions or stories to share, please feel free to connect. I love hearing from fellow crafters!