How to Make Magical Sensory Bottles for Kids: A Comprehensive Guide from an Experienced Crafter
As a passionate crafter and a parent, I’ve always been on the lookout for projects that are not only fun but also engaging and educational for my kids. One of my all-time favorites is creating Magical Sensory Bottles. These captivating creations are filled with mesmerizing liquids, glitters, and assorted bits and bobs, perfect for sparking curiosity and promoting relaxation. In this detailed guide, I’ll share my complete process of making these bottles, along with tips, tricks, and personal anecdotes to ensure your crafting experience is as rewarding and enjoyable as possible.
What are Sensory Bottles?
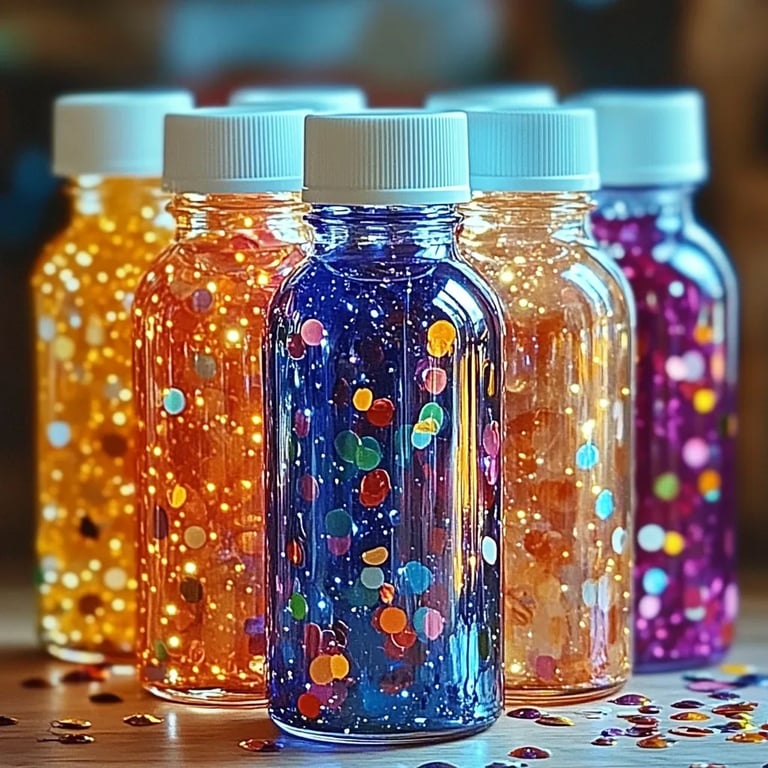
Sensory bottles are clear containers filled with materials that engage the senses—sight, sound, and even touch. They're popular for many reasons; children love watching them swirl and shimmer, making them perfect for calming moments or as educational tools for lessons about colors, movement, and nature. I’ve found them especially useful during quiet time or for soothing my kids during moments of overstimulation.
Why They’re Popular
These bottles have surged in popularity among parents, educators, and therapists. They are simple to make, require minimal materials, and can be customized to suit a child's interests. Not to mention, they provide a sensory experience that can be soothing, helping to develop fine motor skills and promote focus.
When and How to Use Sensory Bottles
Sensory bottles can be used at various times: during playtime, therapy sessions, or as a calming aid right before nap or bedtime. I've used them successfully when my kids have had overly stimulated days or needed a bit of help winding down. The sheer act of watching the contents swirl can be hypnotic and calming.
Materials You’ll Need
Before we dive into the step-by-step tutorial, let me share the materials you’ll need for your Magical Sensory Bottles:
- Clear Plastic Bottles: Empty water bottles or small clear glass jars work well. For younger children, I recommend plastic for safety reasons.
- Water: The base of our bottle, which can be colored or left clear.
- Vegetable Oil or Baby Oil: This will create a slow-moving effect when mixed with water.
- Glitter, Sequins, or Small Beads: To add sparkle and fun to your sensory bottle.
- Food Coloring (optional): To tint the water, creating a more visually stimulating experience.
- Items for Filling: Think shells, buttons, small toys, or any little trinkets that glitter and amaze.
- Hot Glue Gun: To seal the lid safely.
- Funnel (optional): To make filling the bottle easier and less messy.
Step-by-Step Tutorial: Making Your Magical Sensory Bottle
Step 1: Prepare Your Bottle
Start by cleaning and drying your chosen bottle. Removing any labels will help maintain a neat appearance and let the contents shine.
Step 2: Add Base Elements
Using a funnel, pour about three-quarters of your bottle with water. If you want to color your water, now is the time to add a few drops of food coloring! As a pro tip, remember: less is more! You can always add more color, but it’s challenging to lighten it once it’s in.
Step 3: Time for the Oil
Next, pour in vegetable or baby oil until the bottle is nearly full. This is where the magic truly starts, as the oil will create movement and help your glitter and trinkets flow more slowly. If you choose to experiment with different types (like coconut oil for a tropical scent), be cautious of temperature as it can solidify at lower temperatures.
Step 4: Add Glitter and Fillings
Now for the fun part! Sprinkle your glitter, sequins, or any desired small fillers into the bottle. I love to use a mix of several colors for that extra magical touch. Depending on what you have at home, you might throw in a few shells from our last beach trip, or perhaps some colorful beads from an old craft kit.
Step 5: Seal It Up
Make sure everything is evenly distributed, then screw the lid on tightly. For added peace of mind—or if your kids are particularly adventurous—apply hot glue around the rim of the lid to ensure it stays secure. This step prevents any spillage if the bottle gets knocked over. You definitely don’t want a glittery disaster in your living room!
Step 6: Shake it Up!
Once the lid is sealed, give your bottle a good shake to mix everything up, then let it sit and watch the magical movement unfold. This combination of ingredients creates a wonderful, calming effect as everything floats and moves together.
Troubleshooting Common Issues
- Oil and Water Not Mixing: Ensure you’re using proper vegetable or baby oil. If the oil and water separate too quickly, try to add more water or shake it slightly to encourage mixing.
- Glitter Clumping Together: If your glitter clumps together, sprinkle it in gently and try to distribute it evenly. You can also try adding a bit of dish soap to help separate the glitter.
- Too Much Color: If you accidentally added too much food coloring, try adding more water to dilute it. Just be cautious not to make it too full when screwing on the lid.
Creative Variations
Sensory bottles are incredibly versatile! Here are some creative variations:
- Seasonal Themes: Use items like tiny pumpkins, leaves, or snowflakes to create seasonal sensory bottles that reflect the time of year.
- Nature-themed: Fill with sand, small stones, and shells for a beachy feel. It’s a lovely way to relive summer memories during the colder months.
- Glow-in-the-dark: Use glow-in-the-dark paint or glitter for a magical nighttime experience.
Safety Tips
- Ensure that small items used in the bottles are age-appropriate and won't pose a choking hazard.
- Always supervise children while they’re exploring with sensory bottles, especially younger ones.
- Sealing bottles properly with a hot glue gun is crucial to prevent spills and accidents.
Final Thoughts
Making Magical Sensory Bottles has been one of my favorite creative outlets, and I'm thrilled to share this process with you. As you craft these sensory treasures, remember that it’s an opportunity for bonding with your little ones—taking the time to help them understand the beauty of the craft, enhancing sensory experiences, or creating moments of calm after a busy day.
I encourage you to experiment with different materials, colors, and themes. The only limit is your imagination! Each bottle tells a different story and can become a cherished keepsake filled with magical moments.
Happy crafting, and may your sensory bottles bring joy and wonder to you and your children!