How to Make Magical Glowing Jars for Kids: A DIY Craft Adventure
Hello fellow crafters! I’m thrilled to take you through one of my absolute favorite projects for kids: crafting Magical Glowing Jars. This delightful DIY not only adds a touch of whimsy to any room but also serves as a wonderful creative outlet for little hands. Whether you’re preparing for a slumber party, a nighttime reading nook, or just looking to brighten up a space, these enchanting jars are a popular choice among both children and parents alike.
The allure of these radiant jars lies in their simplicity and versatility. They can be used as ambient nightlights, party decorations, or interesting conversation starters. Plus, they’re an excellent opportunity for kids to unleash their imaginations. Creating something that glows and shimmers is always a big hit with my own children!
What Do You Need?
Before we dive into the step-by-step process, let’s gather our materials. This list is designed to be straightforward, and most items you likely have at home already. Here’s what you’ll need:
Materials:
- Glass jars (Mason jars or empty condiment jars work perfectly)
- Glow-in-the-dark paint (available at craft stores)
- Paintbrushes (foam brushes work wonders)
- Water (to dilute the paint if necessary)
- Dark colored paper or fabric (to create a stark contrast)
- LED tealight candles (for an added glow)
- Glue (optional)
- Glitter or sequins (optional)
- Rag or paper towels for clean-up
Optional Decor:
- Stickers
- Ribbon or twine
- Small figurines (like fairy or animal figures)
Step-by-Step Tutorial
Step 1: Prepare Your Work Area
Start by laying down some newspaper or a plastic tablecloth on your crafting surface. This keeps things tidy and protects your furniture. It’s essential to have an organized workspace, especially when working with little ones. Trust me; clean-up is much easier this way!
Step 2: Select Your Jars
Choose the size and shape of the jars you want to decorate. I usually go for medium-sized Mason jars as they are the perfect canvas for our project. If you have older jars with labels, you can soak them in warm, soapy water to remove any residue and then rinse them well.
Tip:** Always handle glass behaviorally while working with younger kids. Ensure they don’t touch sharp edges.
Step 3: Create the Base Layer
Using a foam brush, apply a generous coat of glow-in-the-dark paint inside your jar. I recommend doing this in a well-ventilated area or even outside. Don’t worry if it looks uneven; the beauty of this craft is that imperfections add character!
Why this step is important: This initial layer will create the glowing magic. If you miss this step, your glow effect won’t show.
Common Pitfall: If the paint is too thick, it may not glow well. Dilute it slightly with water if necessary to achieve a more liquid consistency.
Step 4: Add Details
While the first layer is drying, it’s time to get creative! You can add drips, lines, or even swirls with a different color if you have more than one glow paint. This can resemble fireflies or shimmering stars.
Fix-It Tip: If you accidentally apply too much paint, wipe it with a paper towel while it’s still wet.
Step 5: Personalize Your Jar
Now comes the fun part! You can glue dark-colored fabric or paper around the outside of the jar or even stick on some stickers and figurines you or your kids love. This adds personality and makes each jar unique.
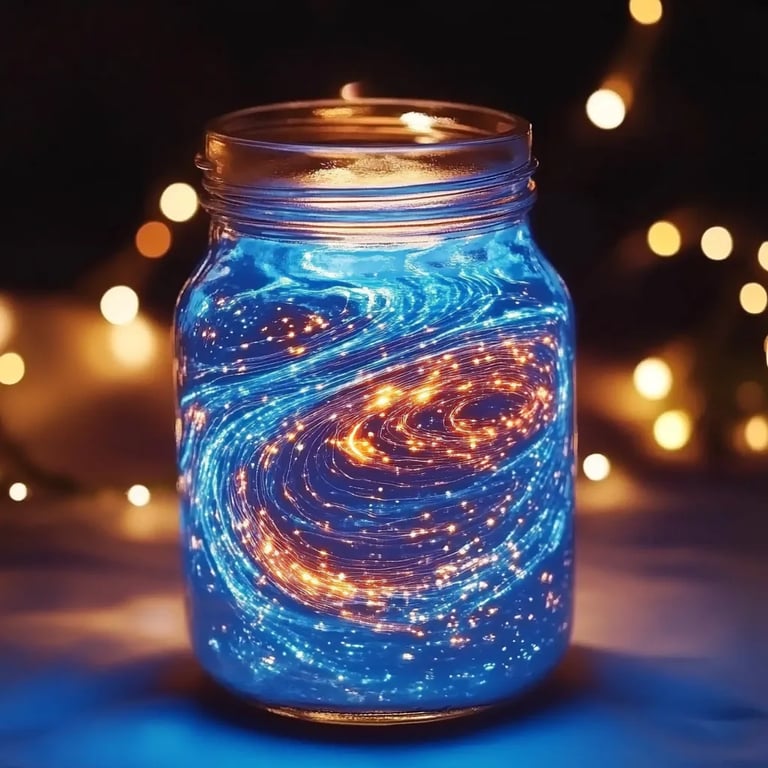
Creative Variation: For a celestial theme, sprinkle some silver or gold glitter inside before sealing with a lid. When it glows, it will look like a sparkling galaxy!
Step 6: Finish Up
After decorating, place the glass jars in a sunny spot or under a bright light source to charge the glow-in-the-dark paint for a few hours. The more time the jars spend "charging," the more vibrant they’ll glow in the dark!
Step 7: Add the Light Source
For an extra layer of enchantment, place an LED tealight candle at the bottom of the jar once the paint is dry. This will also create a flickering effect and make your jars even more magical!
Safety Precautions
* Always supervise younger kids when using glass jars and paints.
* Ensure that any paints used are non-toxic and safe for children.
* The LED candles should be child-safe and not produce heat.
Troubleshooting Common Issues
- The jars don’t glow: Ensure you used enough glow-in-the-dark paint and let them charge sufficiently under the light.
- Paint is peeling off: This can happen if the paint isn’t sealed properly. Use a clear spray sealant if you want a more durable finish.
Personal Anecdotes
One of my fondest memories while making these jars was when my daughter insisted on painting stars and moons because she wanted to “capture the night”. It transformed a simple craft into a meaningful activity that encouraged her creativity and expression.
Alternative Methods and Ingredient Substitutions
If you don’t have glow-in-the-dark paint, you can use glow sticks! Just cut the glow sticks, and pour the contents into your jar. Be careful—yes, they can be a bit messy!
Wrapping Up
Creating Magical Glowing Jars is not just an art project; it's an experience that sparks joy, creativity, and learning. Watching the transformation of a plain jar into something magical is a thrill both for the maker and the observer.
I hope this guide inspires you and your little ones to embark on this exciting crafting journey together. Don’t forget to share your creations—it’s so rewarding to see how each person’s jar turns out uniquely. Happy crafting, and may your nights be filled with magic!