How to Make Magical Bubble Dough: A Comprehensive Guide
Hello, fellow crafting enthusiasts! Today, I’m thrilled to share my journey into the whimsical world of Magical Bubble Dough—a fun and versatile creation that has taken the crafting community by storm. If you're looking for a sensory experience that's not only entertaining but also allows for endless creativity, you’re in the right place!
What is Magical Bubble Dough?
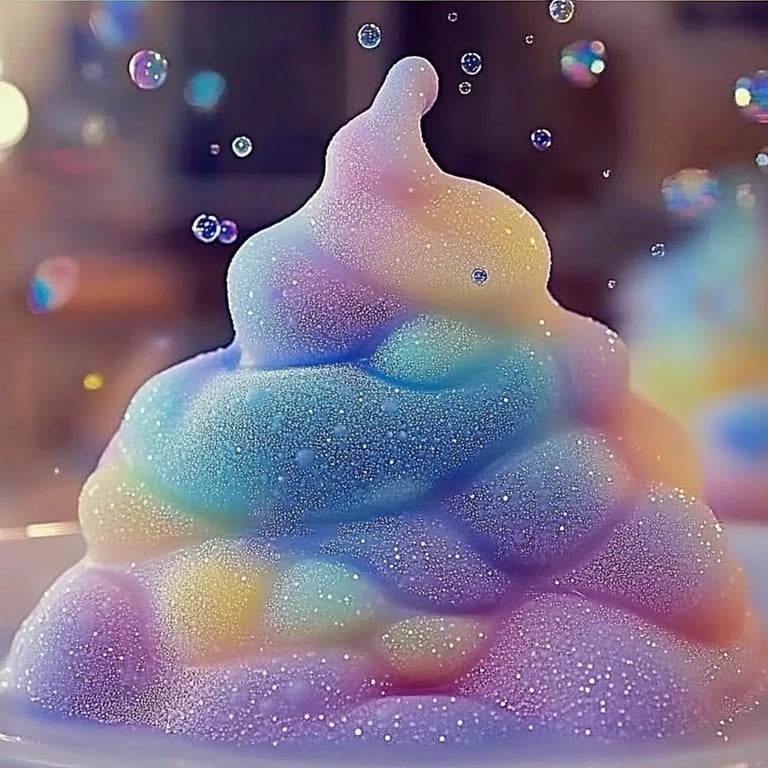
Magical Bubble Dough is a delightful fusion of traditional play dough and the enchanting properties of bubbles. This dough is soft, stretchy, and retains the ability to form bubbles when you blow through a straw. It's a fantastic activity for kids, stimulating their imagination and fine motor skills, while also offering a captivating sensory experience. It’s perfect for playdates, birthday parties, or a rainy afternoon at home. Plus, it's easy to make, so let’s dive in!
Why is Magical Bubble Dough So Popular?
- Sensory Play: Children of all ages adore the tactile feel of dough. Pair it with bubbles, and you have a recipe for hours of fun!
- Easy to Customize: You can integrate coloring, scents, or even glitter, making each batch unique.
- Educational Value: While playing, kids can unknowingly enhance their motor skills, creativity, and even learn basic scientific principles about air and bubbles.
What You Will Need
To make your own Magical Bubble Dough, you'll need the following simple ingredients:
Ingredients:
- 2 cups of all-purpose flour
- 1 cup of warm water
- 1/2 cup of salt
- 2 cups of dish soap (the 'magic' ingredient!)
- 1 tablespoon of vegetable oil
- 1 tablespoon of cream of tartar
- Food coloring or liquid watercolors (optional, for vibrant hues)
- Optional add-ins: glitter, essential oils, or scents
Tools:
- Large mixing bowl
- Wooden spoon
- Measuring cups and spoons
- Airtight container (to store your dough)
Step-by-Step Tutorial to Make Magical Bubble Dough
Step 1: Prepare Your Work Area
Before you begin, make sure to clear a spacious area where you can work comfortably. It’s good to have a clean surface—use a table or kitchen counter. Lay down some parchment paper or a craft mat for easy cleanup.
Step 2: Create the Dough Mixture
In a large mixing bowl, combine the following dry ingredients:
- 2 cups of all-purpose flour
- 1/2 cup of salt
- 1 tablespoon of cream of tartar
Why this matters: Flour gives the dough its structure while salt adds a nice texture and flavor. Cream of tartar helps keep the dough pliable and enhances its bubble-making capabilities.
Stir these together well until there are no lumps.
Step 3: Mix the Wet Ingredients
In a separate bowl, combine:
- 1 cup of warm water
- 2 cups of dish soap
- 1 tablespoon of vegetable oil
If you're using food coloring or scents, add them to the wet mixture at this stage.
Tip: Warm water helps dissolve the salt better, which results in a smoother dough. Plus, it allows the dough to become more malleable.
Step 4: Combine Wet and Dry Ingredients
Pour the wet ingredients into the dry mixture gradually. As you mix, use a wooden spoon to stir until the dough begins to form.
If your dough appears too sticky:
- Add a tablespoon of flour at a time until it reaches the right consistency.
Conversely, if it's too dry:
- Add a small splash of warm water or dish soap, one teaspoon at a time.
Why this matters: Achieving the correct texture is critical for bubble-making and playability. You want it to be soft and stretchy but not overly sticky.
Step 5: Knead the Dough
Once the dough has mostly come together, gently knead it with your hands for about 5 minutes. This step is crucial, as it helps to develop the elasticity of the dough.
Personal anecdote: I remember my first batch; I was so eager that I skipped this step and ended up with a crumbly mess! Remember, kneading gives the dough its magical properties.
Step 6: Bubble Test
After kneading, it’s time for the bubble test! Take a small portion of the dough, shape it into a ball, and gently blow through a straw. If little bubbles form, congratulations! You’ve just created your Magical Bubble Dough!
Step 7: Storage
Once you’ve finished playing, store your dough in an airtight container to keep it fresh for up to a week.
Safety Warnings
- Ensure that materials used are non-toxic, especially if young children are involved.
- Always supervise young children to prevent any ingestion of materials or choking on small parts.
Creative Variations and Tips
- Scented Dough: Try adding a few drops of essential oils like lavender or lemon for a calming aroma.
- Color Play: Make several batches and mix colors for stunning results. I love kneading in a few drops of blue and yellow to create a beautiful green!
- Themed Dough: For holidays, make colored dough in holiday themes—think red and green for Christmas!
Troubleshooting Common Issues
- If your dough dries out, simply add a few drops of warm water and knead again.
- If it becomes too sticky, dust with a bit of flour at playtime.
Conclusion
Making Magical Bubble Dough is an enchanting journey that fills the room with joy and laughter. Not only does it ignite creativity, but it also serves as a wonderful bonding experience with family and friends. I hope this comprehensive guide has provided you with everything you need to create your own batch of this captivating dough.
Now grab your supplies and start crafting! I can't wait to hear about your experiences and any unique variations you come up with in the magical world of bubble dough. Happy crafting!