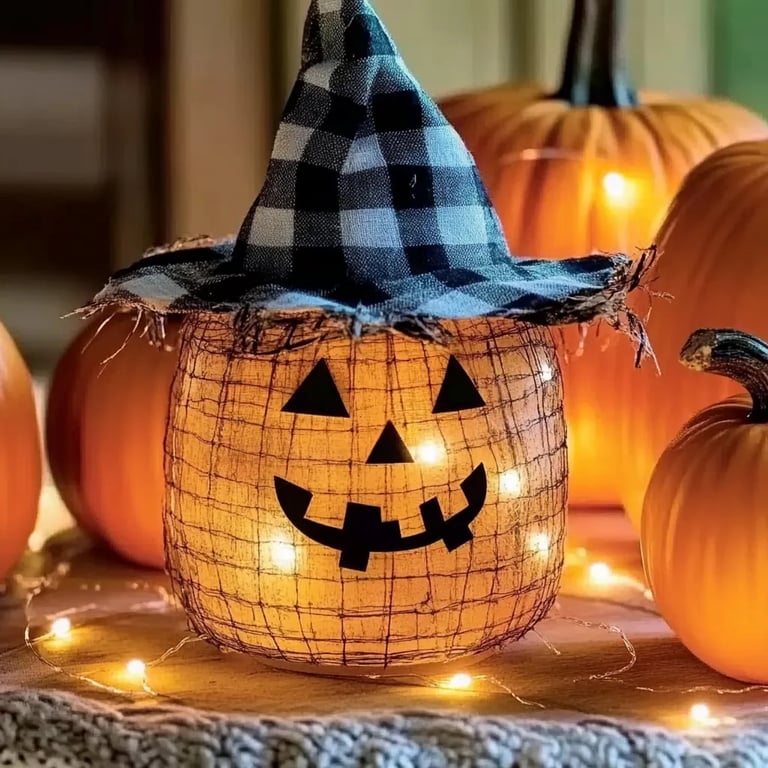
How to Make Light-Up Scarecrow Mason Jars: A Step-by-Step Guide
Hello, fellow crafters! Today, I'm excited to share one of my all-time favorite autumn projects with you – creating delightful Light-Up Scarecrow Mason Jars. Not only are these charming decorations perfect for Halloween or a fall gathering, but they also bring a sense of joy and whimsy to your home as the days grow shorter. Plus, they make for fantastic gifts during the festive season!
In this deep dive, I’ll guide you through the entire crafting process, sharing tips and personal anecdotes along the way. Whether you’re a seasoned DIY expert or a beginner just dipping your toes into the crafty waters, I promise you’ll find it easy to follow along.
What Makes Light-Up Scarecrow Mason Jars Popular?
Light-Up Scarecrow Mason Jars have surged in popularity for a few key reasons:
- Versatility: They're a perfect blend of functionality and decor. You can use them as centerpieces, outdoor decorations, or a cozy nightlight.
- Creativity: Each jar can be personalized to reflect your unique style, making them a canvas for your many creative ideas.
- Simplicity: The crafting process is straightforward, requiring minimal materials that are often readily available at home or in craft stores.
So, roll up your sleeves and let’s dive into making these adorable light fixtures!
Materials You’ll Need
Before we get started, gather the following materials. I promise you won't need anything too complicated!
Basic Supplies:
- Mason Jars (any size): I find the quart-size jars are perfect, but feel free to experiment with pint or half-gallon sizes!
- Acrylic Paint: Yellow, brown, and orange are festive colors that help capture that autumn vibe.
- Paintbrushes: A variety of sizes will give you versatility with your design.
- Hot Glue Gun and Glue Sticks: For affixing details and embellishments.
- Colored Felt: Brown (for the hat), yellow, and orange (for the scarecrow’s face).
- Fairy Lights: Battery-operated LED string lights work beautifully and provide a warm glow.
- Googly Eyes: To add a playful touch to your scarecrow’s face.
Optional Embellishments:
- Twine or Raffia: Great for adding texture and rustic charm!
- Buttons: For fun accents on the scarecrow's clothing.
- Scissors and a Craft Knife: For cutting materials.
Step-by-Step Tutorial
Step 1: Prepare the Mason Jar
Why It Matters: The first step sets the ground for your entire project. If the surface is clean, the paint will adhere better.
- Start by washing your mason jar with warm soapy water and drying it thoroughly.
- If you're using a used jar, ensure that all adhesive residues from labels are completely removed. You won’t want any bumpiness in your craft!
Step 2: Painting the Jar
Tip: Start with a base coat of white if you want to create a vibrant look!
- Using your paintbrush, apply an even coat of yellow acrylic paint on the outside of the jar. This will be the scarecrow’s face.
- If you’d like, you can blend in some brown or orange along the bottom for detail. Don’t be afraid to get creative!
Step 3: Creating the Scarecrow Face
What Could Go Wrong: If the paint runs, it can create unintentional streaks. Use thin layers.
- Once the yellow dries (which takes about 30 minutes), use a smaller paintbrush to paint a smiley mouth and rosy cheeks with the orange paint.
- Grab your googly eyes and hot glue them onto the jar to complete the facial features. Ensure they’re secure; you don’t want them popping off!
Step 4: Making the Scarecrow Hat
Safety Warning: Hot glue can cause burns—handle with care.
- For the hat, cut a rectangle of brown felt, fold it into a cone shape, and secure it with hot glue.
- You can also create a rectangular brim by cutting another piece of felt. Attach this to the cone using more hot glue.
- Once again, be cautious when using the hot glue.
Step 5: Decorating the Scarecrow
- Cut strips of the yellow or orange felt to create straw-like details. Attach these around the jar where you want the scarecrow to look like he’s wearing straw.
- Use your twine or raffia to add a rustic bow around the neck or hat of the scarecrow, securing it with a dab of hot glue.
Step 6: Inserting the Fairy Lights
Important Note: Ensure that you use battery-operated lights to prevent any fire hazards.
- Take the LED fairy lights and carefully insert them into the jar. They should be tucked behind the straw features if you used them.
- Turn on the lights and close the jar with the scarecrow hat. Adjust the lights for optimal visibility.
Step 7: Final Touches
- Now’s your time to be creative! Add any additional embellishments, like buttons or other fun decorations.
- Don’t forget to take a moment to admire your handiwork!
Creative Variations
- Theme It: Make holiday-specific scarecrow jars for different seasons – Thanksgiving with leaves, Halloween with bats!
- Color Changes: Experiment with pastel colors for a sweet spring look or go darker for a spooky Halloween effect.
- Group Projects: Craft a whole family of scarecrow jars with varied sizes and expressions!
Personal Anecdotes and Closing Thoughts
When I first attempted this project, I was nervous about how my paint application would turn out. To my surprise, the imperfections became part of the charm! Each jar I created had its own unique personality. My kids love the light-up jars so much that we now make it a yearly family tradition, often giving them as gifts to friends and family during our harvest celebrations.
I hope you feel inspired to create your own Light-Up Scarecrow Mason Jars. Remember, crafting is all about enjoying the process and expressing yourself. Don't stress about perfection; instead, focus on the joy these charming little creations will bring to your home and those around you. Happy crafting! 🎨✨