How to Make Light-Up Scarecrow Mason Jars: A Step-by-Step Guide
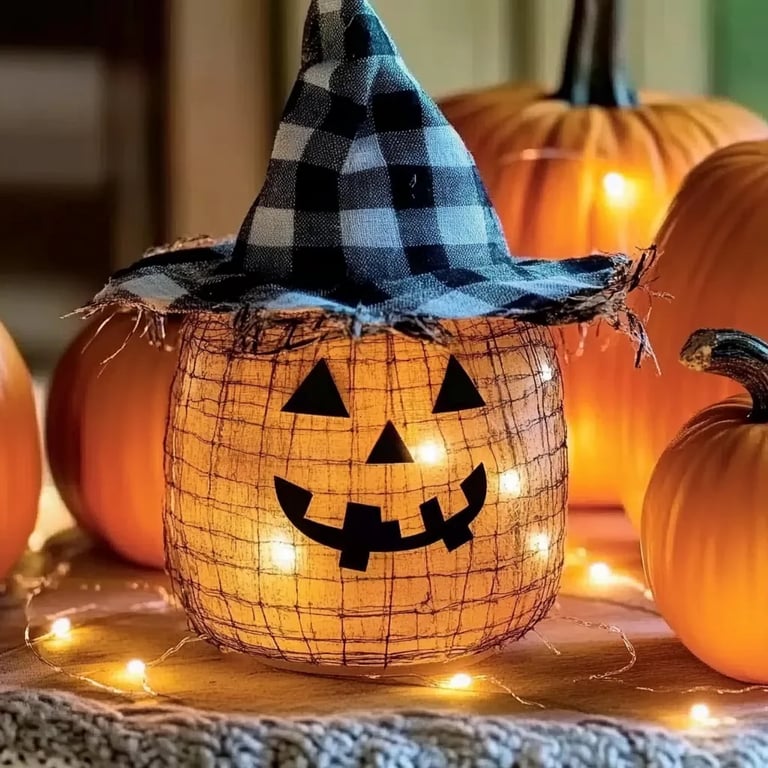
Welcome, fellow crafters! Today, I’m thrilled to share one of my all-time favorite projects: Light-Up Scarecrow Mason Jars. If you’re looking for a way to infuse your home with a warm, cozy fall atmosphere, this is it! These whimsical little creations not only enhance your seasonal décor but also make fantastic gifts for friends and family. Their glowing presence can light up a porch, brighten a mantel, or add character to a Halloween party.
You might wonder what makes these scarecrow jars so popular. Well, they’re incredibly versatile and adaptable to different themes. When the leaves begin to turn and pumpkins roll into every grocery store, there’s nothing like bringing a bit of outdoor charm into your home. Whether it’s for Thanksgiving, Halloween, or just to enjoy the beauty of autumn, these light-up scarecrow jars are sure to delight.
What You'll Need
Materials:
- Mason Jars – Choose either pint or quart size.
- LED Tea Lights – These are battery-operated and a safer alternative to real candles.
- Acrylic Paint – Traditional colors like yellow, orange, and brown work best for the scarecrow’s features.
- Paintbrushes – Various sizes; a medium flat brush and a fine-tip brush are ideal.
- Mod Podge – For adhering fabric and giving a finished look.
- Fabric Scraps – Use plaid or burlap for the scarecrow's hat and scarf.
- Twine or Jute String – For embellishing the neck area.
- Black Marker or Sharpie – For added facial details.
- Hot Glue Gun – And glue sticks for attaching fabric pieces.
- Scissors – For cutting fabric and twine.
- Spray Sealer (optional) – For weatherproofing your jars if you choose to place them outdoors.
Safety Tips:
When using hot glue, be cautious to avoid burns. Always work in a well-ventilated area, especially when using spray sealer.
—
Step-by-Step Guide to Making Light-Up Scarecrow Mason Jars
Step 1: Prepare Your Mason Jars
Start by washing and drying your mason jars thoroughly. This ensures that the paint adheres properly. You can remove labels by soaking the jars in warm, soapy water, which should help dissolve the adhesive. Once dry, it’s time for the fun part!
Step 2: Paint the Face
Using your acrylic paint, create a cheerful face on the front of your mason jar. I like to use yellow for the base color, which gives a beautiful backdrop for the scarecrow’s features. Use your medium flat brush to apply an even coat of paint.
Tip: If you want to achieve a rustic look, don’t worry about making the paint perfect — some brush strokes can add character!
What Could Go Wrong: If the paint starts to drip or run, don’t panic! Just use a paper towel to dab the excess and reposition the brush.
Step 3: Add Facial Features
Once the base coat dries (usually takes about 30 minutes), grab your fine-tip brush and your black marker. Start painting or drawing the eyes, nose, and mouth. I often use wide eyes and a big smile to make the scarecrow look inviting.
Tip: To maximize cuteness, give your scarecrow big, round cheeks with a bit of pink blush (using pink acrylic paint).
Step 4: Create the Hat and Scarf
Cut your fabric scraps into the desired shapes for the scarecrow’s hat and scarf. The hat should be slightly larger than the top of the jar, while the scarf can be a long rectangle to wrap around the neck.
What Could Go Wrong: It can be tricky to get the right size. Start larger than necessary; you can always trim it down!
Once you’ve cut the fabric, secure the hat on top of the jar using hot glue, and wrap the scarf around the neck area.
Step 5: Add Twine for Charm
Take your twine or jute string and tie it around the base of the scarf. This adds a finishing touch and gives your scarecrow some rustic charm. Glue it down if necessary to ensure it stays put.
Alternative Method: If you’re not fond of twine, feel free to use a ribbon or strip of denim for a different texture.
Step 6: Insert the LED Tea Lights
This is the most exciting part! Place an LED tea light inside the mason jar, and turn it on. The warm glow shines through the painted jar, bringing your scarecrow to life.
Tip: If you want a bit of added safety, you can cut a small slit in the fabric at the bottom of the jar to pass the LED tea light through for easy on/off access.
Step 7: Sealing the Deal
To protect your masterpiece, you can spray it with a sealant. This is especially important if you plan to use these jars outside. Give it ample time to dry before displaying.
Creative Variations
Feel free to get creative! You can make variations by using larger glass containers for grander scarecrows, or by mixing different facial expressions. You can also decorate your jars with fall foliage, small gourds, or pine cones.
Personal Anecdote
One autumn, I crafted these jars for a neighborhood potluck. Seeing the smiles on everyone's faces as they walked through the door lit up my evening more than the candles glowing inside my jars!
Wrapping It Up
Light-Up Scarecrow Mason Jars are not just a fun craft; they’re a celebration of the season and an opportunity to create something truly whimsical with your own hands. As you embark on this joyful crafting journey, remember that the process is as important as the finished product. Don't stress about perfection; embrace your unique style and let your creativity shine.
Make this fall extraordinary by illuminating your space with these delightful scarecrows. Happy crafting! If you have any questions or need further assistance, feel free to reach out. I'd love to hear about your adventures in crafting!