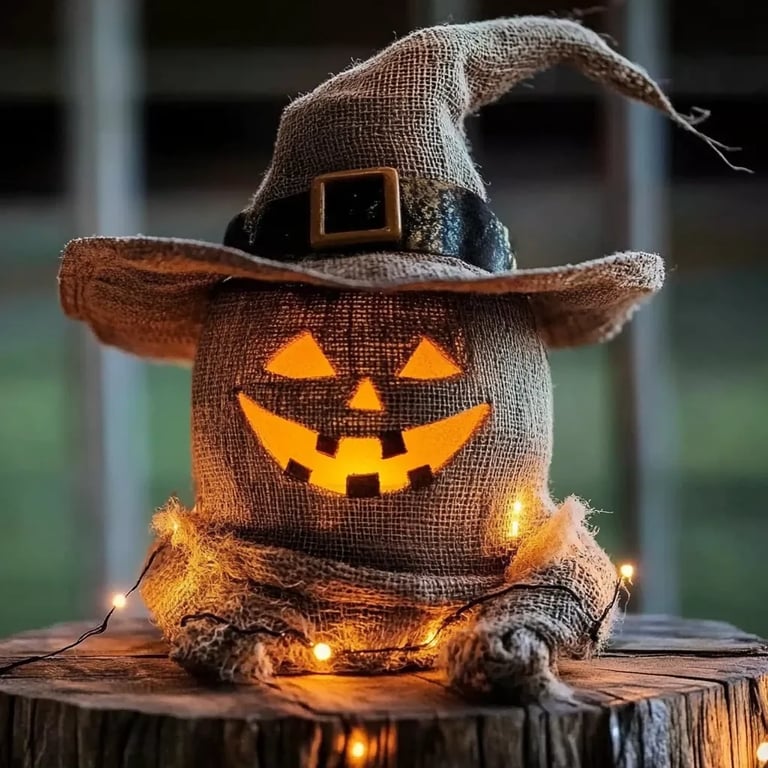
How to Make Light-Up Scarecrow Mason Jars: A Step-by-Step Guide
Hello fellow crafters! I'm thrilled you’ve decided to join me today on this fun, festive journey to create adorable Light-Up Scarecrow Mason Jars. These charming little decorations not only brighten up your home during autumn but also make incredible gifts or unique centerpieces for your fall gatherings. As a seasoned crafter, my heart beats faster at the thought of autumn with its brilliant colors, pumpkin spice lattes, and, of course, creative crafts!
Why Light-Up Scarecrow Mason Jars?
The Light-Up Scarecrow Mason Jars have become increasingly popular, especially among those who love DIY decorations. They bring a whimsical touch to your home and serve as perfect accent pieces for Halloween and Thanksgiving. Plus, they are incredibly simple to make, allowing you to hone your crafting skills while enjoying the cozy, nurturing vibe of the season. These jars can be placed on your porch to greet guests or used as table decorations during family gatherings. Let’s jump right in!
Materials You'll Need
Before we begin, gather the following materials. You might discover that you already have some of these items at home. Here’s what you’ll need:
- Mason Jars: I recommend using quart-sized jars, but you can choose any size you prefer.
- Battery-Operated Tea Lights: These are safe and give that perfect glow without the fire risks of real candles.
- Acrylic Paints: You'll need yellow, orange, brown, and black. These colors will create the scarecrow’s face and hat.
- Paintbrushes: A variety of sizes will help you achieve different effects.
- Craft Foam or Felt: For the scarecrow’s hat.
- Scissors: To cut your foam or felt.
- Hot Glue Gun and Glue Sticks: For assembling the hat and any other details.
- Twine or Ribbon: This adds a beautiful touch around the neck of the jar.
- Paper Towels or A Rag: For quick cleanup.
- Water and Dish Soap: To clean your jars before decoration.
- Optional: Small accessories like buttons, fabric scraps, or leaves for personalization.
Step-by-Step Making of Light-Up Scarecrow Mason Jars
Step 1: Preparing the Mason Jars
Why It Matters: Properly cleaning the jars ensures that paint adheres well, making your decorations last longer.
- Begin by washing your mason jars in warm water with a bit of dish soap. This helps remove any residue or labels.
- Rinse thoroughly and dry them completely with a clean towel.
Tip: If any label residue remains, use a gentle scrub or let the jar soak in soapy water for a while.
Step 2: Painting the Faces
Why It Matters: The scarecrow’s face is the focal point, so take your time here.
- Using the yellow acrylic paint, apply a base coat on the front of the jar. Use a wider brush to cover more area quickly.
- Once dry, use a fine brush to add eyes, a small nose, and a smiling mouth using black paint.
- For rosy cheeks, dab a bit of orange paint on either side of the mouth.
What Could Go Wrong: If paint drips, don’t panic! A slightly damp cloth can remove excess paint while still wet.
Personal Anecdote: I remember the first time I attempted to paint a scarecrow face. My youngest daughter kept saying it looked like a happy pumpkin! Embrace imperfections; they're often what makes your project uniquely yours.
Step 3: Creating the Scarecrow's Hat
Why It Matters: The hat adds character and is a fun way to personalize your jar.
- Cut a piece of craft foam or felt into a circle about six inches in diameter. This will be the top of the hat.
- Cut a strip about two inches wide and long enough to wrap around the jar’s circumference for the hat band.
Tip: You can use brown or even patterned fabric to add more texture.
- Hot glue the band to the jar first. Then, glue the circular piece on top to create the hat shape.
- Feel free to get creative here, adding little embellishments like a leaf or a small flower.
Step 4: Adding the Twine or Ribbon
- Once your hat is secure, wrap some twine or ribbon around the neck of the jar. You can tie it in a simple bow or knot for an adorable rustic look.
Why It Matters: This adds an extra touch to your scarecrow and helps tie all the elements together.
Step 5: Inserting the Battery-Operated Tea Light
- Place the tea light inside the jar, ensuring it sits firmly at the bottom. Turn it on!
- The light will glow softly through the jar, illuminating your adorable scarecrow face.
Alternatives and Creative Variations
While I love the classic scarecrow design, consider these fun variations:
- Different Themes: Instead of a scarecrow, you can create a ghost or a pumpkin by simply changing the paint colors.
- Seasonal Switch: Use a similar process to create light-up jars for other holidays, like Christmas (using Santa or snowmen) or Easter (using bunnies).
- Size Matters: Use different sizes of mason jars to create varying heights for a dynamic display.
Safety Warnings
When working with hot glue, please be cautious as it can cause burns if it makes contact with your skin. Always supervise children during the crafting process, particularly when using sharp tools or hot glue guns.
Conclusion
And there you have it – your very own Light-Up Scarecrow Mason Jars! I hope this detailed guide inspires you, and I would love to see how your creations turn out! Perhaps you’ll even inspire your friends or family to join in on the crafting fun.
Remember, crafting is about expressing your creativity, so don’t hesitate to adjust this tutorial to make it truly yours. Whether you use these jars to decorate your home, gift them to loved ones, or even sell them at a craft fair, they’re sure to be a hit. Happy crafting, and may your fall be filled with warmth and joy! 🧡