How to Make Kool-Aid Popping Candy Licorice: A Step-by-Step Guide
Hello there! If you’re here, you probably already know about the delightful fusion of flavors and textures that is Kool-Aid Popping Candy Licorice. This sweet, crunchy, and chewy treat is not only a feast for your taste buds but also brings a nostalgic charm to any gathering or celebration. Whether it’s a birthday party, a movie night, or simply a way to treat yourself on a cozy afternoon, this homemade candy will definitely put a smile on your face. In this detailed guide, I’ll walk you through how to create this enchanting candy experience that your friends and family will love, just like I have done in my own kitchen countless times.
What Is Kool-Aid Popping Candy Licorice?
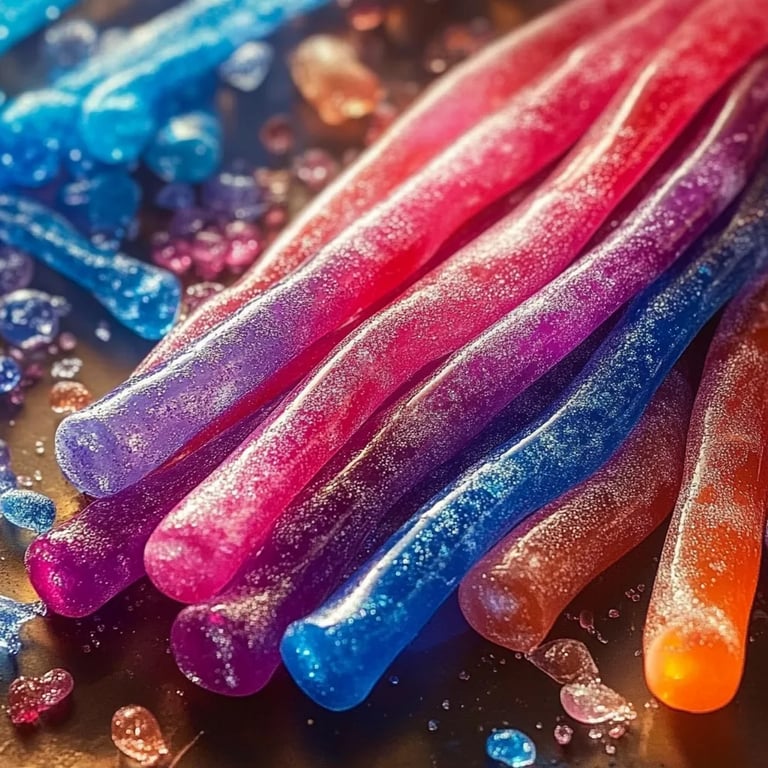
Kool-Aid Popping Candy Licorice is a uniquely flavored and textured confection that combines the fruity taste of Kool-Aid and the exhilarating pop of popping candy with the soft, chewy goodness of licorice. The result is a treat that'll surprise and delight you as the popping candy bursts in your mouth! This treat is especially popular among children, but let’s be honest—adults love it too. It’s perfect for fun occasions or just when you need a sweet pick-me-up.
The Perfect Occasions to Make Kool-Aid Popping Candy Licorice
- Birthday Parties: Bright, colorful, and bursting with flavor, these candies are guaranteed to be a hit with kids and adults alike.
- Holiday Treats: Customize your Kool-Aid flavors to fit the season—think cherry for Christmas or lemonade for summer barbecues.
- Movie Night: What better way to enjoy your favorite flick than with a snack that’s both tasty and interactive?
- Crafting Sessions: Gather friends to create these together, turning edible crafting into a social event.
What You’ll Need
Before we dive into the crafting process, let’s round up everything you’ll need:
Ingredients
- 2 cups of granulated sugar
- 1 cup of corn syrup (light-colored)
- 1/2 cup of water
- 1 packet of Kool-Aid (any flavor you desire)
- 1/2 teaspoon of baking soda
- 1 to 2 packets of popping candy (usually found in the candy aisle)
- 1/4 teaspoon of salt
Equipment
- A medium saucepan
- A candy thermometer
- A mixing spoon
- A spatula
- Candy molds or a silicone mat
- Kitchen scissors (for cutting the licorice)
Step-by-Step Guide: Crafting Your Candy
Step 1: Prepare Your Workspace
First things first, let’s ensure your workspace is clean and organized. As we’re dealing with hot sugar, a tidy space is crucial to avoid accidents. Lay out all your ingredients and tools so that they’re easy to access. Safety should be our top priority!
Step 2: Combine Ingredients in the Saucepan
In your medium saucepan, combine 2 cups of granulated sugar, 1 cup of corn syrup, and 1/2 cup of water. Stir gently to mix.
Why This Matters:
Combining these ingredients creates the basic structure of your candy. The sugar will caramelize, while the corn syrup prevents crystallization, yielding a smooth texture.
Troubleshooting:
If you find that your sugar isn't dissolving properly, turn up the heat slightly, but keep an eye on it to avoid burning!
Step 3: Cook the Mixture
Heat the mixture over medium heat until it comes to a rolling boil. At this stage, attach your candy thermometer and monitor the temperature closely.
Key Point:
You want to reach the "soft crack" stage, around 270°F (132°C). This is crucial; if you pull it off the heat too early, your candy won’t have the desired chewiness.
Step 4: Add Flavors and Coloring
Once you reach the temperature, remove the saucepan from heat. Quickly stir in the Kool-Aid packet, baking soda, and salt. The baking soda will cause the mixture to bubble up, and the Kool-Aid will provide both flavor and color.
Personal Tip:
Keep some extra Kool-Aid on hand in case you want to boost the flavor or color after tasting.
Step 5: Pour and Cool
Carefully pour the mixture into your candy molds or onto a silicone mat. Shape into licorice strips if you’re using a mat. Use a spatula to smooth the surface and make it uniform.
Safety Warning:
Be cautious during this step—hot sugar syrup can cause serious burns!
Step 6: Let It Set
Now comes the difficult part—waiting! Let your candy cool completely at room temperature. This usually takes a couple of hours.
Step 7: Add Popping Candy
Once your licorice has set, use kitchen scissors to cut your candy into strips. Before you serve, sprinkle the popping candy over the top or roll the licorice in it for maximum pop!
Alternative Method:
You can mix the popping candy directly into the warm mixture just before pouring it into molds for an evenly distributed pop effect.
Final Tips and Creative Variations
Flavor Combinations:
Feel free to experiment with different Kool-Aid flavors. Tropical Punch for a fruity burst or Blue Raspberry for that electric blue goodness can be exciting choices!
Chocolate-Dipped Licorice:
For an added touch of luxury, consider dipping your finished candy sticks in melted chocolate. This creates a delightful combination of flavors and textures.
Storage:
Store your Kool-Aid Popping Candy Licorice in an airtight container at room temperature. It will keep for about a week, but trust me, they won’t last that long!
Conclusion
Making Kool-Aid Popping Candy Licorice is not just about creating a tasty treat; it's about enjoying the crafting process and celebrating the little moments in life. Surround yourself with friends, share your creations, and breathe in the sweet aroma as you add a pop of color and flavor to your life! Whether you’re a seasoned candy maker or a curious beginner, I hope this guide inspires you to hop into the kitchen and try crafting this fun, nostalgic candy. Happy candy making!