How to Make Kinetic Sand: A Comprehensive Guide to Crafting Your Own Sensory Play Material
Welcome to my crafting corner! Today, I am excited to share a delightful journey into the world of Kinetic Sand—a captivating, moldable, and tactile experience that has captured hearts worldwide. Not only is Kinetic Sand an excellent tool for sensory play, but it also serves as a fantastic medium for creativity, relaxation, and even therapeutic activities.
As a seasoned crafter, I’ve explored countless DIY projects, and making Kinetic Sand has become a favorite of mine. Its popularity stems from its unique, flowing texture that mimics traditional sand but doesn’t make a mess. It’s perfect for children and adults alike, making it ideal for playdates, parties, or simply unwinding after a long day. Let’s dive in and learn how to create your very own batch of Kinetic Sand!
What is Kinetic Sand?
Before we jump into the recipe, let’s quickly discuss what Kinetic Sand is. It's a combination of regular sand and a special polymer, which gives it that mesmerizing, moldable quality. Unlike typical sand, it sticks to itself and retains its shape, making it perfect for sculpting and sensory play. The fun fact? It can be cleaned easily, as it never dries out or clumps together!
When and How Can You Use Kinetic Sand?
Kinetic Sand can be used in various settings, such as:
- Children’s Parties: An engaging activity that keeps kids entertained for hours.
- Therapeutic Sessions: Ideal for stress relief and fine motor skill development.
- Learning Activities: Great for teaching colors, letters, and shapes in a hands-on manner.
Now that you’re excited about the possibilities let’s gather our materials and start creating!
Ingredients You'll Need
The ingredients are simple and accessible; you probably have most of them at home!
- Fine Sand (1 cup): This is the star of the show! Make sure it’s clean and dry.
- Cornstarch (1/2 cup): This helps give Kinetic Sand its unique texture.
- Water (1/4 cup): Essential for binding everything together.
- Dish Soap (1 teaspoon): Enhances the pliability of the sand.
- Vegetable Oil (1 teaspoon): Gives a nice sheen and helps with texture.
- Food Coloring (Optional): Add some flair to your Kinetic Sand!
Step-by-Step Kinetic Sand Recipe
Step 1: Prepare Your Workspace
Before you begin, ensure your workspace is clean and clear of any distractions. I recommend covering your surface with wax paper or a plastic mat to make cleanup easy.
Step 2: Combine the Dry Ingredients
In a large mixing bowl, combine the fine sand and cornstarch. This step is crucial because it sets the foundation of our Kinetic Sand. The cornstarch acts as a thickening agent, giving the sand its unique texture once water is incorporated.
Tip: If your sand is damp, it may not blend well. Make sure to use completely dry sand for the best results.
Step 3: Mix the Wet Ingredients
In a separate bowl, mix the water, dish soap, and vegetable oil. I find that mixing the wet ingredients separately helps in achieving a smoother consistency. This ensures that each component is evenly distributed without any clumps.
Note: You can add a few drops of food coloring at this stage to create a vibrant look. Mix well until the color is uniform!
Step 4: Combine Wet and Dry Ingredients
Now, it’s time to unite our mixtures! Pour the wet ingredients into the bowl with the dry mixture gradually. Use your hands or a spatula to mix thoroughly until a moldable dough forms.
Important: If the mixture feels too dry, add a bit more water, one teaspoon at a time, until it meets your desired texture. Conversely, if it’s too wet, sprinkle additional cornstarch to balance it.
Step 5: Knead and Mold
Once combined, knead the dough with your hands for about 2–3 minutes. This process enhances the texture, making it more pliable and fun to mold. It’s like giving your Kinetic Sand a mini workout!
Personal Anecdote: The first time I made Kinetic Sand, I was so eager that I skipped this step. The result? A lumpy mess that wouldn’t hold its shape. Trust me; kneading is vital!
Step 6: Store Your Kinetic Sand
After kneading, your Kinetic Sand should feel soft, smooth, and shape-holding. Store it in an airtight container to keep it fresh and prevent drying out. I recommend using a resealable plastic bag or a small plastic container.
Safety Warning: Ensure that Kinetic Sand is kept out of reach of younger children who might attempt to taste it. While the ingredients are non-toxic, it’s always best to err on the side of caution!
Troubleshooting Common Issues
Problem: Kinetic Sand is too Dry
Solution: Add just a little water, one teaspoon at a time, and knead until you achieve the right consistency.
Problem: Kinetic Sand is too Wet
Solution: Incorporate more cornstarch to absorb the excess moisture. Knead thoroughly.
Problem: The Color is Fading
Solution: If you're using food coloring, consider adding more color as you play with your sand. Over time, colors can fade after prolonged use.
Creative Variations of Kinetic Sand
The fun doesn’t stop at the basic recipe! Here are a few creative variations to try:
- Scented Kinetic Sand: Add a few drops of essential oil to your wet mixture for a delightful aroma. Lavender is perfect for a calming effect.
- Glittery Kinetic Sand: Mix in some fine glitter to add sparkle to your creations. This is a surefire way to make the sand appealing and magical!
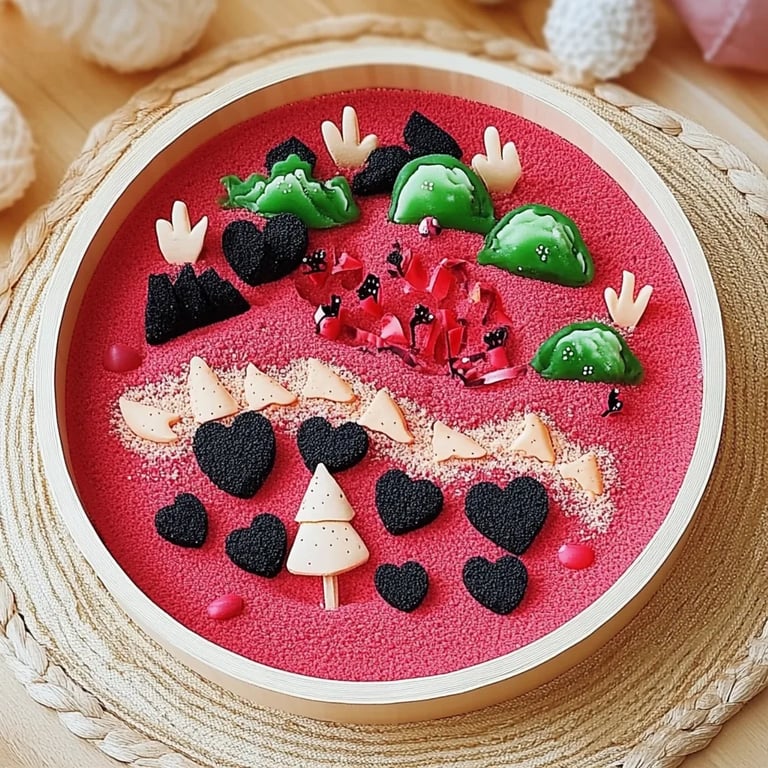
- Themed Kinetic Sand: Combine different colors to create themed sand for holidays or special occasions. Think vibrant red and green for Christmas or pastel shades for a spring vibe.
Conclusion
Crafting your own Kinetic Sand is incredibly rewarding and fun! It allows for endless creativity and sensory exploration for individuals of all ages. As an experienced crafter, I encourage you to personalize your Kinetic Sand and explore different textures and colors.
Embrace the journey, experiment with your own recipes, and most importantly, enjoy the tactile experience that Kinetic Sand offers. Whether you use it for play or relaxation, I’m sure you’ll fall in love with this creative endeavor, just as I did.
Happy crafting! 🌟